How to Hydro Dip Rocks with Spray Paint (Step-by-Step)
featuring Guest Contributor, Aviva Rappaport
Hydro dipping rocks means floating layers of spray paint on water, then dipping a rock through the paint so it picks up a marbled, one-of-a-kind pattern. The results look incredible, but the technique couldn’t be more simple: just water, spray paint, and good timing. It takes a little more setup and supervision than typical rock painting, but the payoff is worth it. This guide covers everything you need: supplies, prep, and step-by-step instructions.
What You Need to Hydro Dip Rocks
Rocks: Smooth rocks of various shapes and sizes work well. The flatter or rounder the surface, the more evenly the paint grabs as you dip.
Acrylic spray paint: A few colors go a long way. Pick colors that layer nicely together, since they'll be floating and mixing on the water's surface before your rock ever touches it. (See this guide to acrylic paints for rock painting if you're unsure which brand to buy.)
A disposable bin or bucket: Something you don't mind getting paint in, since it likely won't come fully clean afterward.
Water: Lukewarm works best.
Disposable gloves: These aren't optional for this project. They'll save your fingers from the chemicals and keep your rock's finish smooth instead of smudged with fingerprints.
Optional but helpful: paint pens for adding details afterward, a mask if you're working indoors or want extra protection outdoors.
A couple of notes before you start: do this project outdoors or in a well-ventilated indoor space, and if you're indoors or just want to be extra careful outside, wear a mask while spraying.
How to Prepare Your Rock
Choose your rocks. Select smooth rocks of various shapes and sizes. Wash them thoroughly to remove dirt and debris, and let them dry completely — paint won't grab as well on a wet rock.
Plan your design. Sketch your design ideas on paper or directly on the rocks with a pencil. This helps you visualize the composition and layout before you start dipping.
Step-by-Step: How to Hydro Dip Your Rock
Step 1: Prime the rock. Spray the whole rock with white acrylic paint as a base coat. This gives your colors a clean place to sit and keeps them from looking muddy.
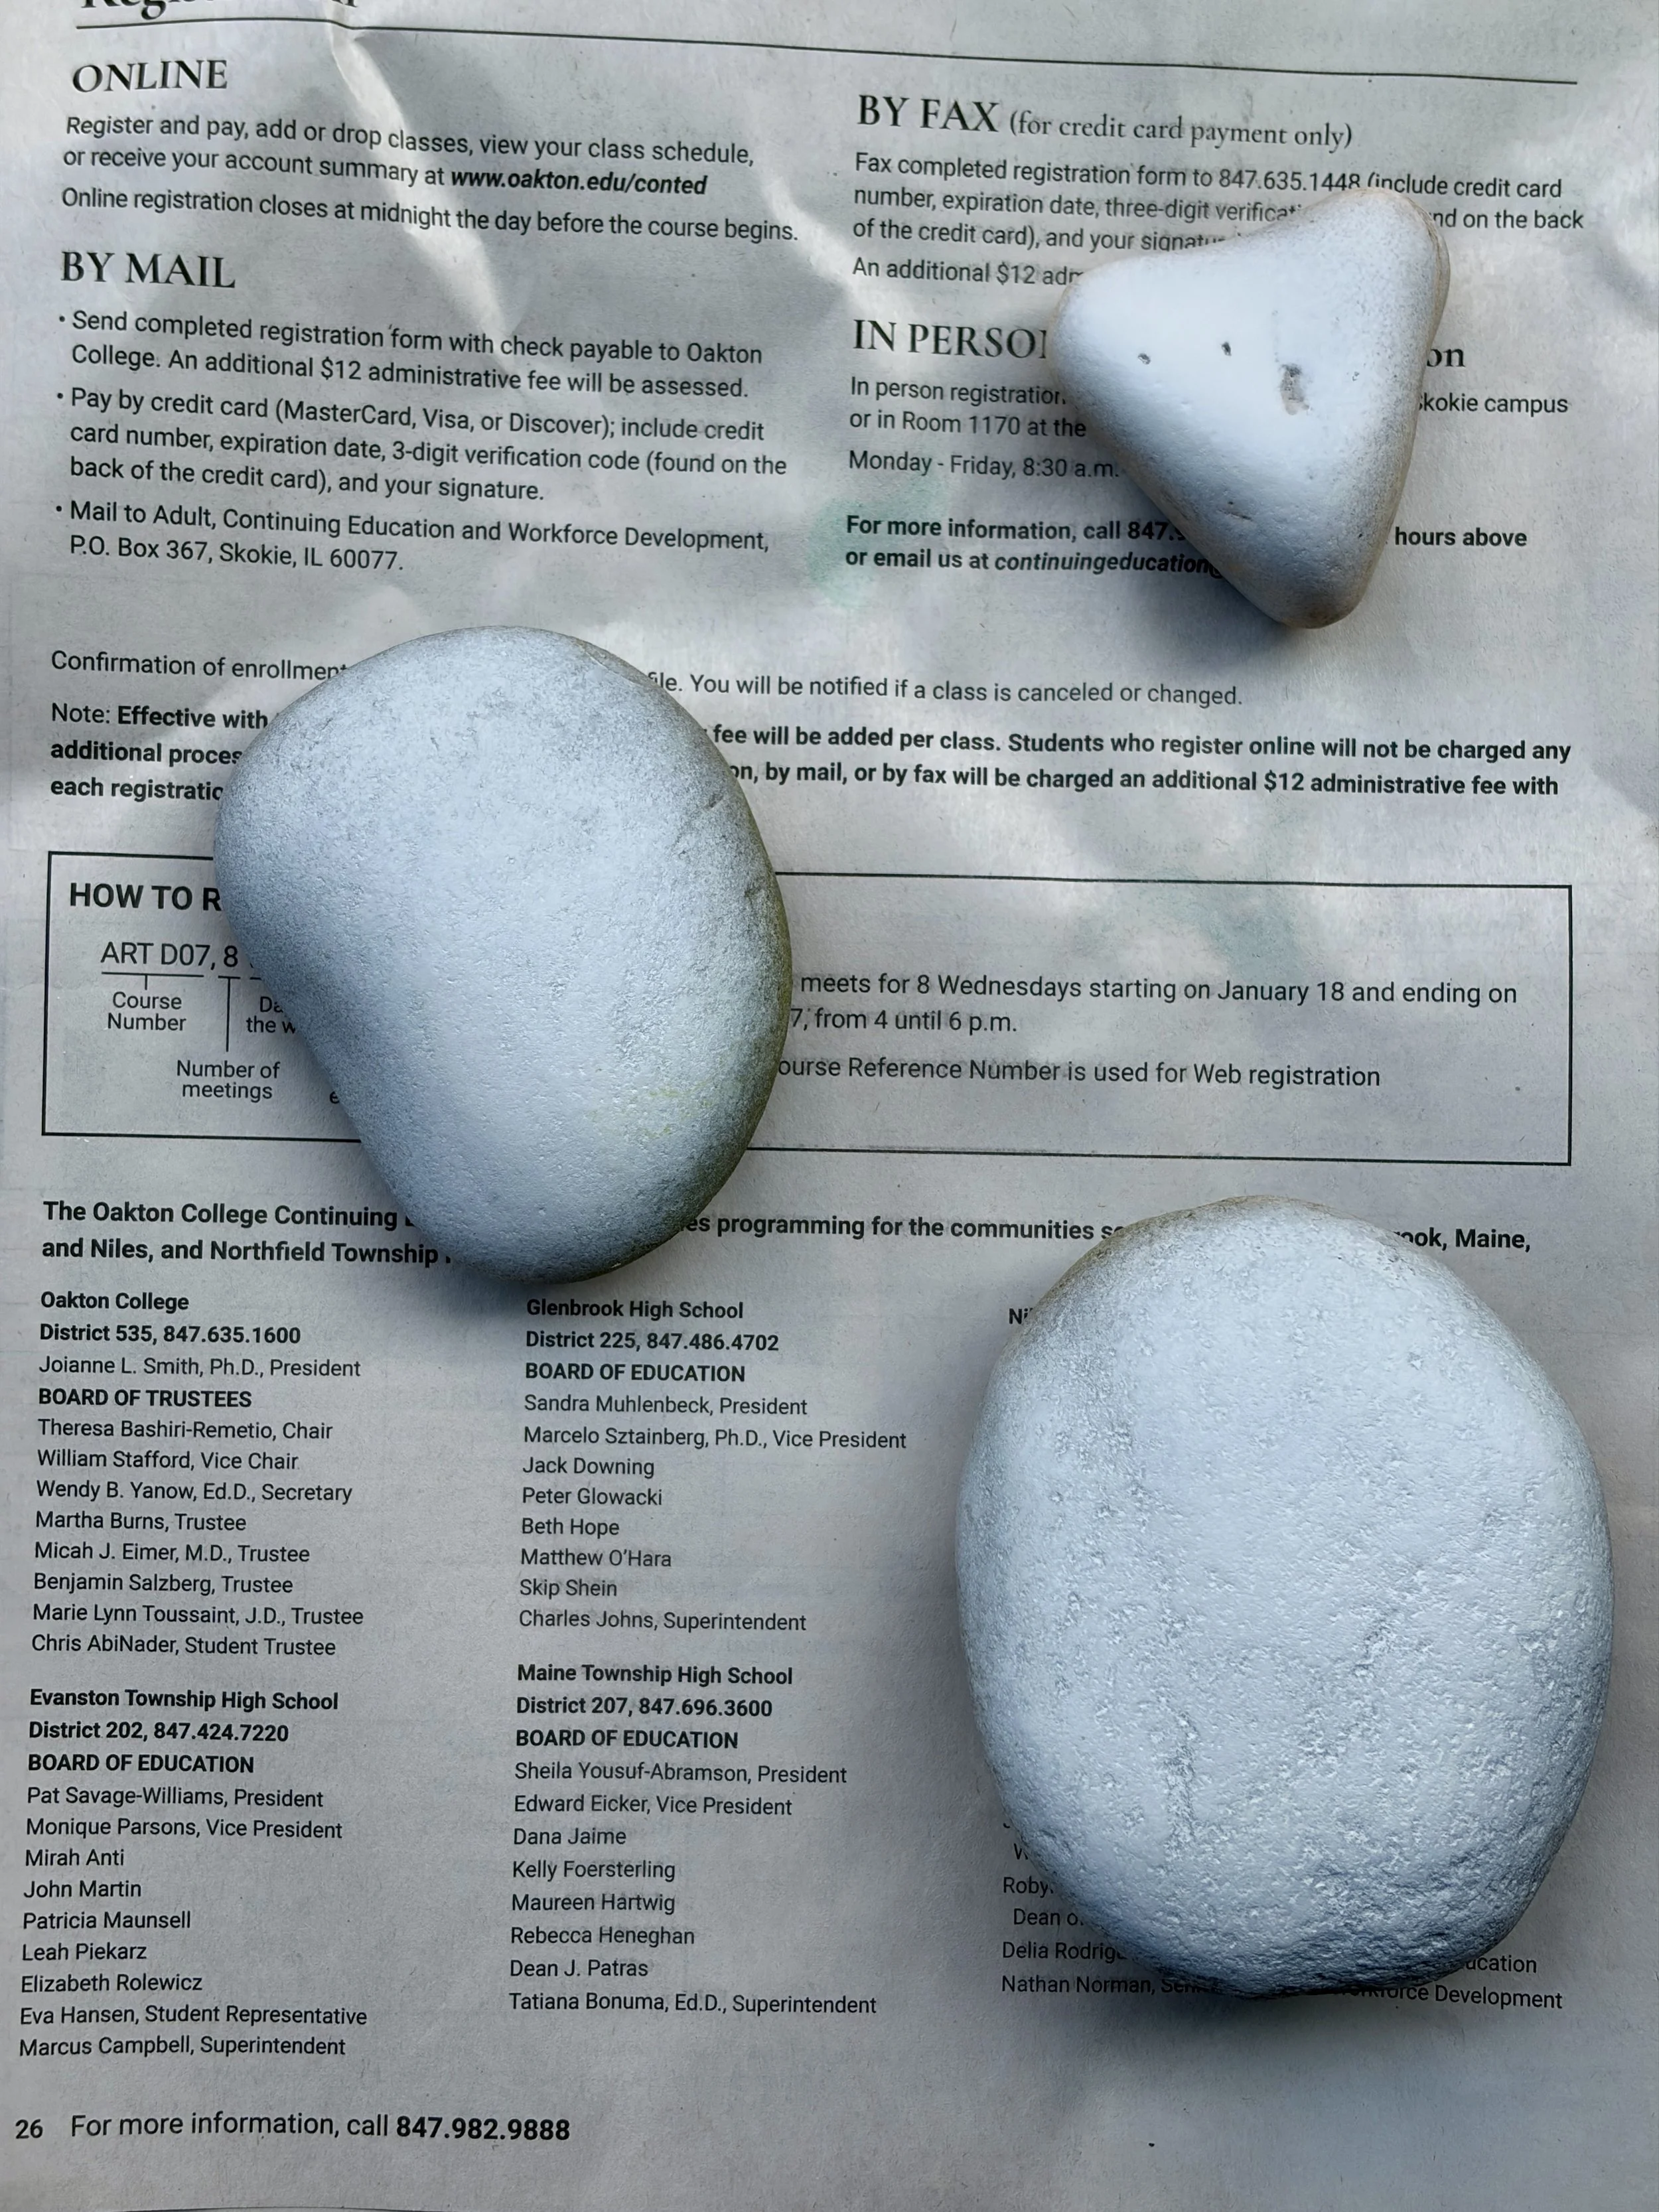
Step 2: Set up your hydro dipping station. Fill your disposable bucket or bin with lukewarm water and place it outside or in a space with good ventilation.
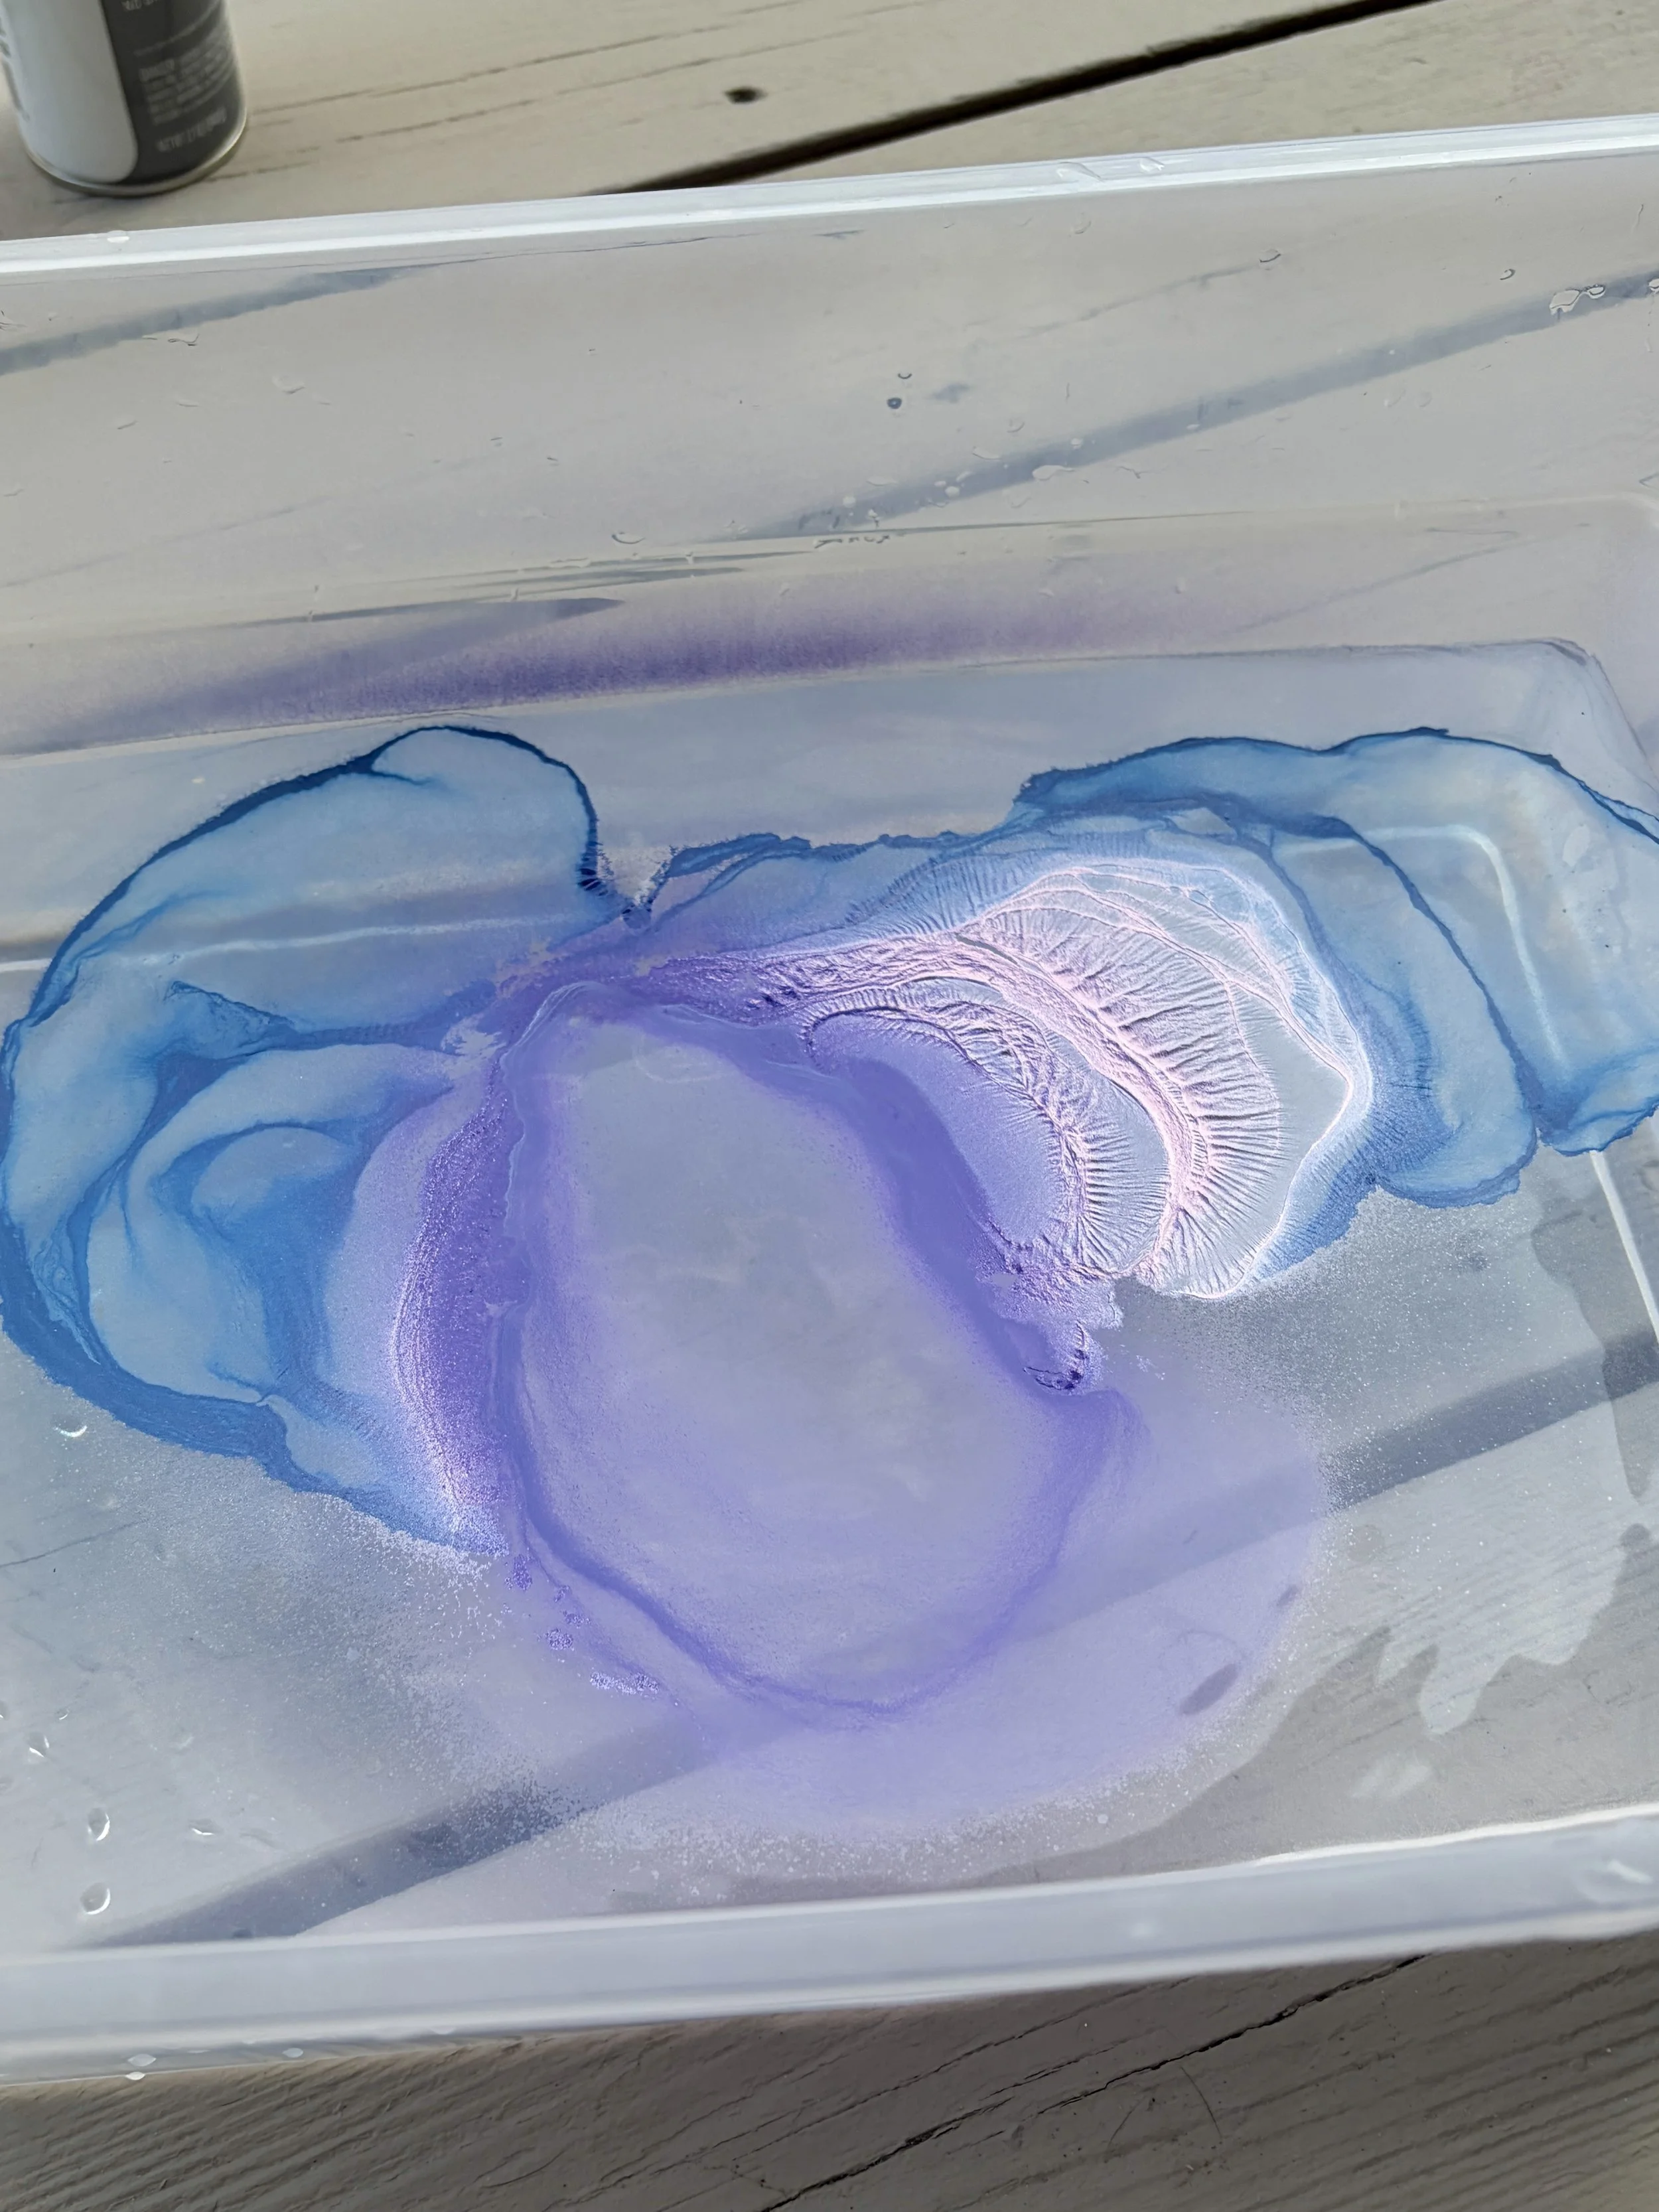
Step 3: Spray your paint. Take your cans of spray paint and spray in layers over the water.
Step 4: Dip your rock. Once you have your desired pattern, dip the rock gently into the spray paint floating on top of the water. Once you feel like the design is firmly on your rock, dip it deeper into the water and swirl it around to release any extra spray paint. Then pull it out.
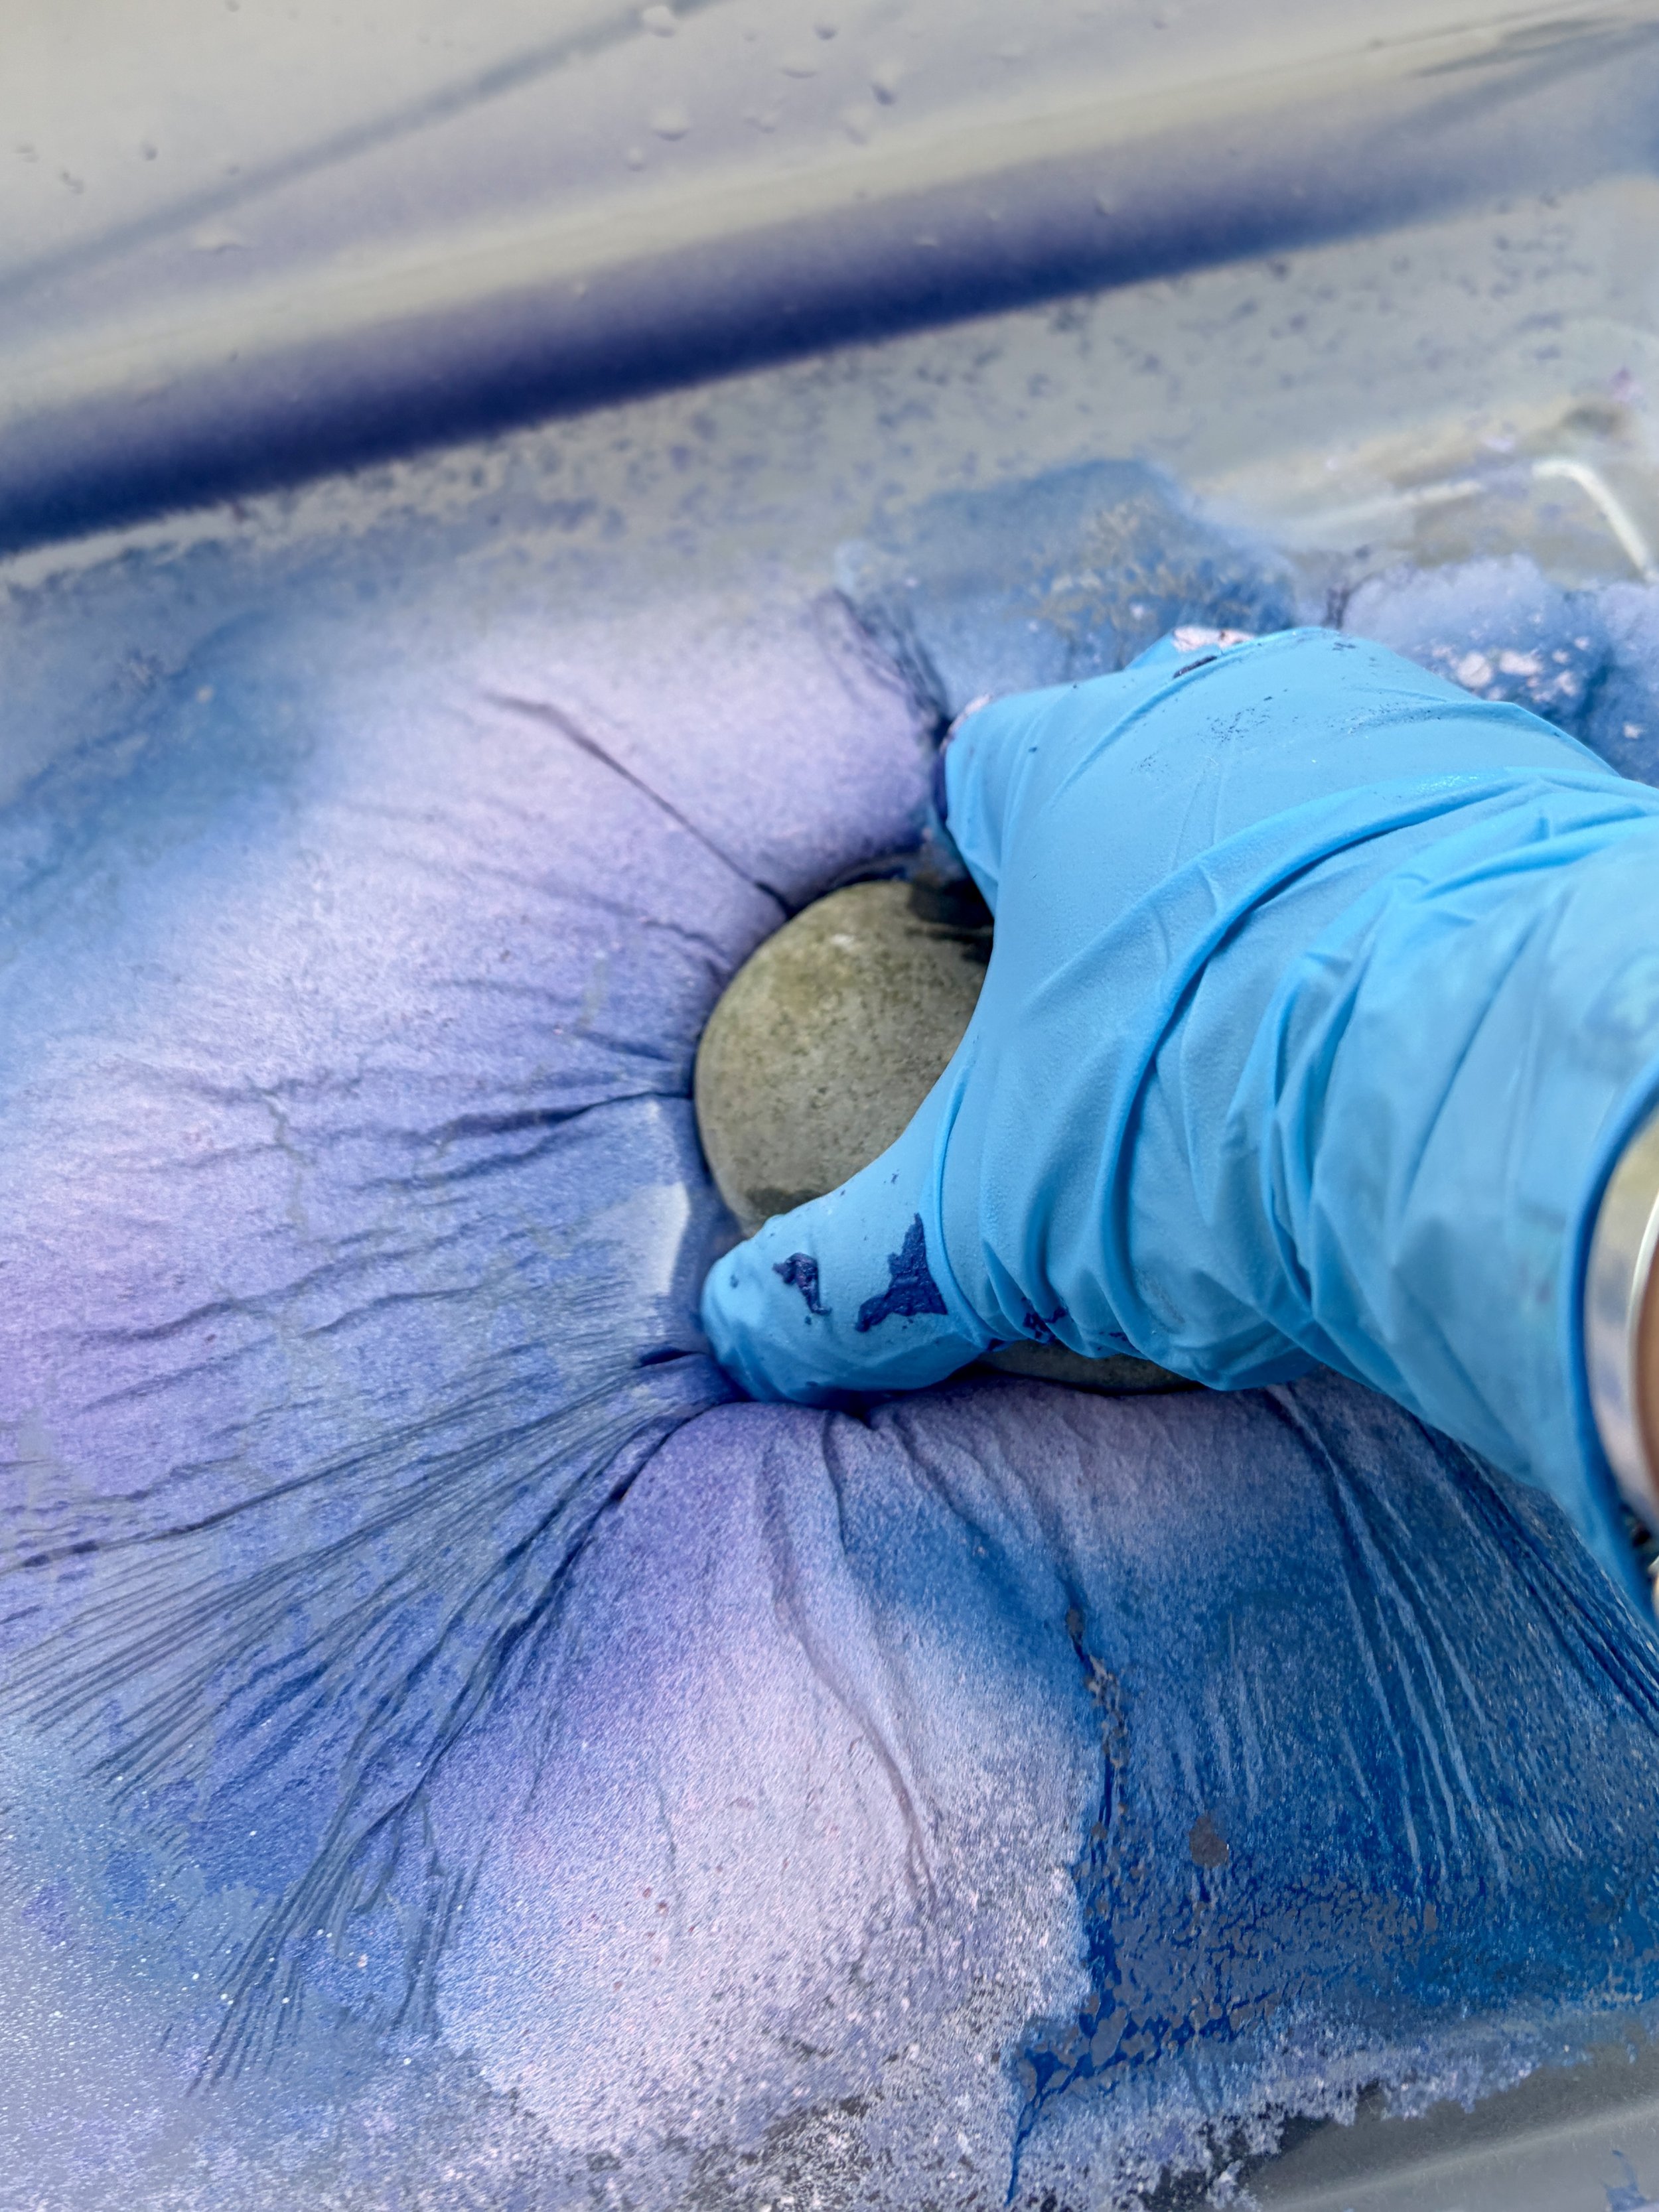
Step 5: Smooth your rock. As your rock comes out, there may be some extra spray paint. Carefully smooth it over the edge of the unpainted part of the rock.
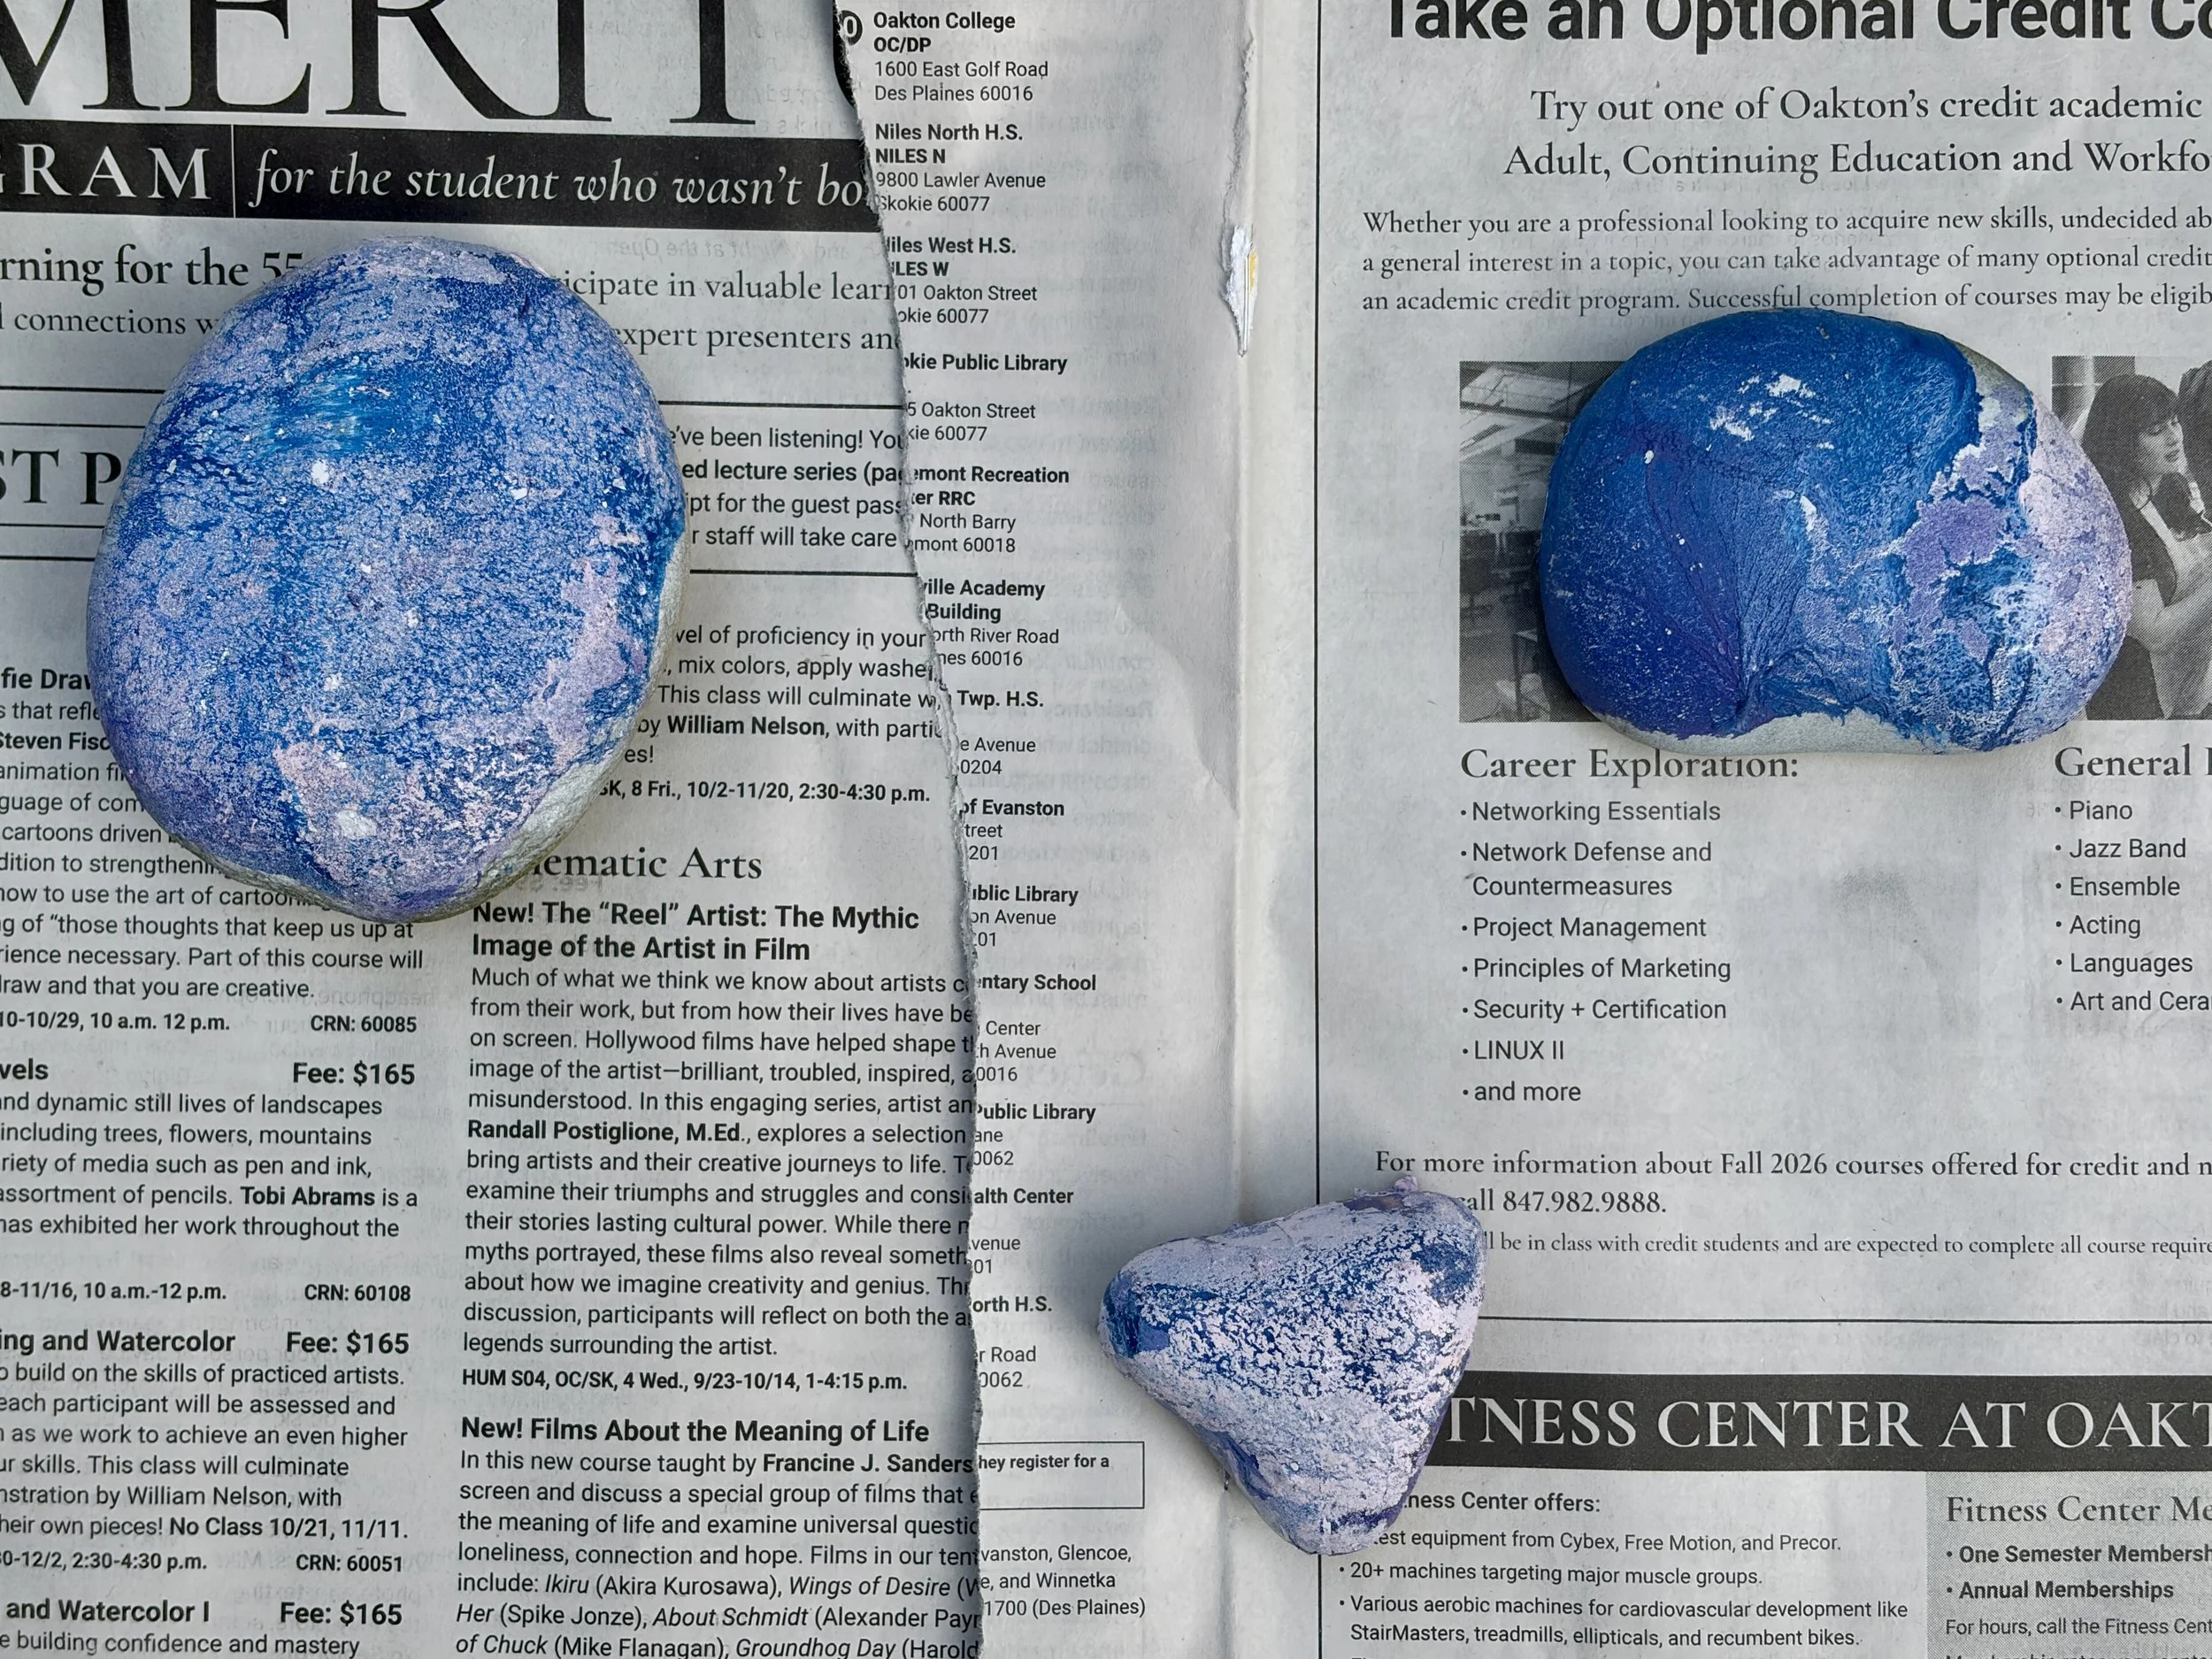
Step 6: Seal your rock. Using acrylic spray sealer or a general acrylic sealant, coat your rock in a thin layer to lock the design in place. (Full breakdown of sealer options — including which one gives hydro dipped rocks the best glossy, "wet" finish — in how to seal painted rocks for outdoor protection.)
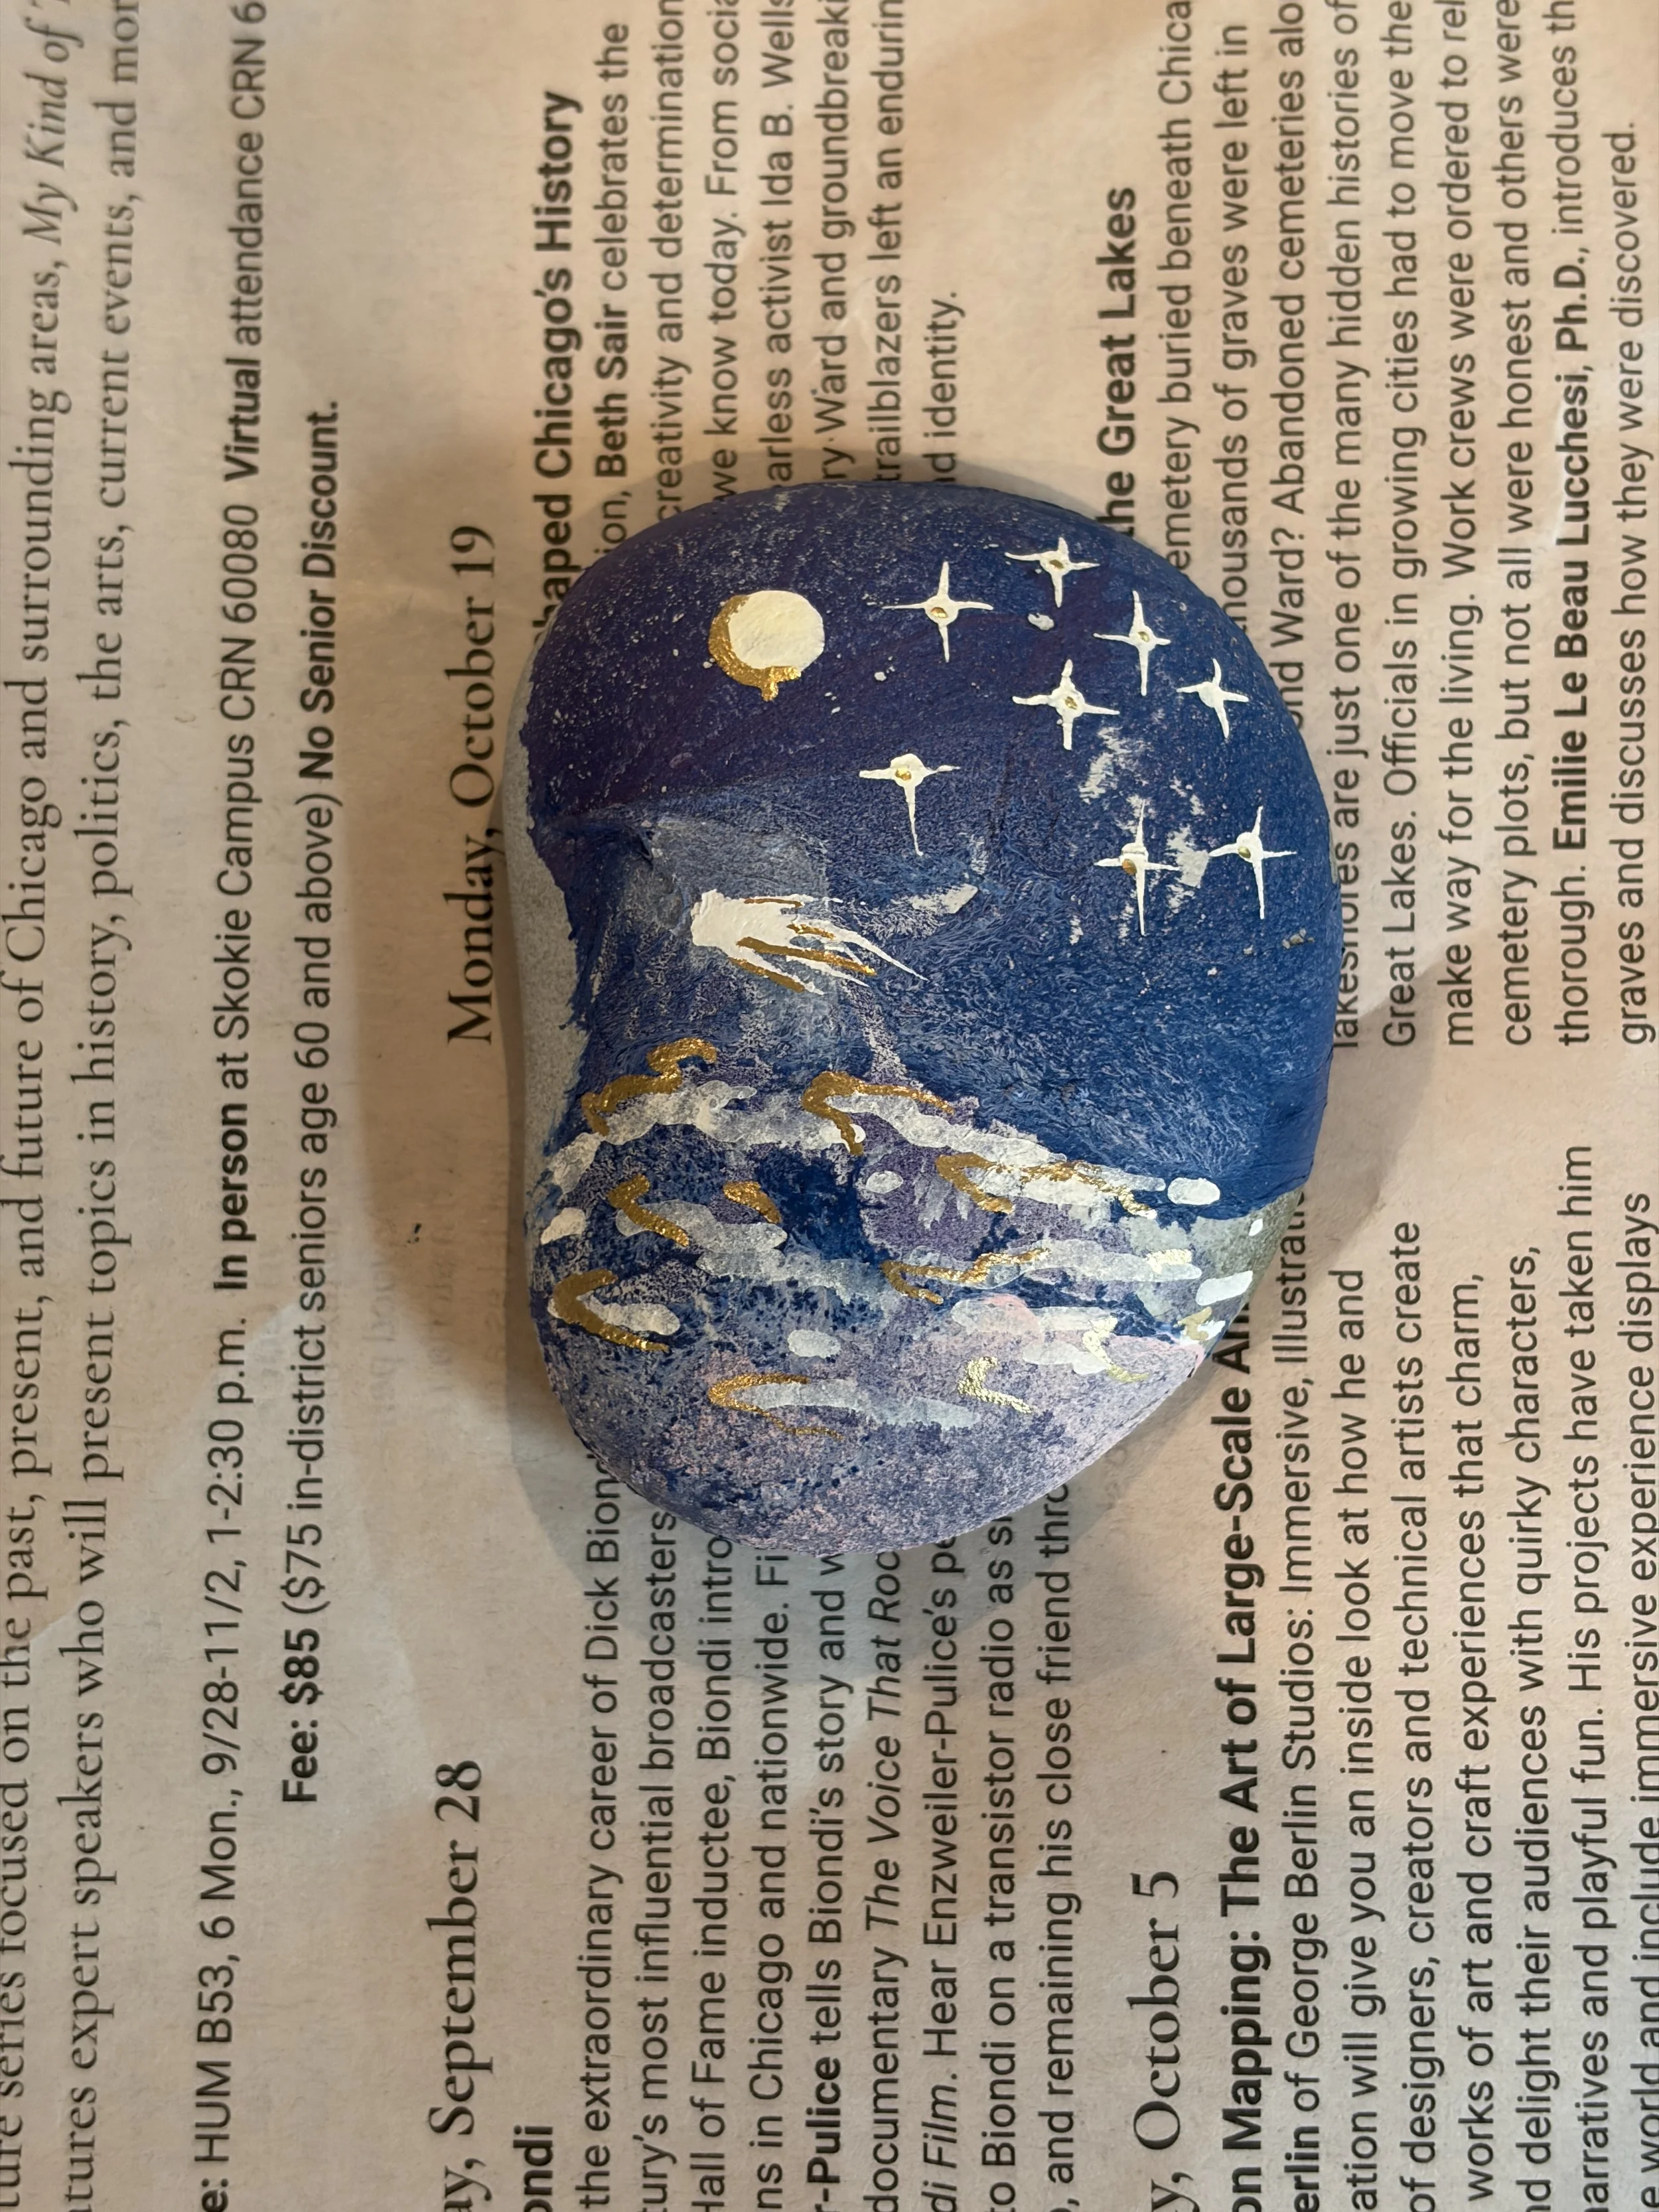
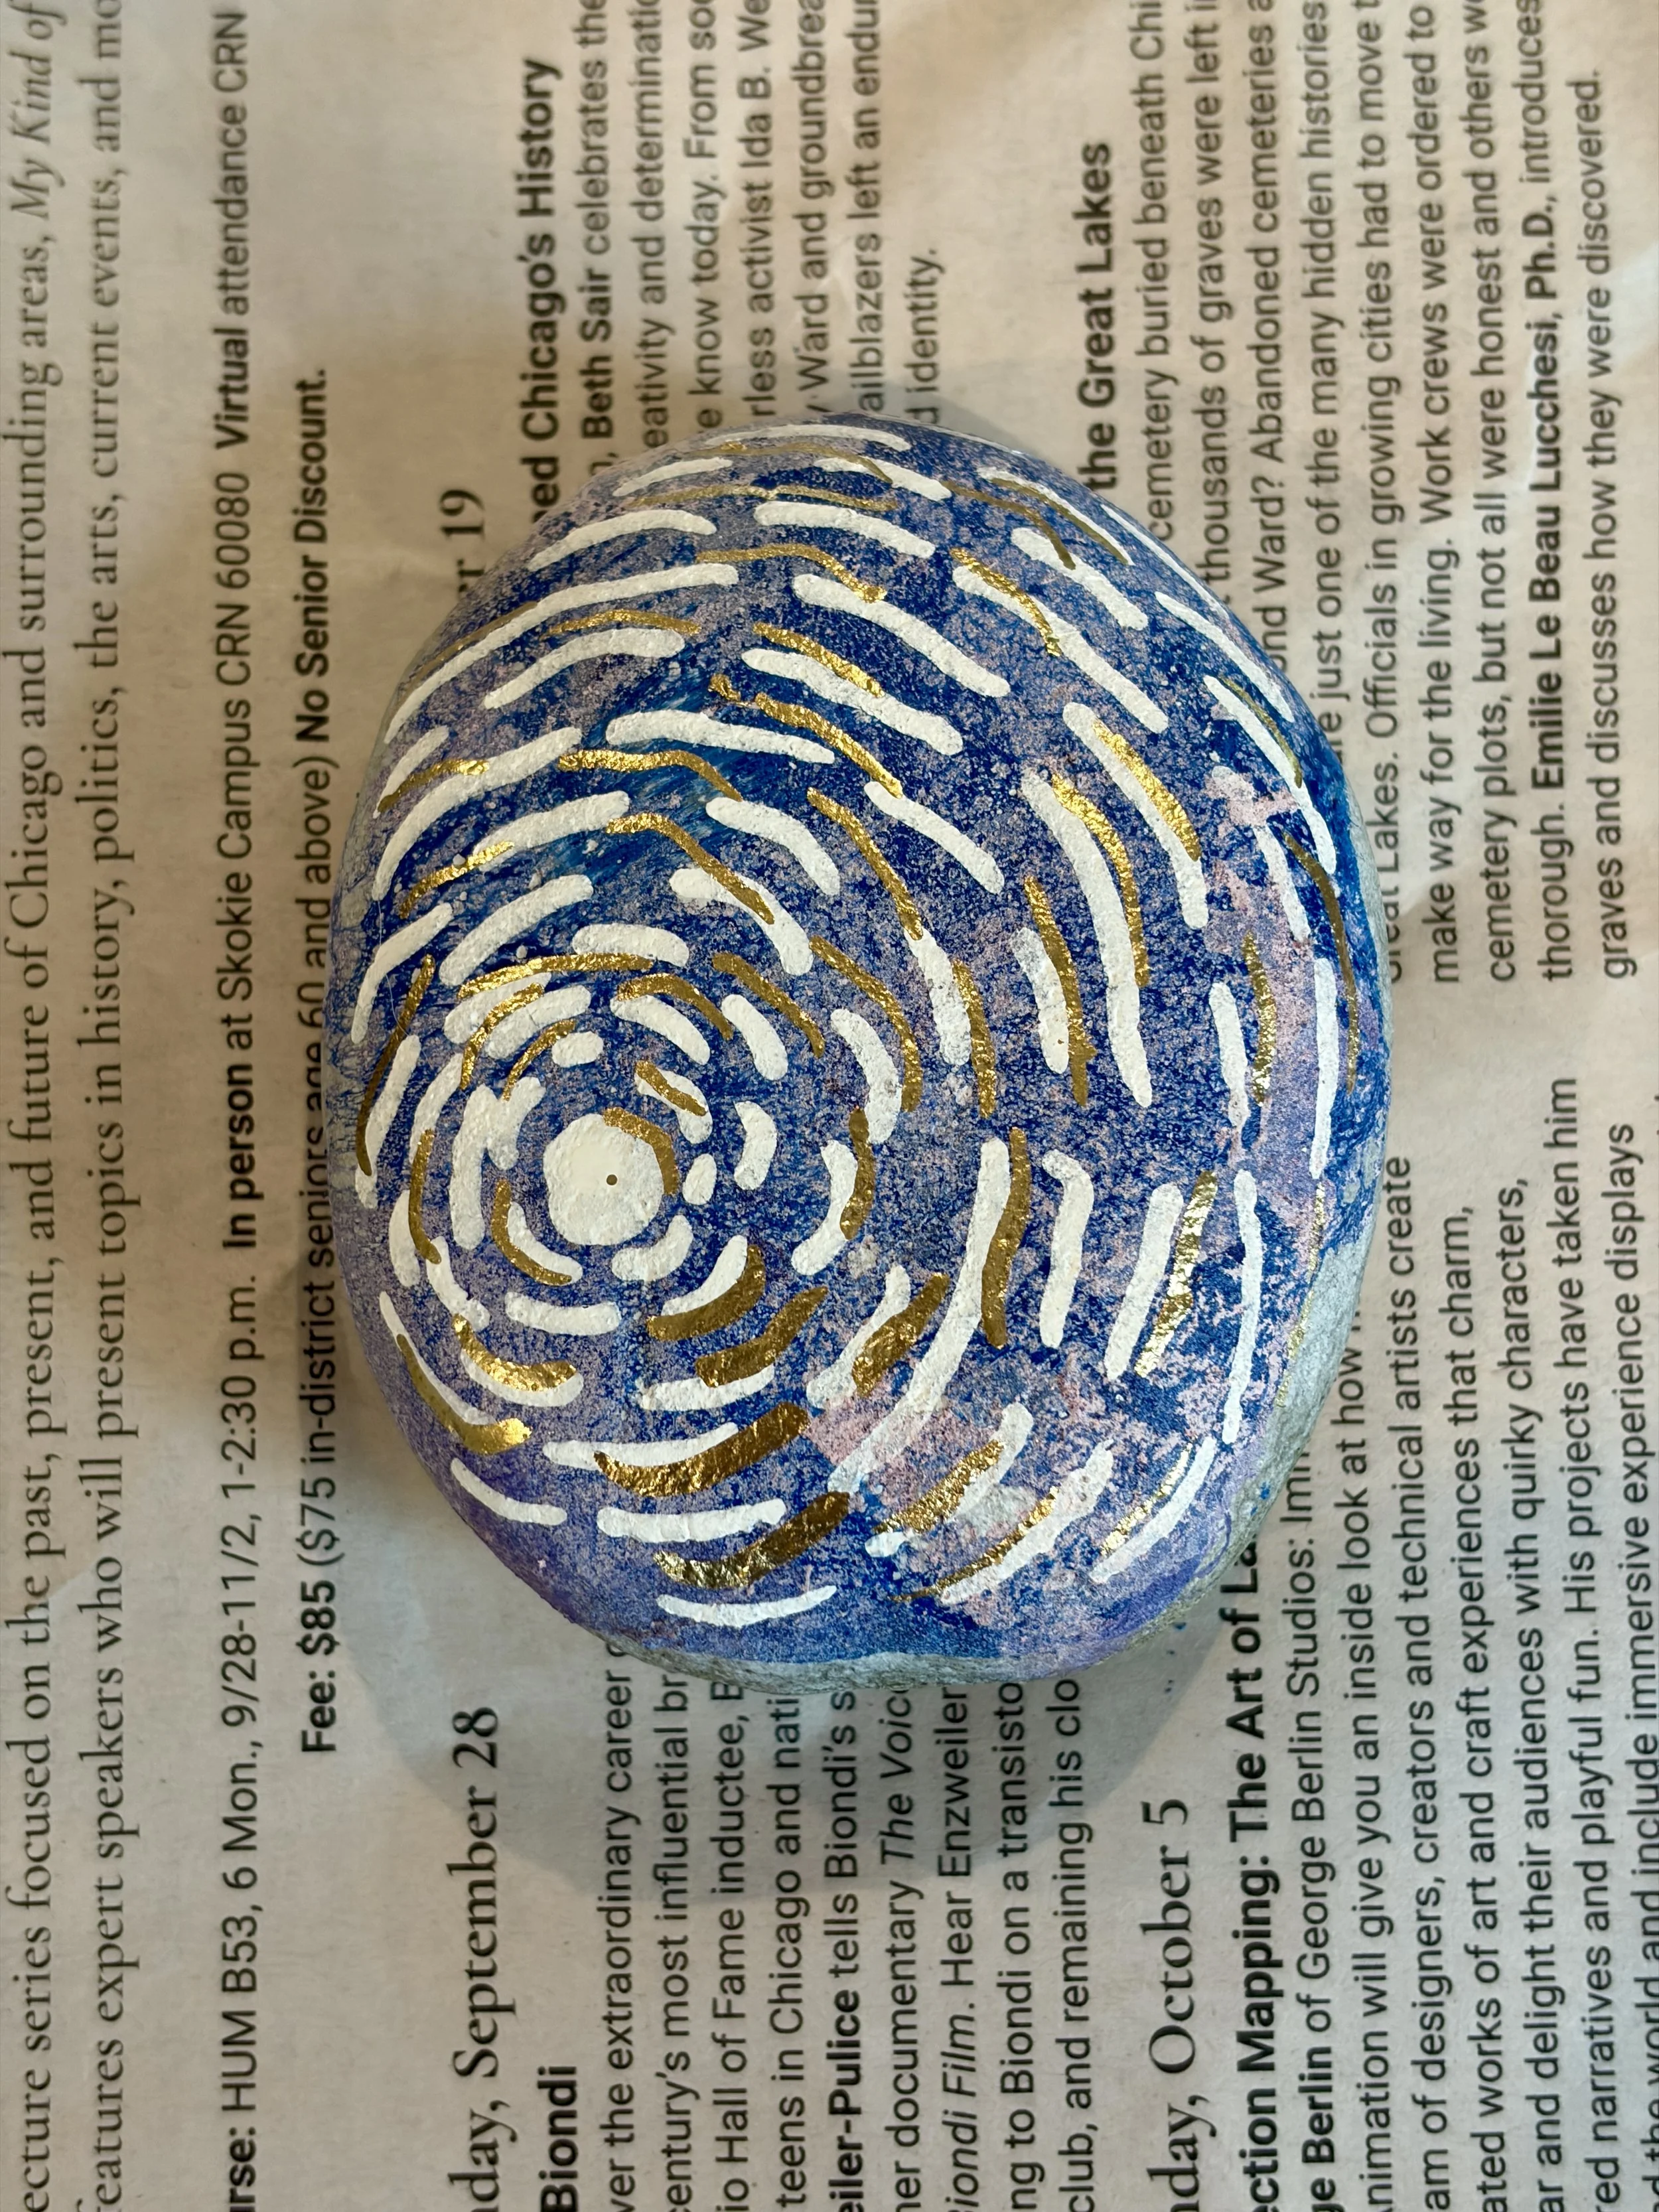
Step 7 (optional): Decorate. If you have paint pens on hand, add designs on top of your hydro dipped rock — a galaxy, a mountain form, an inspirational quote, or abstract shapes.
Tips for Better Results
Move quickly after you spray your paint — it gets harder to make it stick to your rock if you wait too long to dip. And don't rush the dip itself: once the rock is in, shake off the excess spray paint and hold it in the water for at least ten seconds. Pulling it out too quickly will cause the paint to fall right back off.
Hydro dipping is a great small group activity, since everyone walks away with something completely unique, even using the exact same colors and setup.
Common Questions About Hydro Dipping Rocks
What is hydro dipping? Hydro dipping is a technique where you spray layers of paint onto the surface of water, then dip an object — in this case, a rock — through the floating paint so it transfers onto the rock in a marbled pattern. No two rocks come out the same.
What kind of paint do you use to hydro dip rocks? Acrylic spray paint. It floats well on water and layers nicely with other colors. Prime the rock with a white acrylic base coat first so the colors read clean instead of muddy.
How long do you hold the rock in the water when hydro dipping? At least ten seconds. Dip deeper than just the surface, swirl gently to release excess paint, then pull out slowly. Pulling out too fast causes the paint to slide back off.
Do you have to seal hydro dipped rocks? Yes. A thin coat of acrylic spray sealer locks the marbled design in place, the same way it protects any painted rock. See how to seal painted rocks for outdoor protection for a full breakdown of sealer options.
Can you hydro dip rocks indoors? Yes, as long as the space is well-ventilated. Wear a mask while spraying either way, indoors or out.
Why isn't my spray paint sticking to the rock? Timing. Spray paint sets on the water's surface quickly, so dip your rock in right after spraying — waiting too long makes it harder for the paint to transfer cleanly.
More Rock Painting Ideas
New to rock painting altogether? Start with the Rock Painting Beginners Guide for supplies and prep basics. Once you've got the hang of hydro dipping, try mandala rock painting for a different dot-based technique, or browse 50+ Cute Rock Painting Ideas and 30+ Hilarious Rock Painting Ideas for what to paint on top once your hydro dipped base is sealed.