
How to Paint Mandala Rocks: Easy Step-by-Step Guide for Beginners

How to Paint Mandala Rocks: Easy Step-by-Step Guide for Beginners
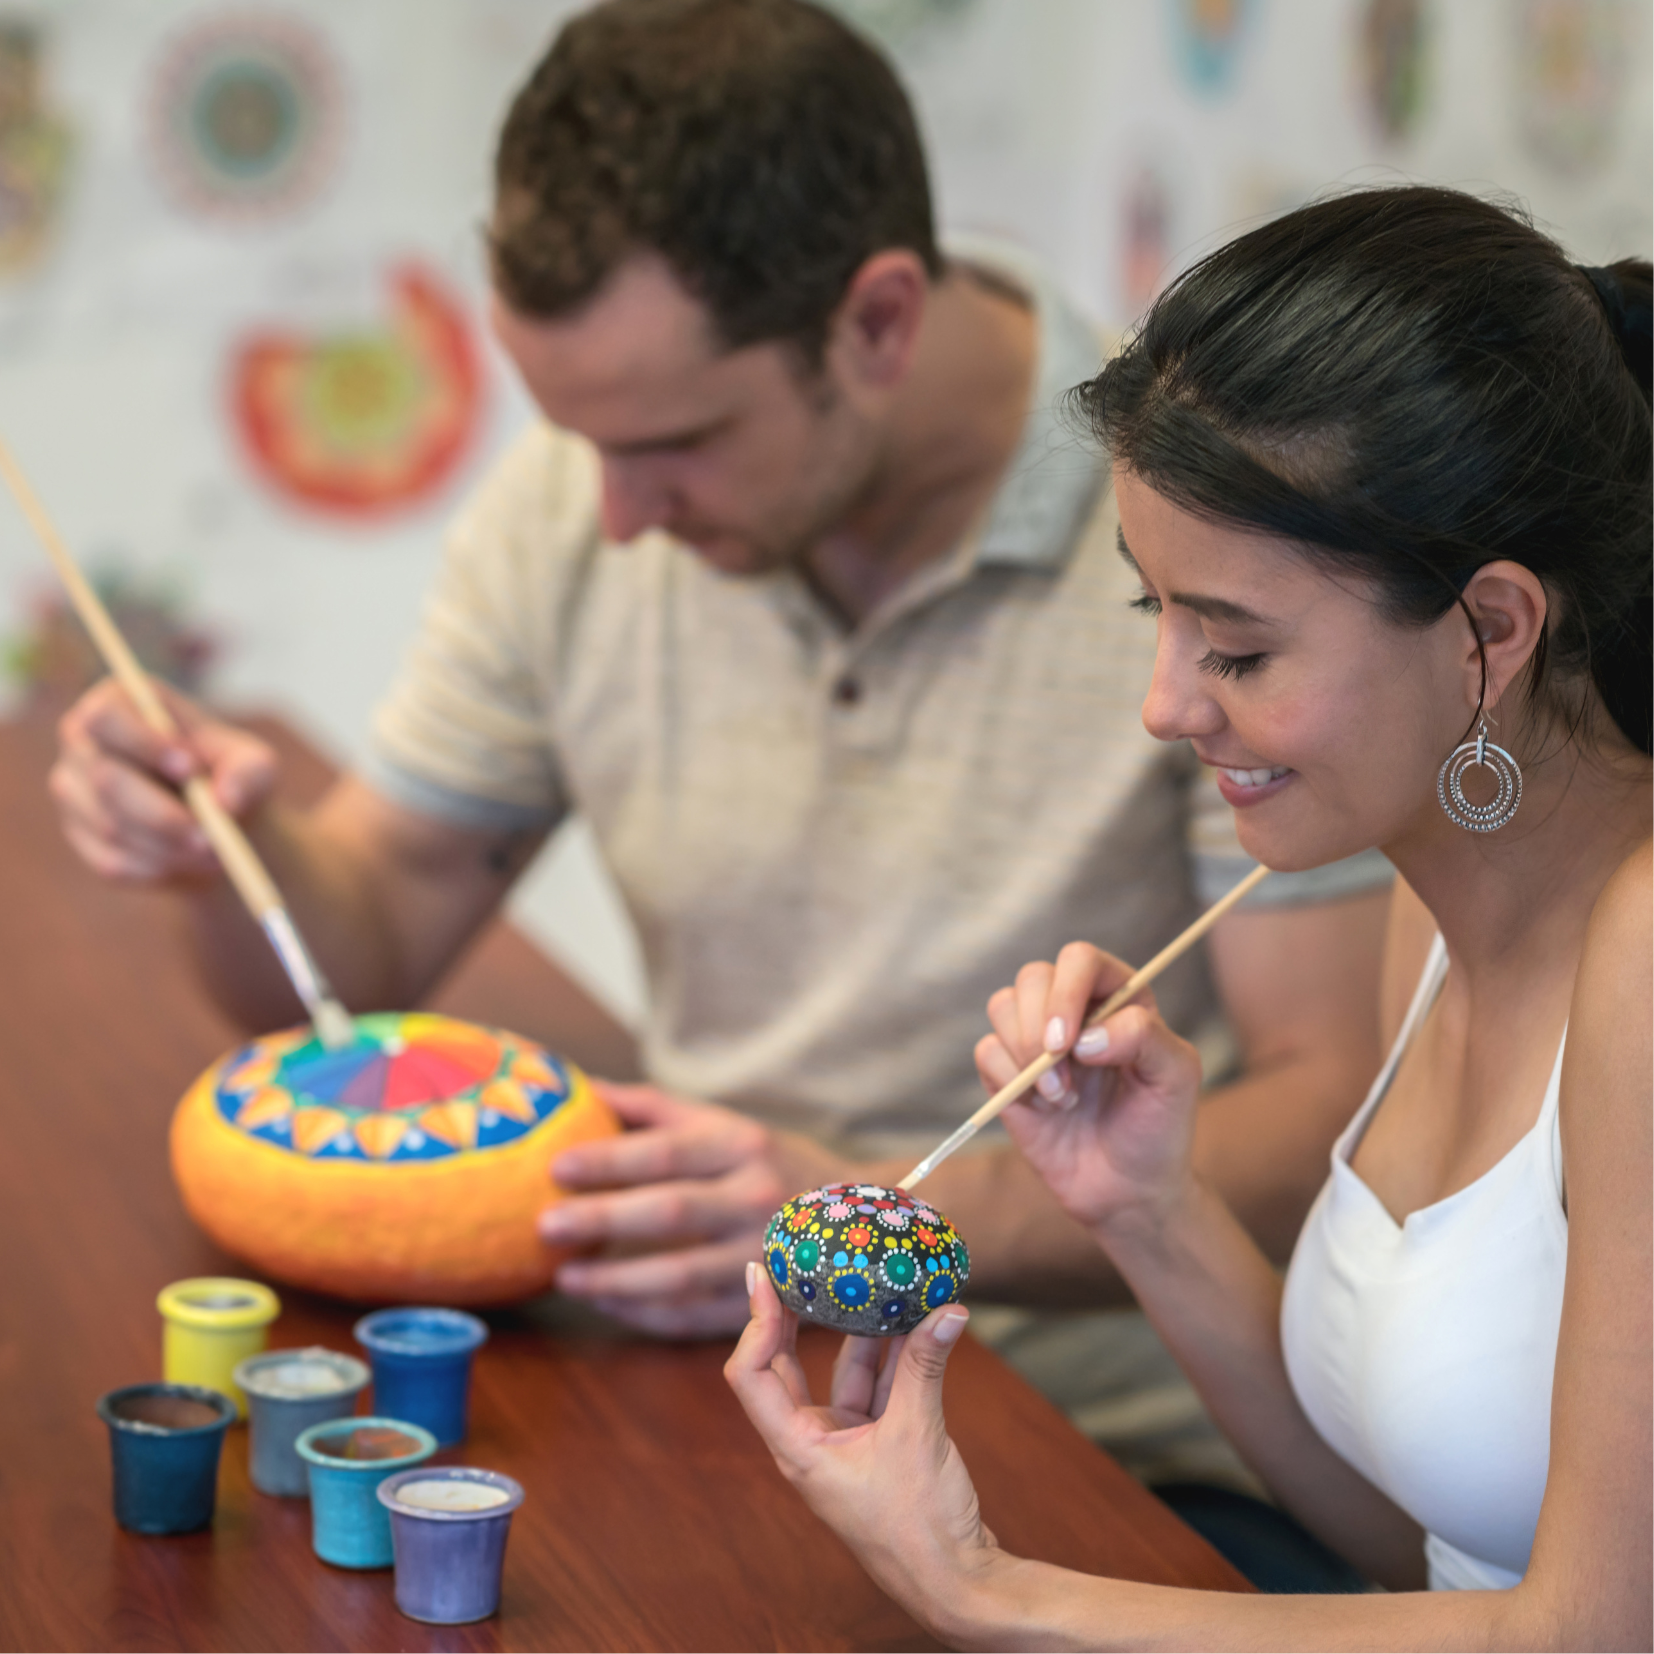
Mandala rock painting is one of those projects that looks complicated but is completely doable once you understand the process. You build the design from the center out, row by row, dot by dot. Once you get into a rhythm, it's genuinely meditative — and the results look impressive every single time.
I started painting mandala rocks after getting obsessed with rock painting in general, and I have never looked back. This guide covers everything you need to know to get started: supplies, prep, step-by-step instructions, and a few tips I picked up the hard way.

You just need a few simple supplies to paint mandala rocks
What You Need to Paint Mandala Rocks
You do not need a lot of supplies. Here's the short list:
Rocks. Look for smooth, flat, round rocks. River rocks work great, and so do the landscaping stones you'll find at Home Depot or Lowe's. The flatter the surface, the easier it is to work with a stencil.
Acrylic paint. Stick with acrylic only. Other paint types take too long to dry or wash off. You want a slightly thicker consistency so the paint doesn't run when you're dotting. A few colors go a long way — you don't need a huge collection to start.
Dotting tools. These are the most important supply for mandala rocks. A multi-pack of dotting tools gives you different tip sizes so you can make large, medium, and small dots. They're sold as nail art tools, but they're perfect for this.
A mandala stencil. If you're creating your own design, these stencils give you the framework. If you'd rather trace a ready-made pattern, these are the better option.
Optional but helpful: pencil and eraser, circle stencil or compass, palette or paper plate, water cup and paper towels.
If you want to skip the guesswork entirely, this kit includes stencils and tools together. Perfect for beginners!

Dotting tools are usually used for nail art
How to Prepare Your Rock
Before you paint anything, the prep work matters.
Wash the rock with water and let it dry completely. Any dirt or dust will show up under your paint.
Apply a base coat. White acrylic paint or gesso works best. One coat of a thicker white paint is usually enough — you're just creating a smooth, even surface for your mandala design to sit on.
If you or your students have sensory sensitivities to chalky or porous surfaces, brush a layer of matte Mod Podge over the dried base coat. It creates a smoother texture to work on. Totally optional, but worth knowing.
Step-by-Step: How to Paint a Mandala Rock
Step 1: Plan your design
Position your mandala stencil flat on the rock and secure it with painter's tape at the corners. A flat rock makes this much easier — if the stencil isn't lying flat, the design won't transfer cleanly.
Mark your center point with a pencil before you do anything else. That center dot is your anchor. If the stencil shifts, you'll always know where to reposition it.
Step 2: Trace the design
Use a pencil to lightly trace the stencil's pattern onto the rock. Don't worry about pencil marks elsewhere on the surface — you'll paint over them or erase them. Once you've traced the sections you need, carefully lift the stencil off.
Step 3: Start dotting from the center
Add a small amount of paint to your palette. Using your dotting tool, place your first dot directly on the center point you marked.
Work outward from there, row by row. Each row of dots should move away from the center in a consistent pattern.
Step 4: Alternate colors with each row
This is where mandala rocks get their signature look. Change colors between rows — contrasting colors, a gradient, monochromatic tones. Whatever direction you want to go, commit to it one row at a time.
Wipe your dotting tool between colors so they don't blend on the tip.
Step 5: Vary dot sizes
Use your larger dotting tool tips for the outer rows and smaller tips as you move toward the center, or flip that and go big in the middle. Mixing sizes gives the design more dimension.
If you want dots that are more raised and 3D, Tulip Slick Paint applied straight from the bottle works well. The nozzle is small enough to use without a dotting tool, though a dotting tool gives you cleaner circles.
Step 6: Fill gaps and finish the design
Once the main rows are placed, step back and look for gaps. Small dots in a contrasting color fill them in nicely. Add any extra details like lines, highlights, accent dots, etc., while the main layer is drying.
Step 7: Let it dry completely
Acrylic paint dries faster in warm weather. If you're working indoors, give each layer real drying time before adding the next. Rushing this step causes smudging.
Step 8: Seal the rock
Apply a coat of acrylic sealer or varnish once the paint is fully dry. This protects the colors and makes the rock durable enough for outdoor display. A matte sealer keeps the finish subtle; a gloss sealer makes the colors pop.
Tips for Better Mandala Rocks Results
Clean your dotting tools often. A cup of soapy water next to your workspace makes this easy. Paint buildup on the tip creates uneven dots.
Work outside in summer. Warm air dries paint fast, which means less smudging and faster progress between rows.
Use fresh paint on your palette. Paint that's been sitting for a few minutes starts to thicken and skin over, which affects how dots form.
Sign your rock. Every finished rock deserves a signature. Use a fine-tipped dotting tool or a small brush with thicker paint.
Expect a learning curve. The rocks that came right after my messiest failures were always the best ones. Go into it ready to experiment.
Learn to paint mandala rocks using a stencil or template
Common Questions About Mandala Rock Painting
What kind of rocks work best for mandala painting? Smooth, flat, round rocks are easiest to work with. River rocks and landscaping stones from home improvement stores are good options. The flatter the surface, the better your stencil will lie.
Do I need a dotting tool, or can I use something else? A proper dotting tool gives you the most consistent circles. In a pinch, the end of a pencil, a toothpick, or the back of a small brush can work, but the dot sizes will be harder to control. Tulip Slick Paint applied directly from the bottle is another option.
What paint should I use for rock painting? Acrylic paint only. It dries fast, adheres well to rock, and comes in a wide range of colors. A slightly thicker consistency works best for dots. Check out this guide to acrylic paints for rock painting if you're unsure which brand to buy.
How do I seal mandala rocks? Apply an acrylic sealer or varnish after the paint is completely dry. Matte finish for a subtle look, gloss finish for more color intensity. If the rocks will live outside, sealing is essential.
Can kids do mandala rock painting? Yes, with a few adjustments. Larger rocks, bigger dotting tools, and simpler stencils make it more manageable. The prep steps (base coat, stencil tracing) are where kids tend to need the most help.

Beautiful mandala rock painting
More Rock Painting Ideas
If you want to keep going after this, painted rocks are a deep rabbit hole in the best way. Start with these funny painted rock ideas if you want something more playful, or head over to the supplies guide to make sure you have the right paints before you buy anything.