How to Paint Ladybug Rocks: A Step-by-Step Tutorial
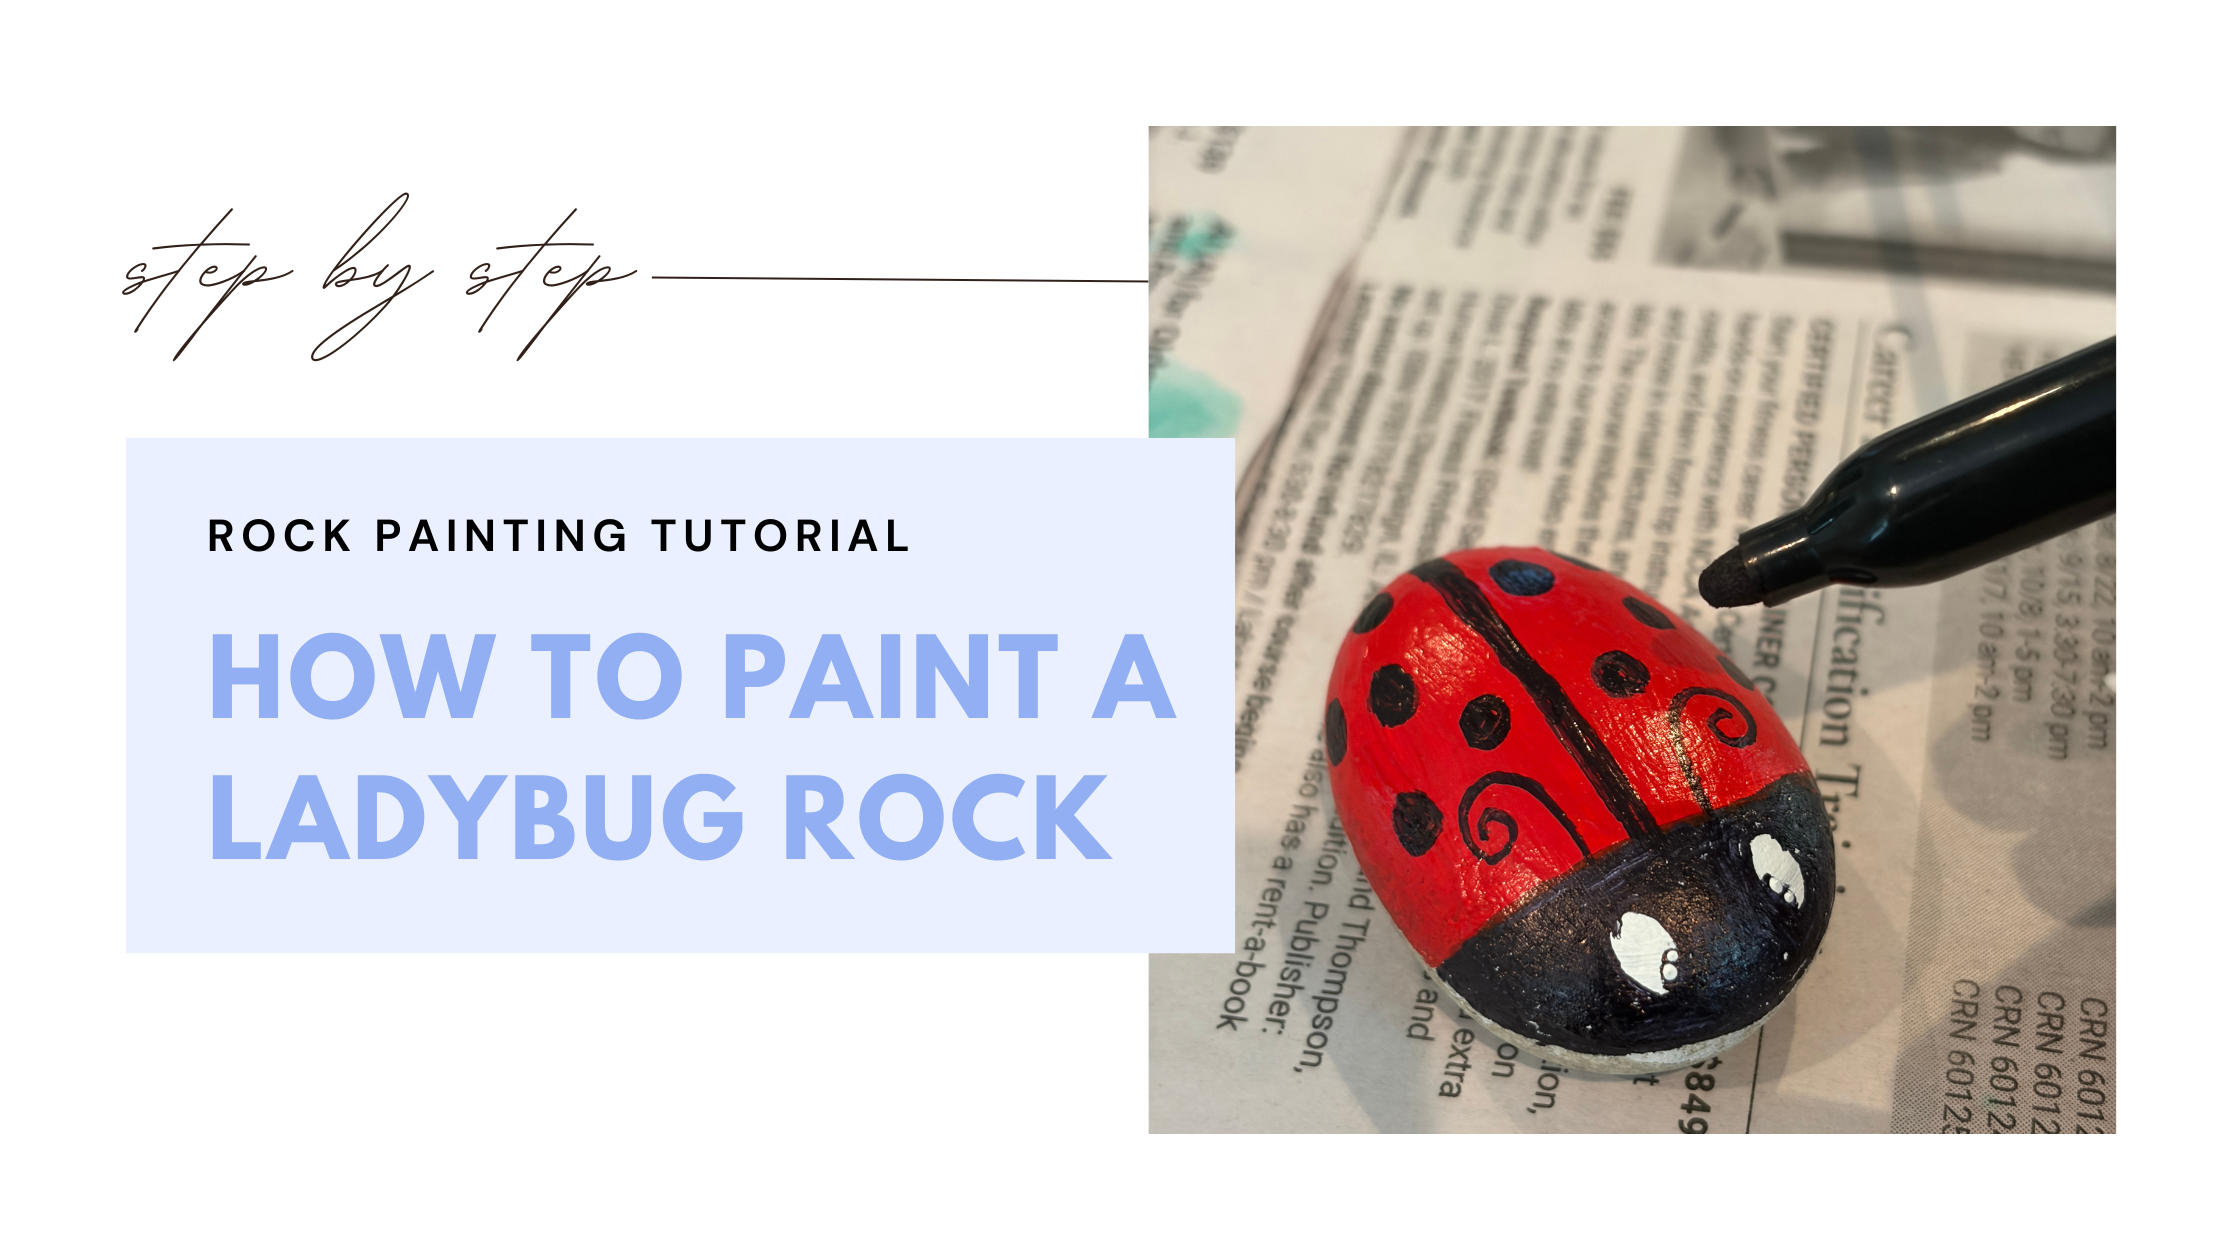
Painting ladybug rocks takes five acrylic paint colors, a basic brush set, and about 30 minutes of hands-on time across two rock painting projects: a full ladybug rock and a ladybug-on-a-leaf design. Both use the same face and wing details, so once you learn one, you know both.
What You Need to Paint Ladybug Rocks
You only need a handful of supplies for this project.
Rocks. For the full ladybug rock, choose a smooth, rounded, oval-shaped rock. The more dome-like the shape, the more it will look like a ladybug's back. For the ladybug-on-a-leaf version, use a flatter rock for the leaf.
Acrylic paint. You'll need red, black, white, light green, and dark green. Acrylic dries fast and holds up well outdoors. A black paint pen or permanent marker also works if you want crisper lines.
Paintbrushes. A medium brush for base coats and larger areas, plus a fine-tipped brush for details like leaf veins, spots, and antennae.
Dotting tools or a marker cap. Useful for the eyes and, on the leaf version, for stamping a perfectly round ladybug shape.
Optional but helpful: A pencil for sketching placement, a water cup and paper towels, and a palette or paper plate.
How to Prepare Your Rock
Choose your rocks. Select smooth rocks in various shapes and sizes. Wash them thoroughly to remove dirt and debris, then let them dry completely. Paint does not adhere well to a wet rock.
Plan your design. Sketch your design on paper or directly on the rock with a pencil. This helps you visualize the composition and layout before you start painting.

How to Paint a Full Ladybug Rock
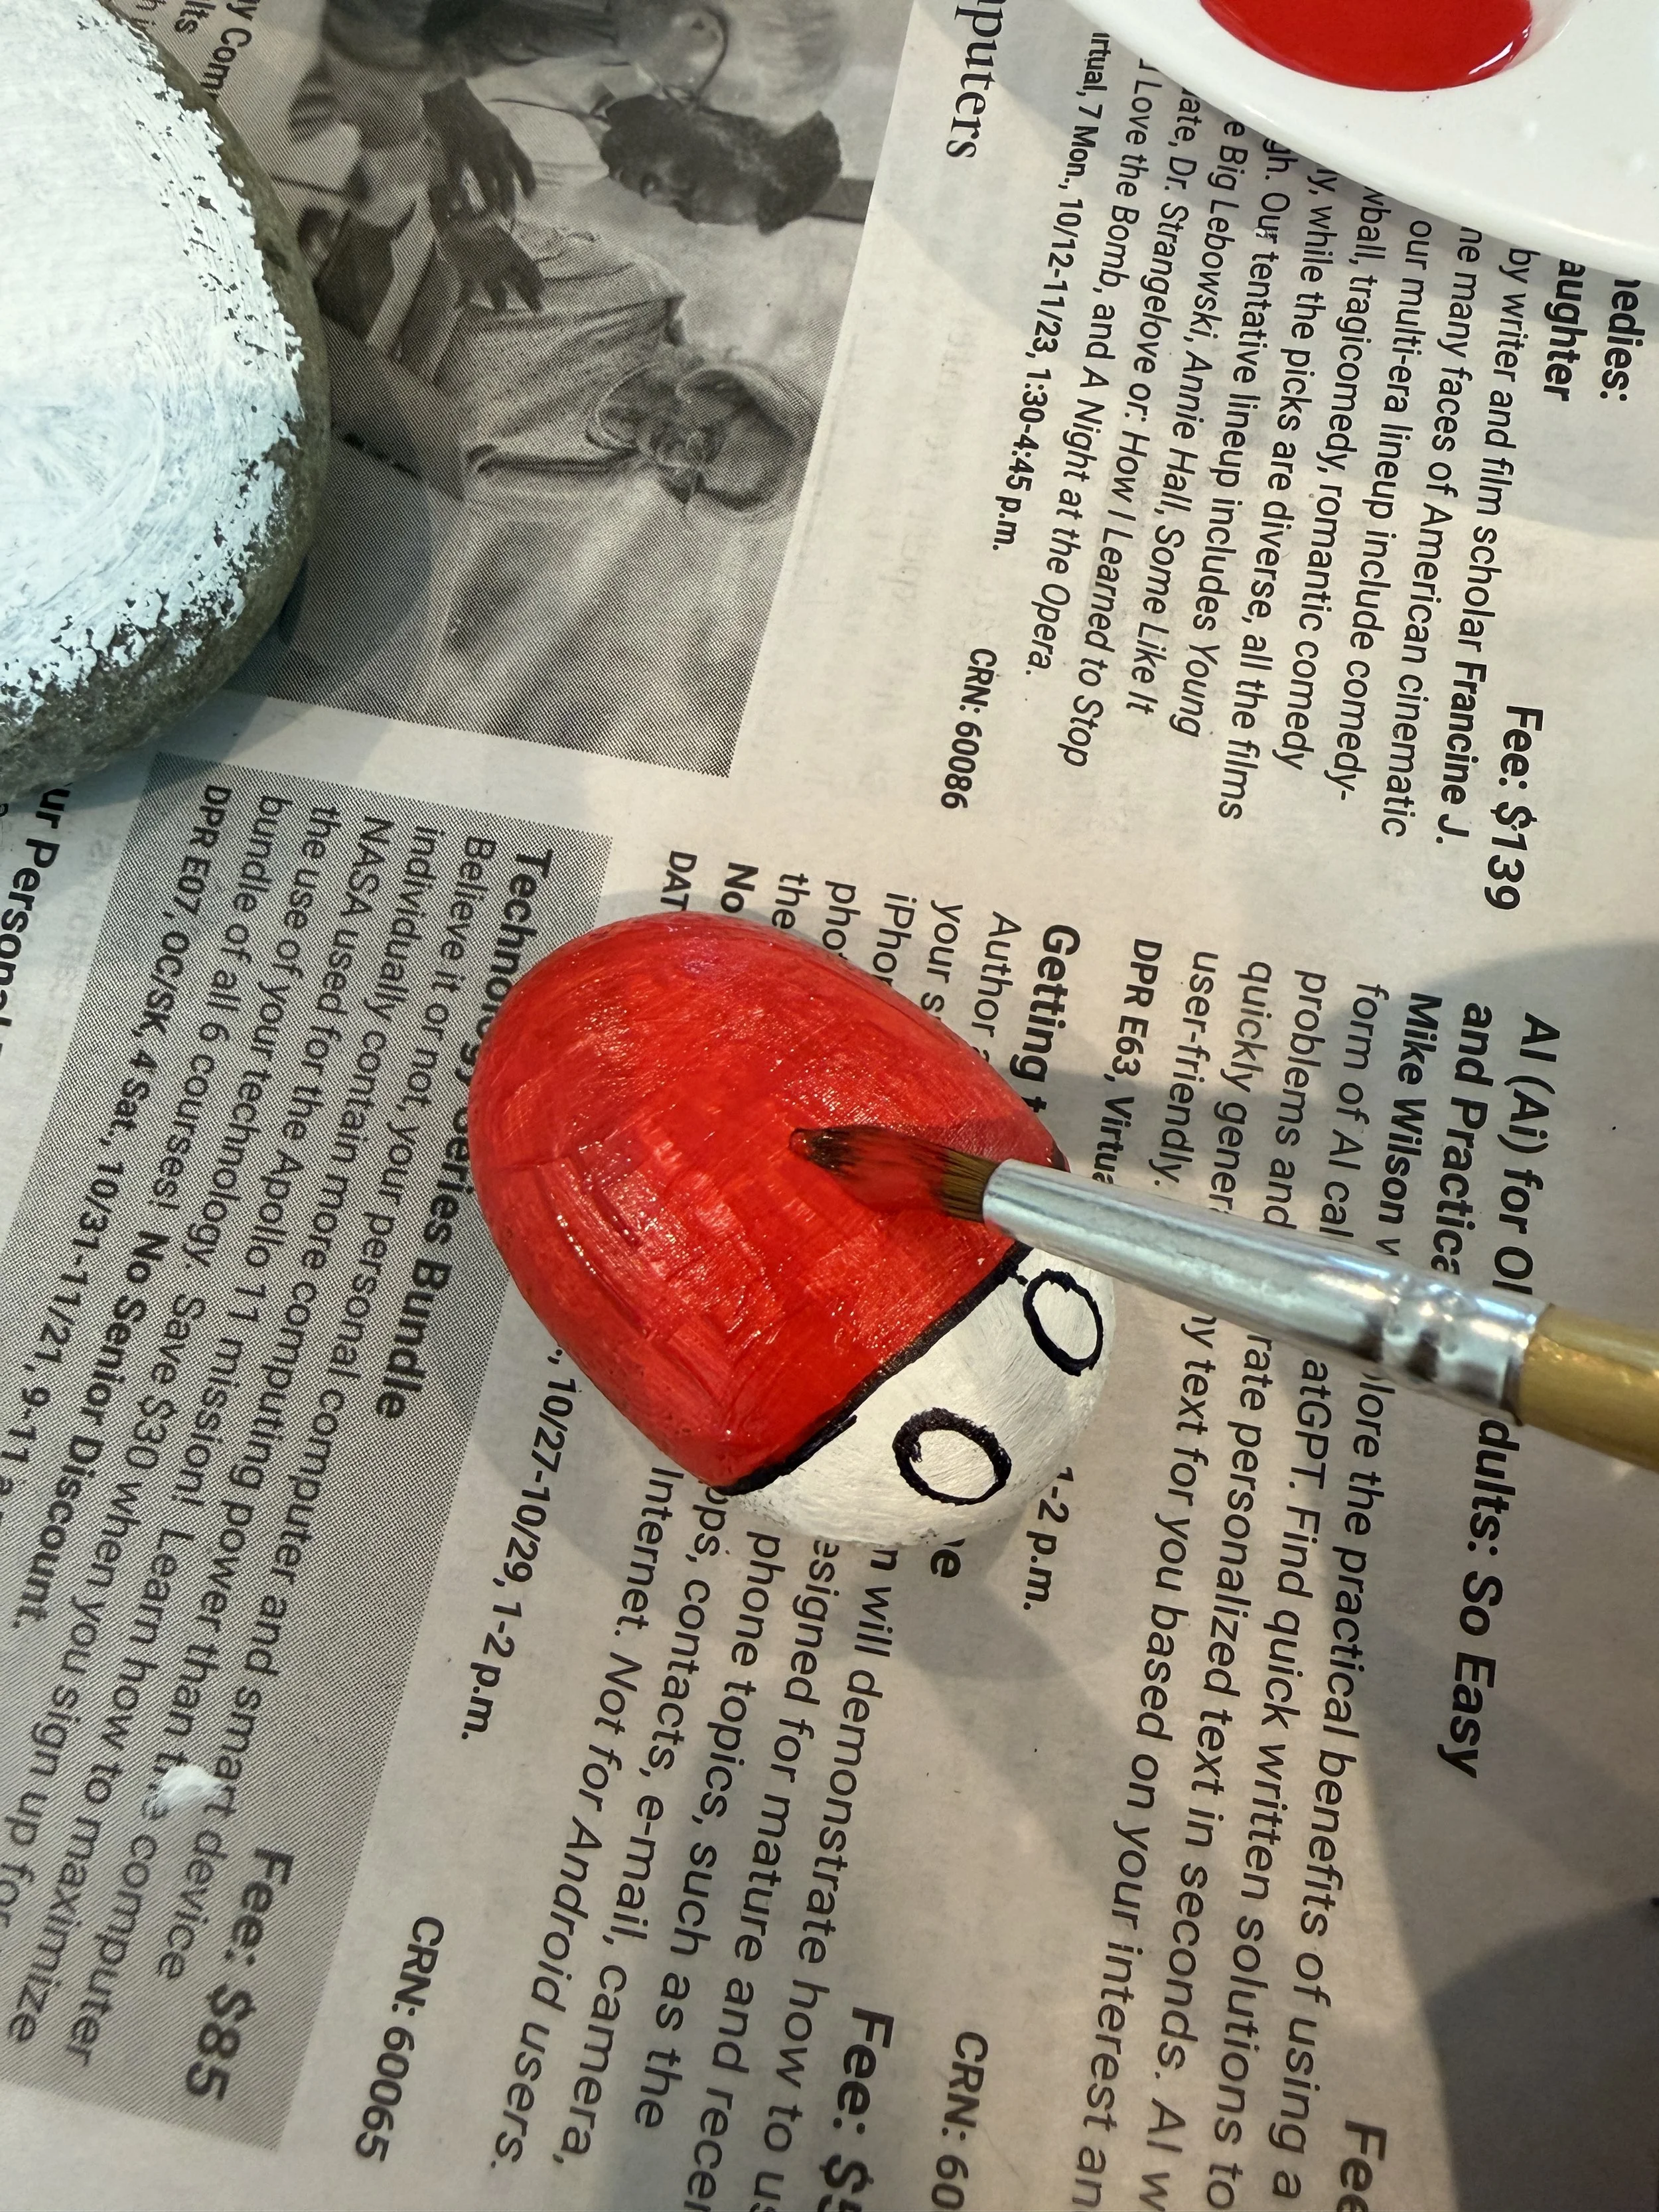
Prime the rock. Cover the rock in a coat of white acrylic paint. This gives the red a clean, even base to sit on.
Paint the body. Once the primer is dry, paint the whole rock red and let it dry completely.
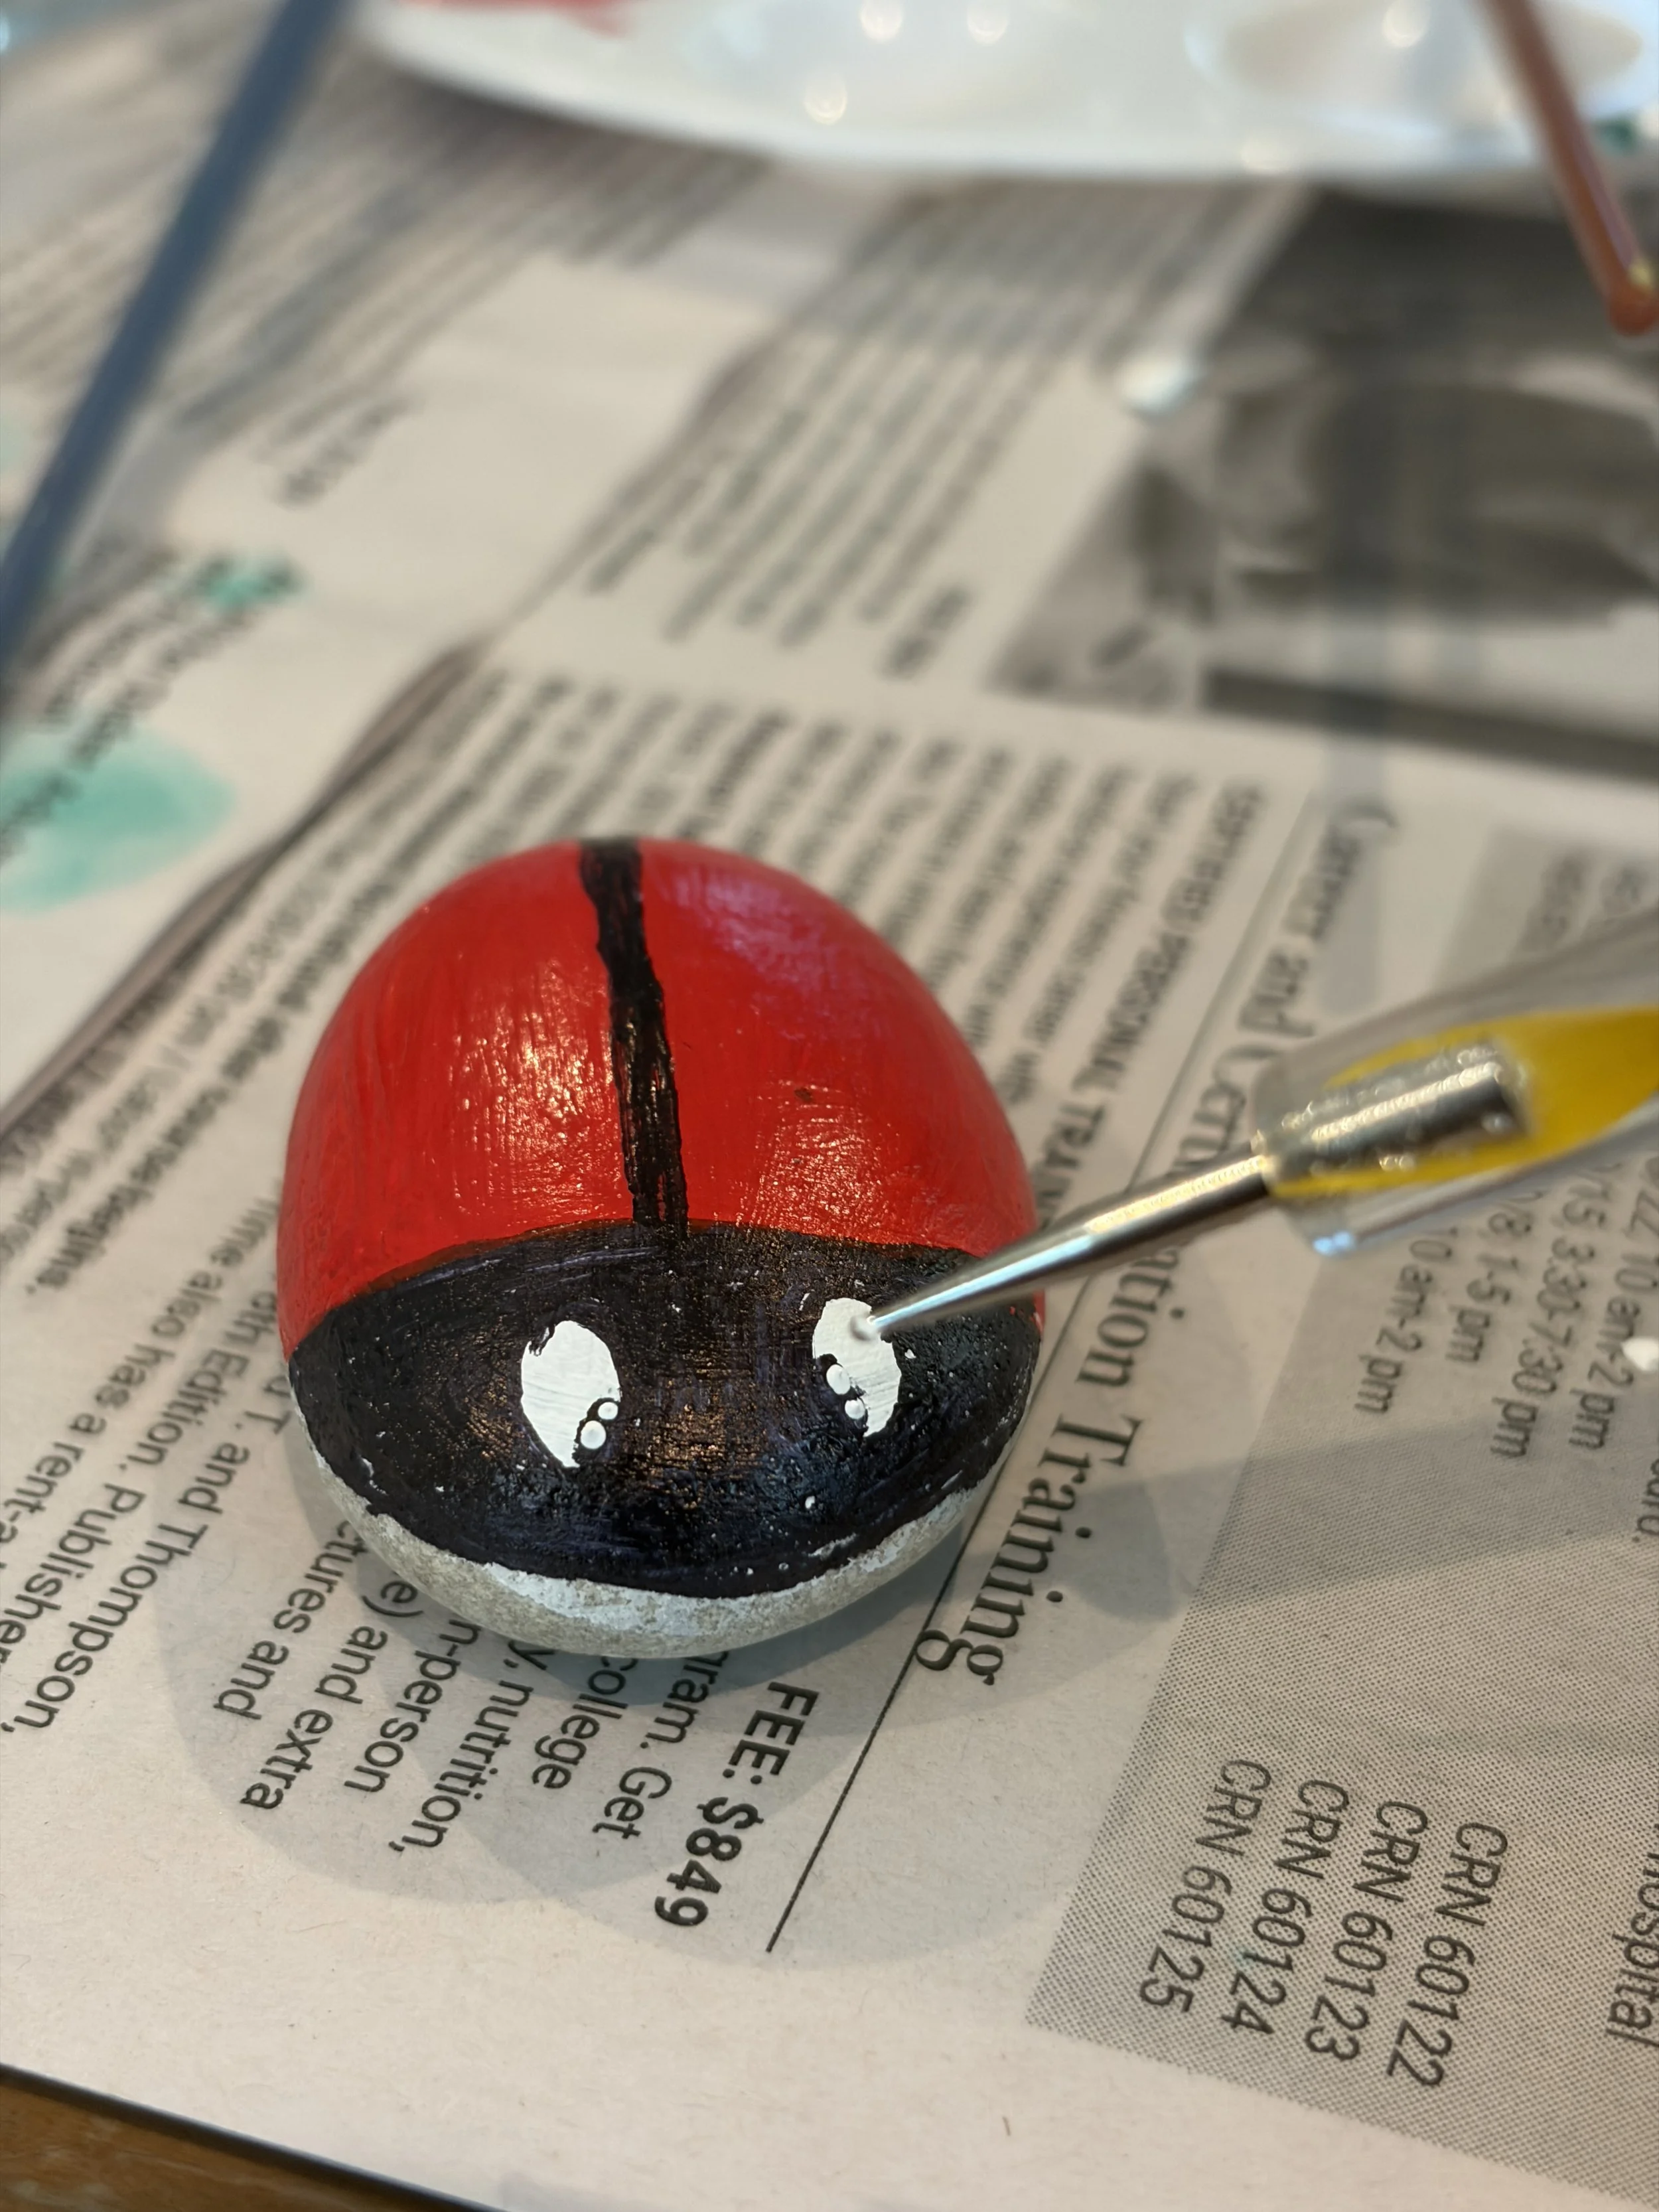
Add the head. Color the top quarter of the rock black with acrylic paint or a black permanent marker. Draw a line from that top quarter down the length of the ladybug to divide the wings.
Paint the eyes. Once the black has dried, add two white dots on the black section for the whites of the eyes.
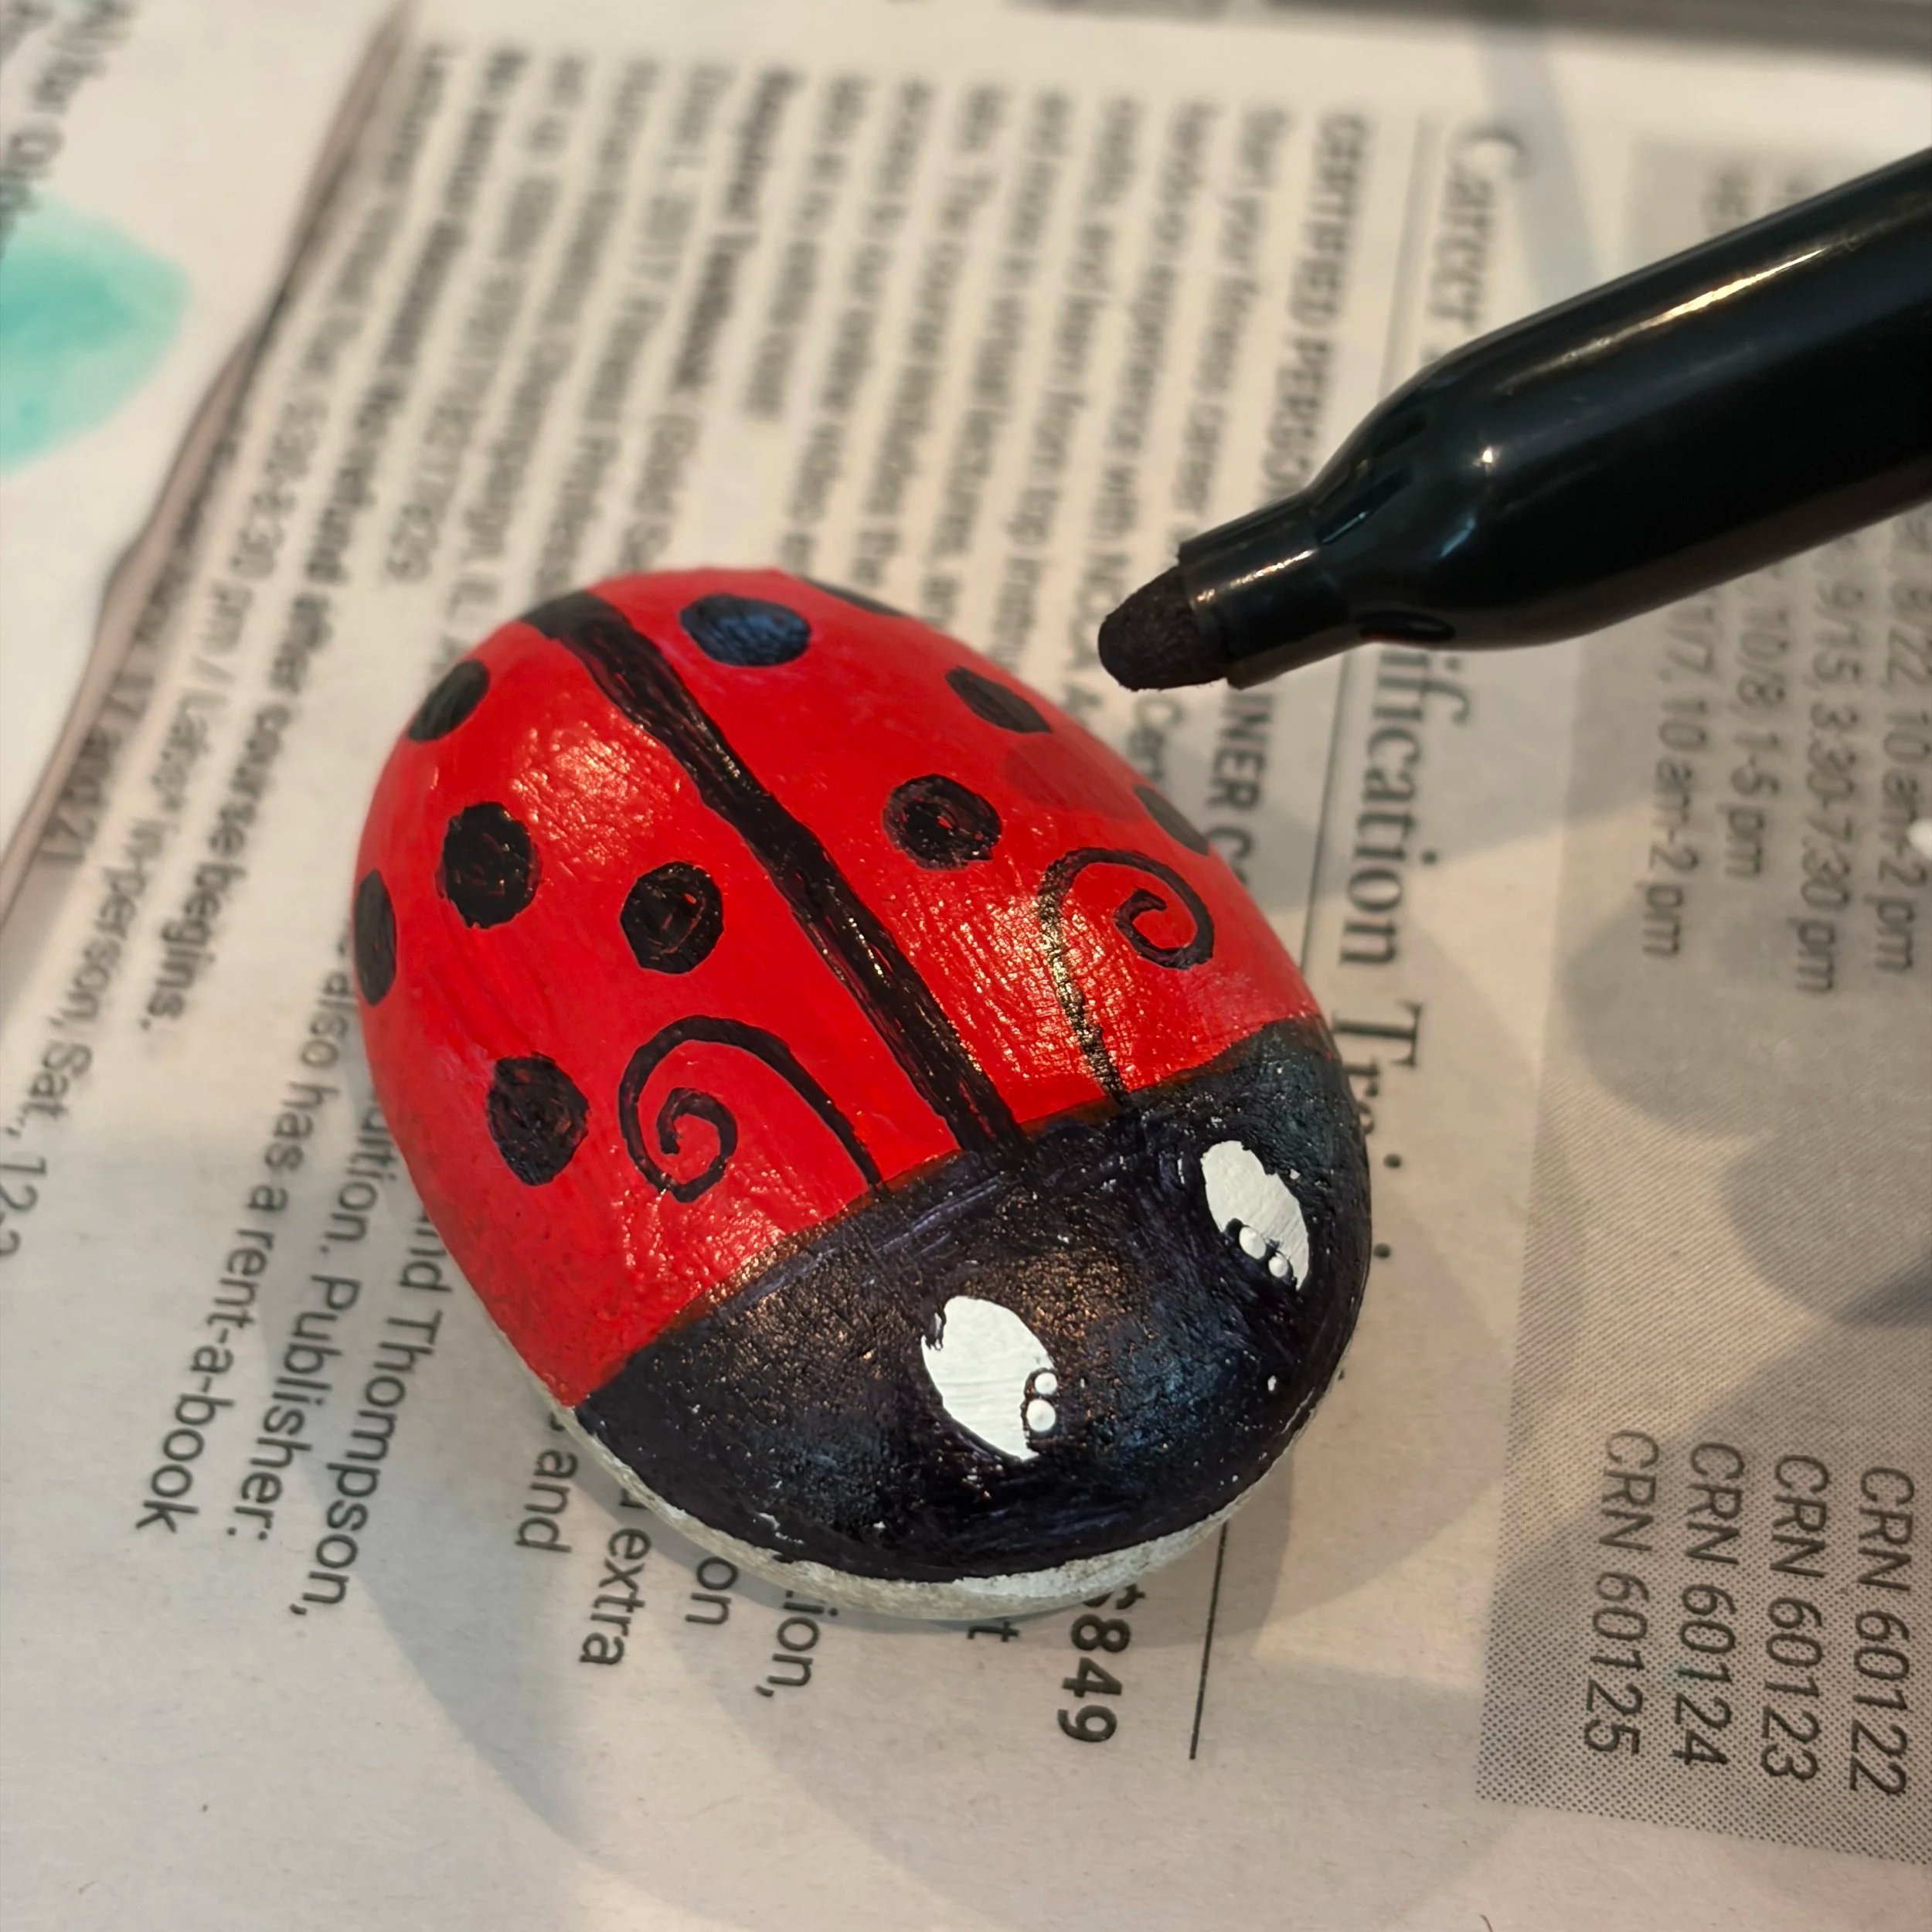
Add the details. Use black paint to add the spots, the pupils of the eyes, and the antennae.
Add final touches. Add two small white dots on the black parts of the eyes for a bit of shine. This small step brings the face to life.
Seal the rock. Once everything is completely dry, seal it with an acrylic sealer to protect your work.
How to Paint a Ladybug on a Leaf Rock
Paint the leaf. Paint your leaf-shaped rock light green and let it dry completely before adding the veins in a slightly darker green.
Place your ladybug. Choose a section of the rock (or a few sections, if you're adding more than one ladybug) and make a large red dot using the end of a marker or a large dotting tool.
Add the head. Color the top quarter of the red dot black with acrylic paint or a black permanent marker. Draw a line from that top quarter down the length of the ladybug to divide the wings.
Paint the eyes. Once the black has dried, add two white dots on the black section for the whites of the eyes.
Add the details. Use black paint to add the spots, the pupils of the eyes, and the antennae.
Add final touches. Add two small white dots on the black parts of the eyes for a bit of shine.
Seal the rock. Once everything is completely dry, seal it with an acrylic sealer to protect your work.
Tips for Better Results
Let each layer dry fully before moving to the next. Red under wet black paint is a fast way to end up with a muddy brown instead of a crisp line. Keep your spots slightly uneven in size and spacing. Ladybugs in nature don't have perfectly symmetrical spots.
Frequently Asked Questions
What kind of rock is best for ladybug rock painting? A smooth, rounded, oval rock with a domed top works best for a full ladybug. A flatter, leaf-shaped rock works best for the ladybug-on-a-leaf variation.
Do I need to seal painted rocks? Yes. An acrylic sealer protects the paint from chipping, fading, and moisture, which matters most if the rock will sit outdoors in a garden.
What paint should I use for rock painting? Acrylic paint is the standard choice because it dries quickly and holds up outdoors. A black paint pen or permanent marker can sharpen fine details like antennae and the head line.
How long does it take to paint a ladybug rock? Painting time is roughly 20 to 30 minutes. Total project time is longer because each layer (primer, body, head, eyes, details) needs to dry before the next one goes on.
Want even more ideas for rock painting projects? Click here for 50+ Cute Rock Painting Designs!