
Paper Mosaic DIY Tutorial: How to Make Faux Ceramic Tile Mosaics (Budget-Friendly!)
If you love the look of mosaics but you don't want to spend the money on ceramic tiles, this project is for you! Or if you’re an art teacher interested in teaching mosaics to your classes but you don't want to buy pounds and pounds of mosaic tile, this craft is also for you!
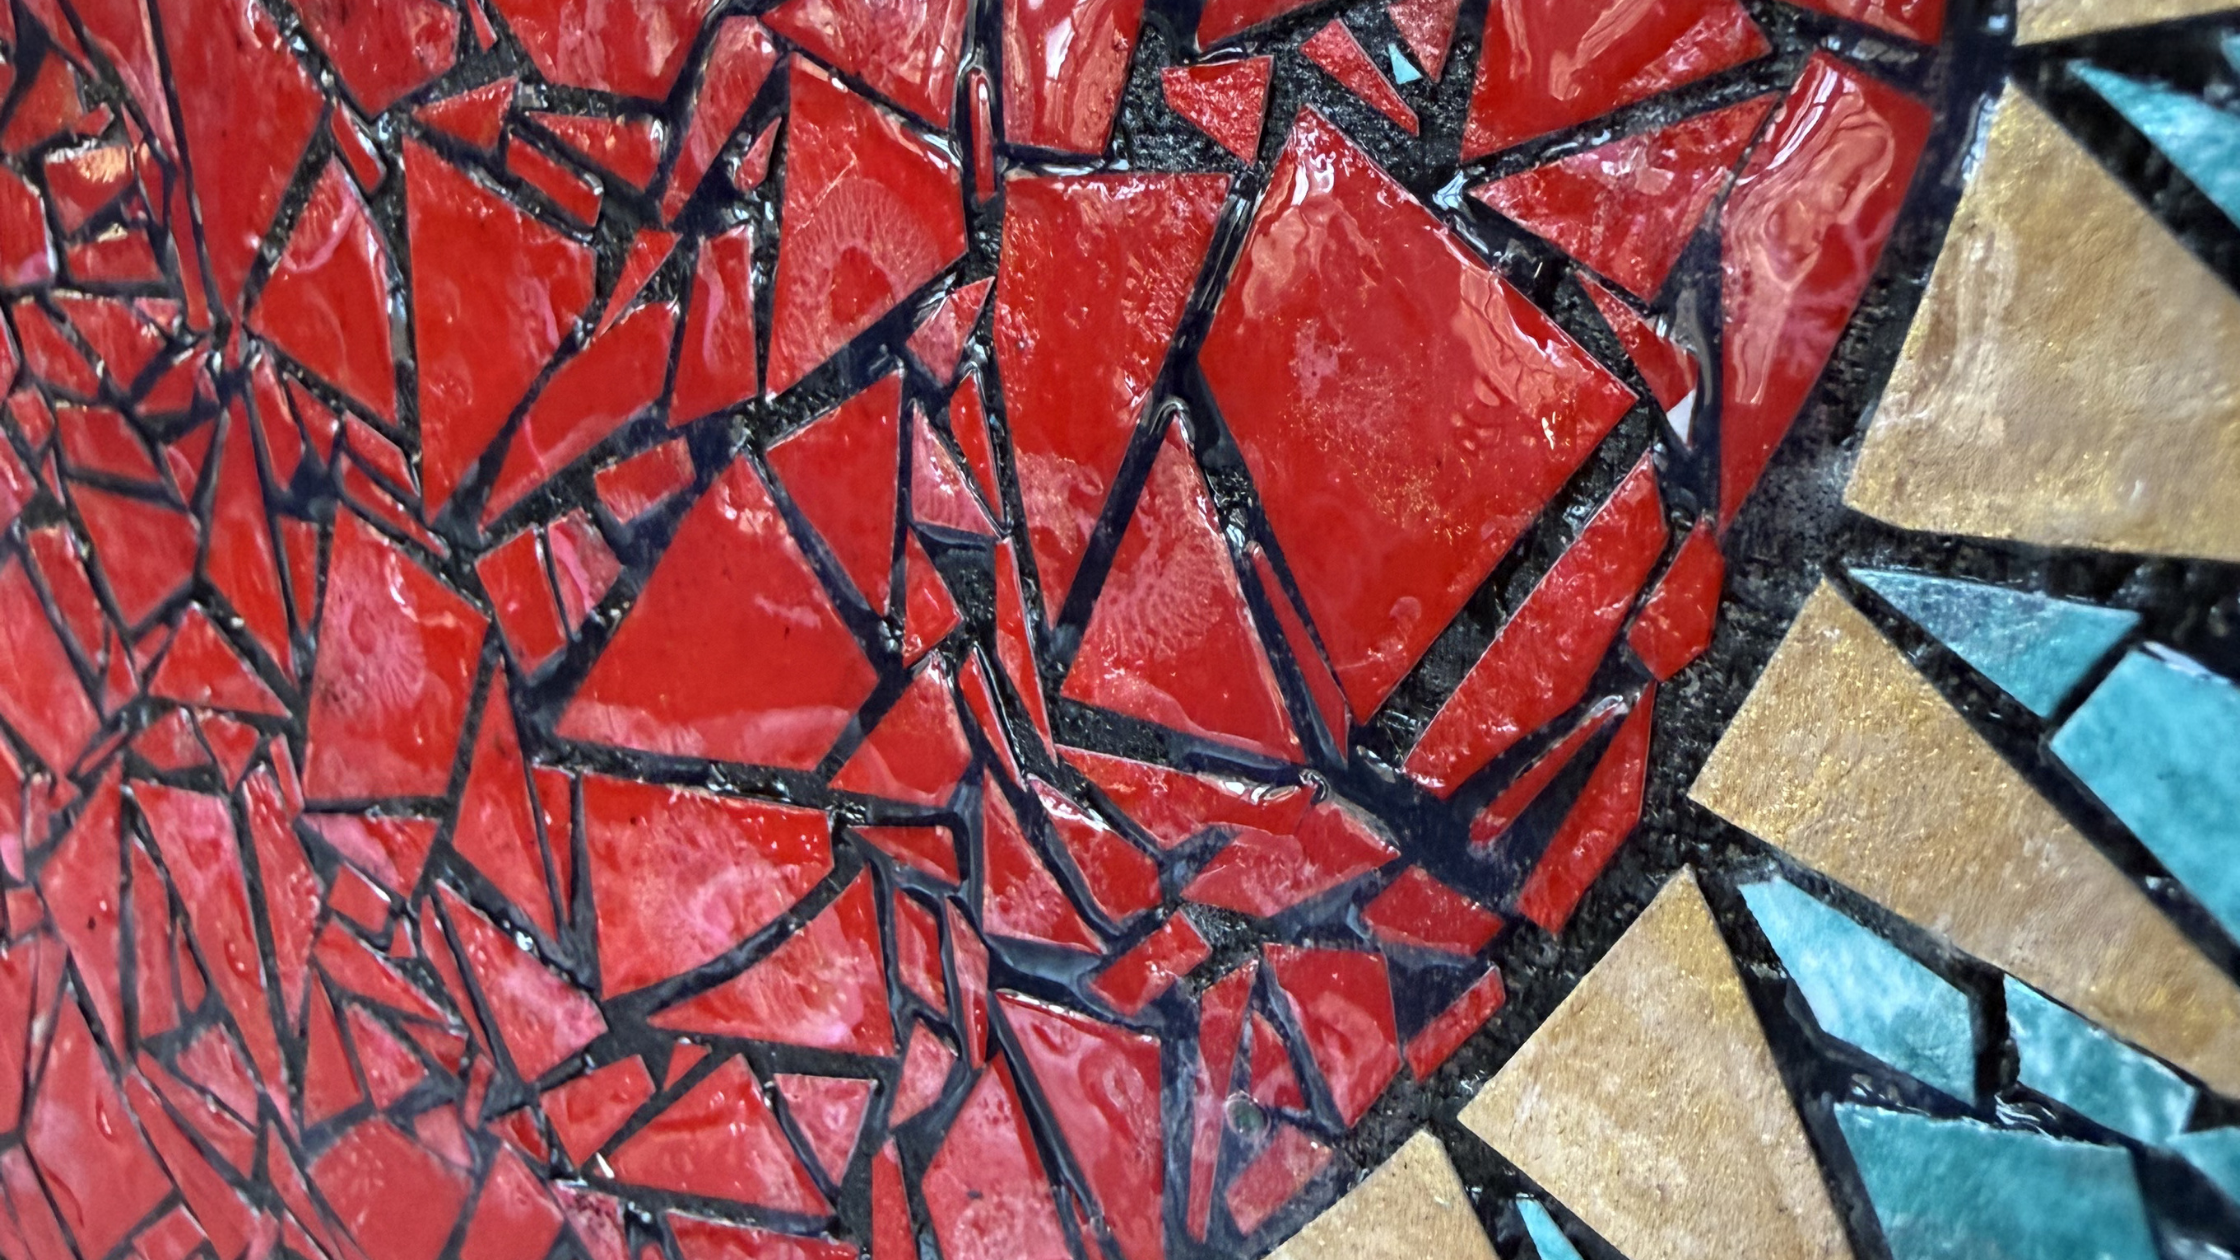
Mosaic art is simple and now there's a way to make your papers look like tiles. Let me show you how to create the illusion of an expensive mosaic using faux tiles - AKA paper!
The best part is that once you master this process, you'll be able to apply it to a variety of objects including furniture, frames and more! If you're looking for more creative ways to use painted papers, check out my Gelli plate printing tutorial for making your own decorative papers.
This paper mosaic technique works for everything from classroom art projects to DIY home decor, and costs a fraction of what traditional tile mosaics would run you.
Why Paper Mosaics Are Perfect for Budget-Friendly Projects
Paper might not seem like the obvious choice for a mosaic, but it works really well IF you have the proper supplies and materials. Here's what you'll need:
Materials for Paper Mosaic Art (What You'll Need)
Decorative cardstock paper (gelli prints, painted paper, scrapbook paper, or collage scraps)
A sturdy surface (wood panel, canvas board, tray, or furniture piece)
Acrylic paint (black or dark gray works best for a grout effect)
Mod Podge or similar decoupage medium
Dimensional Mod Podge or clear dimensional glaze
How Long Does a Paper Mosaic Take?
Plan for about 2-3 hours for a small 8x10 project. Larger pieces or classroom projects with students will take longer. The dimensional glaze needs to dry overnight for best results.
Step 1: Prepare Your Decorative Paper
Start with paper. You'll either want to make your own paper (which is what I did by using my gelli arts plate) or you can use store bought papers. The trick, though, is that it has to be thick paper like cardstock. Flimsy printer paper will not work as well.
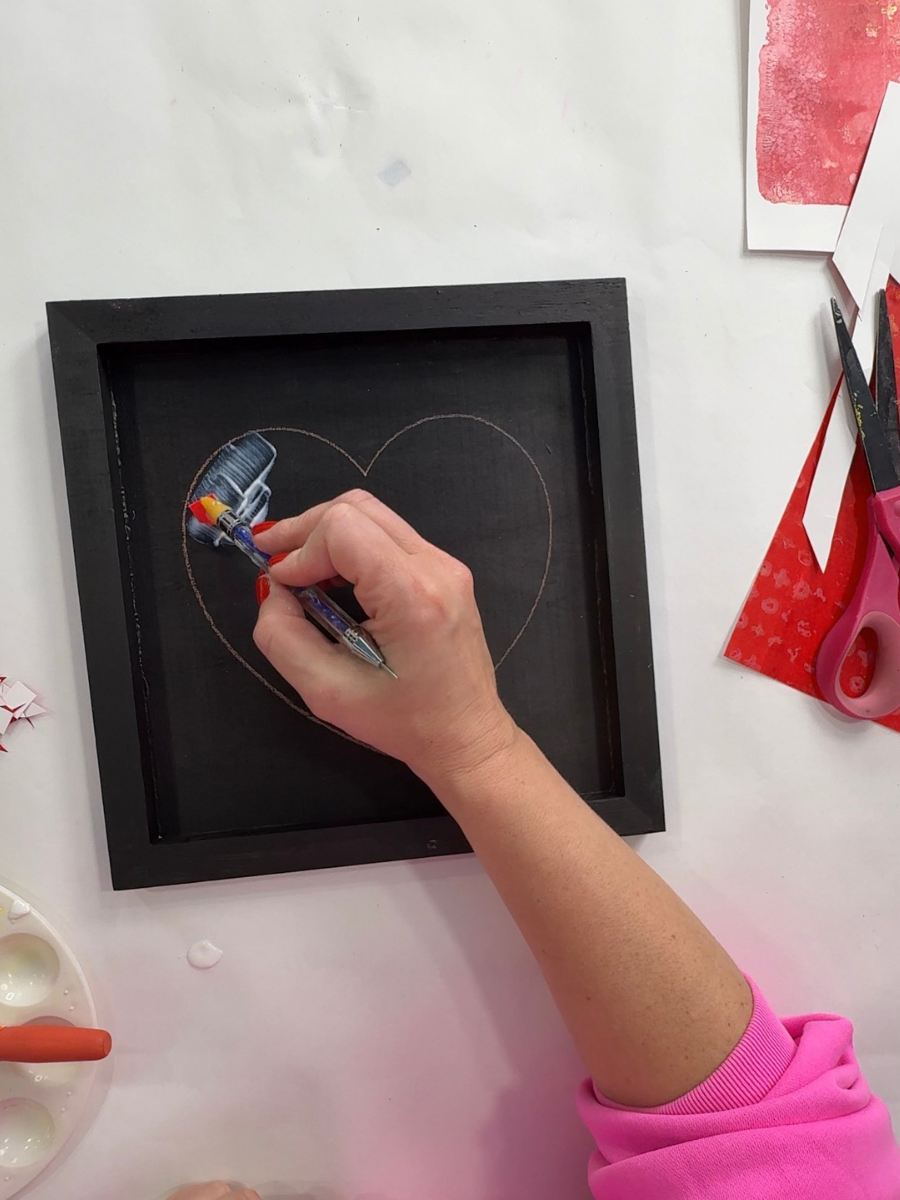
Step 2: Paint the Base
Cover your workspace and apply a thin, even layer of black acrylic paint to the surface of your wood panel (or whichever object you decide to work on). Let the paint dry between layers. I did two layers of black paint, but you can easily do white paint or any other color. In my experience, the black paint makes the finished product look most like real grout.
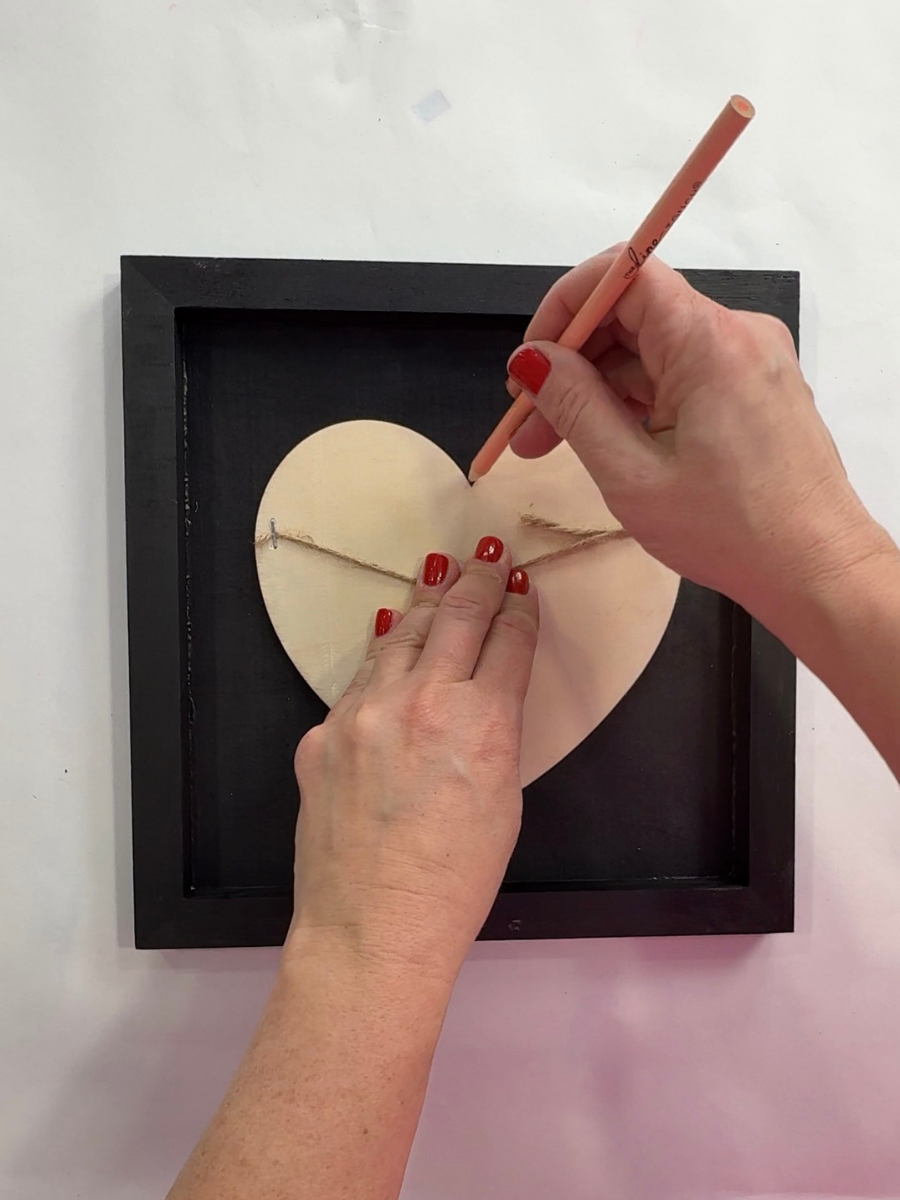
Step 3: Plan Your Layout
I first made this project just before Valentines Day, so I used a heart template that I had in my studio. But you can use any shape, pattern or design. It doesn't matter as much as you like the way it looks. Keep it pretty simple when you are first starting out. Don't do anything too intricate or complicated. You can save that for later!
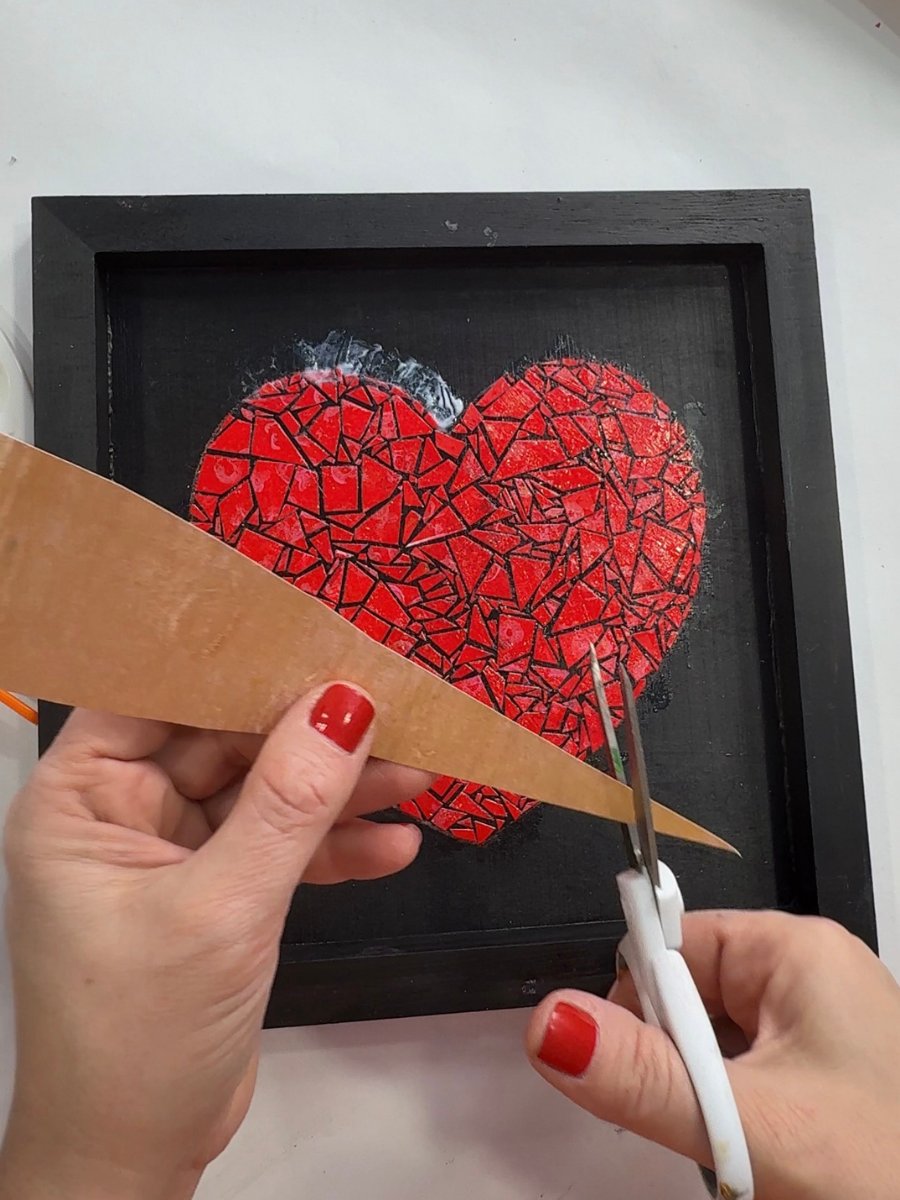
Step 4: Cut Your Paper
Cut your paper into small pieces. I made them into a variety of shapes and sizes. I used the teeny tiny mosaic strips just as much as the bigger strips. I highly suggest making a variety. And working with one color at a time is definitely the way to go.
Step 5: Glue the Paper Tiles
Using your foam brush, apply a thin, even layer of Mod Podge to the surface of your wooden board. Make sure you apply the Mod Podge to only one small section at a time. The Mod Podge dries very quickly so you do not want to work on too much at a time. I learned that the hard way!
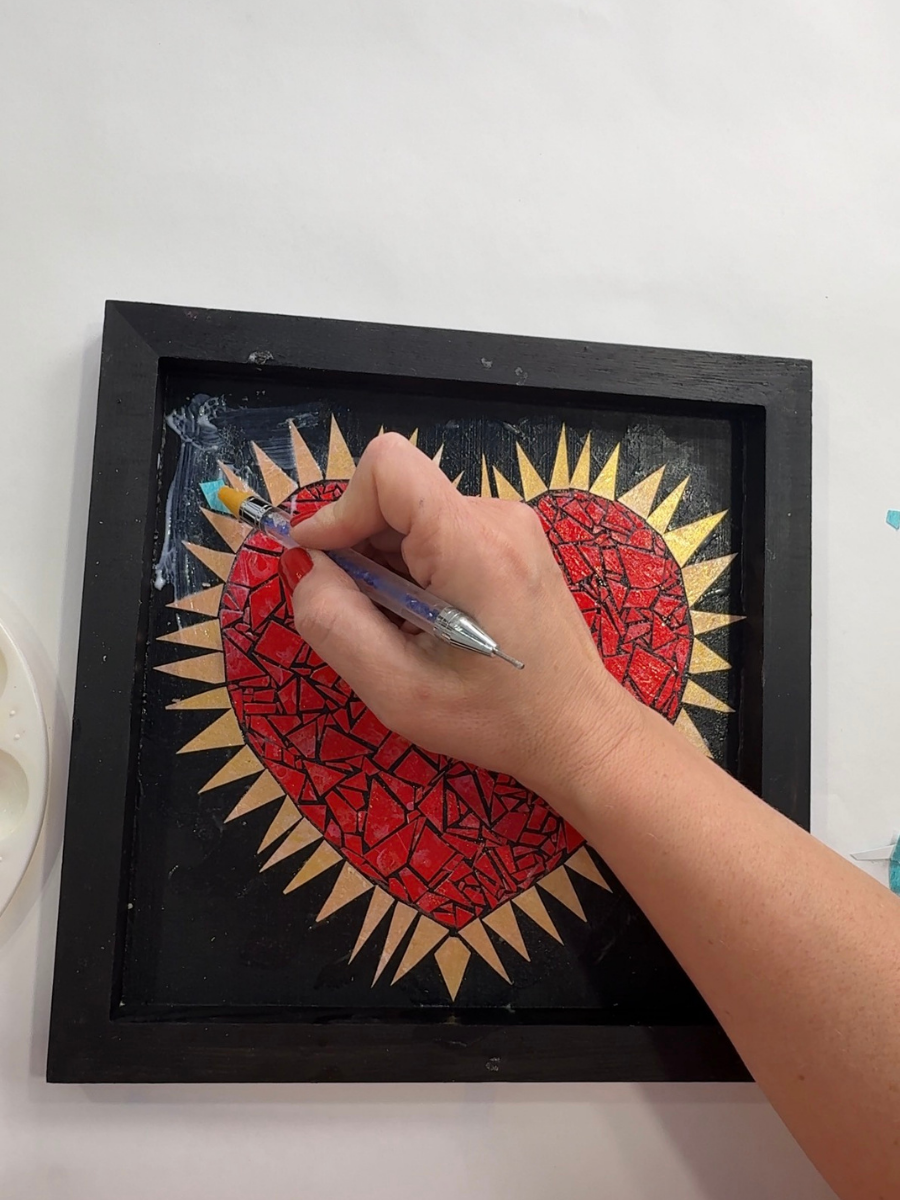
Pick up the little pieces of paper with a wax pencil. I find that this is much easier than using your fingers.
Begin at the perimeter of your design and glue down your first piece
Leave a small bit of space and apply an additional piece of cut cardstock
Continue until the section is filled in - be sure to mix up the sizes. Once I filled in the shape, I began going back in with very small cut pieces to fill in any negative space.
Once you finish one section, move on to the next color and repeat the process. Keep going until the entire surface is filled in.
Step 6: Seal
Once you finish with the design, apply an even layer of Mod Podge across the entire surface of your mosaic. Let that dry completely (which, in my experience typically takes about 25-30 minutes max)
Step 7: Add the Faux Glaze
This is the secret sauce. This stuff is amazing - I can't wait for you to try it out!
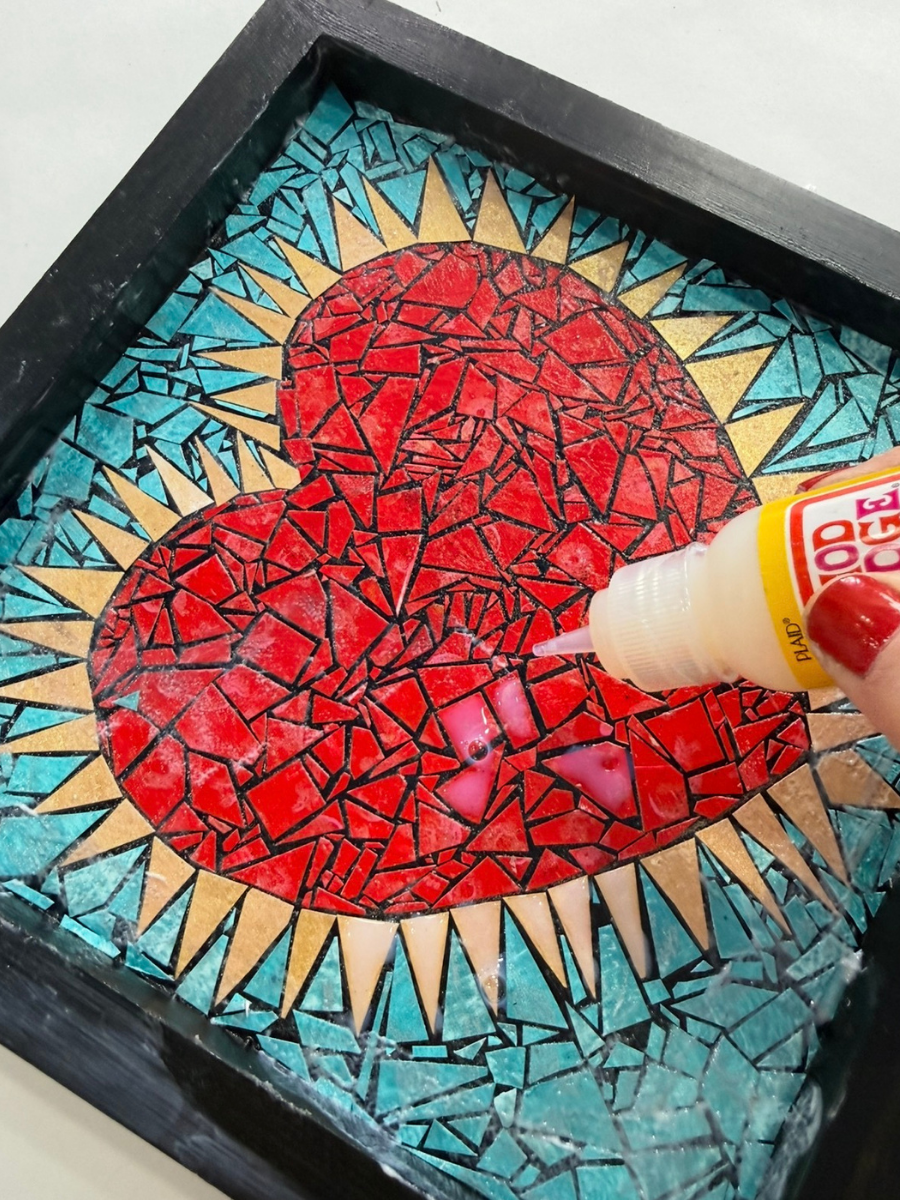
Using your Mod Podge dimensional magic, begin going from tile to tile and apply a thin layer of it to each tile. I work directly from the bottle.
Be sure to avoid the grout lines if possible because in a real mosaic, the grout lines would not be shiny
Keep going until the entire surface is complete. The dimensional Mod Podge looks milky when applied, but dries completely clear with a resin-like finish.
Step 8: Touch Up
Once your mosaic is dry, apply black paint to any spots that might not look polished. Let dry and enjoy!
Tips for Success
Thin paper isn’t ideal for this project because it easily wrinkle or rips
Use consistent spacing between tiles. This helps the finished piece to look like a real mosaic.
Dimensional glaze works best because it has a resin-like quality without the toxicity of resin
Save your smallest scraps! They're perfect for filling gaps. I needed these more than I thought I would!
Paper Mosaic FAQs
Q: Can you use regular printer paper for mosaics?
A: Thin paper wrinkles and warps. Use cardstock weight paper (at least 65lb) for best results.
Q: What's the best glue for paper mosaics?
A: Mod Podge works perfectly because it acts as both adhesive and sealer. Regular white glue can work but may not give you the same smooth finish.
Q: Do paper mosaics hold up over time?
A: Yes! Once sealed with Mod Podge and dimensional glaze, paper mosaics are quite durable. Keep them out of direct moisture and they'll last for years.
Q: Can kids do paper mosaics?
A: Absolutely! This is a great classroom craft for ages 8+. Younger kids may need help with cutting small pieces and applying glue.
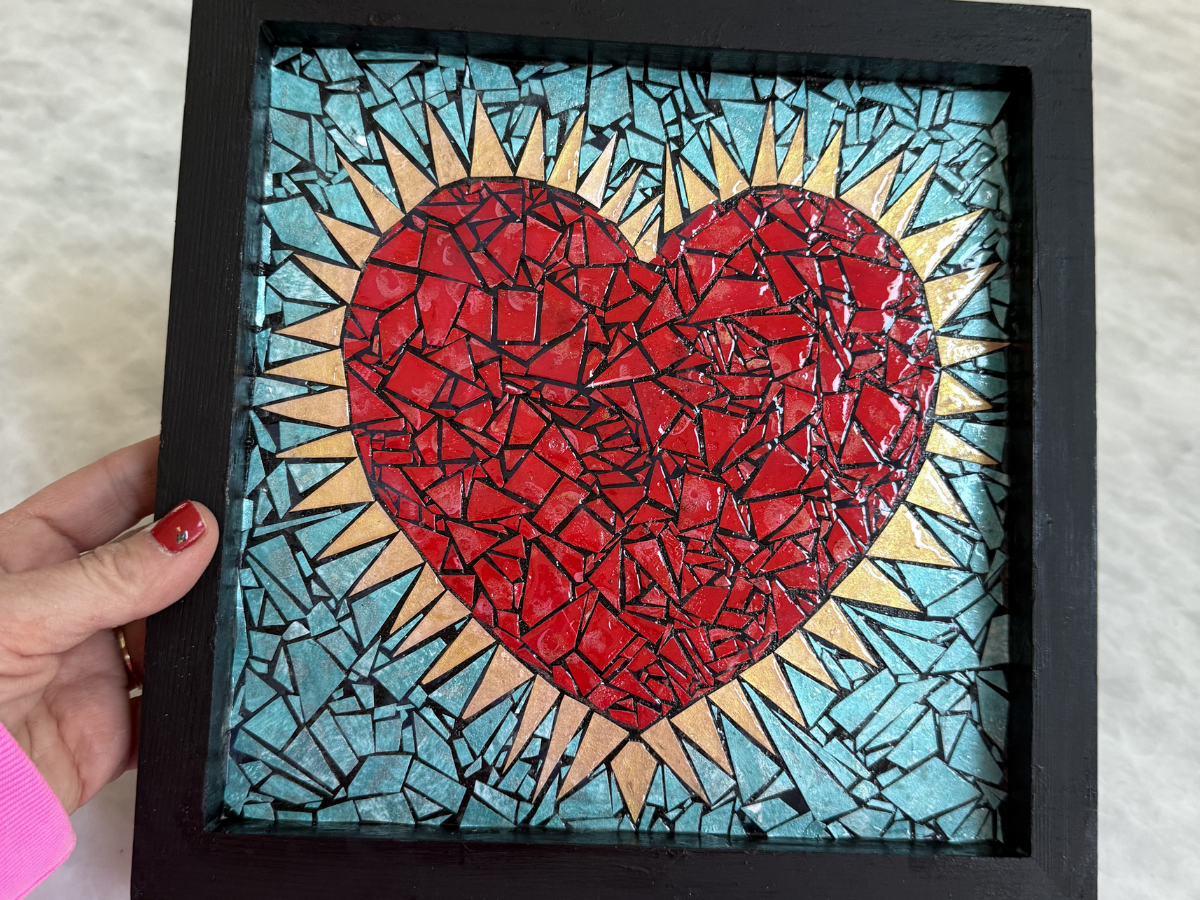
Final Thoughts
A faux ceramic mixed media mosaic is a great way to create a piece of beautiful artwork on a budget. Looking for more budget-friendly craft ideas? Check out these step by step tutorials:
Reverse Tie-Dye Using Bleach
Beginner’s Guide to Rock Painting
Shaving Cream Marbling