
DIY Candy Bowl Tutorial: How to Make a Decoupage Glass Bowl or Plate
If you’ve ever wanted to create a DIY candy bowl that looks custom but costs very little, this decoupage glass project is perfect. Making a decoupage bowl or plate is one of my favorite functional crafts because it’s easy, inexpensive, and beginner-friendly—no advanced crafting skills required.
This project takes under an hour, uses simple supplies, and transforms thrifted glass into something beautiful and usable. It’s also a great introduction to reverse decoupage on glass.
Supplies You’ll Need
Before you begin, gather the following:
A clear glass plate, bowl or dish (thrifted works great - I got mine at goodwill)
Wet tissue paper, printed paper napkins or inexpensive, low quality wrapping papers
Decoupage medium (I like using the dishwasher safe mod podge)
Scissors or your hands for tearing paper
Sandpaper (fine-grit sandpaper works well)
Optional: silicone scraper
Step 1: Prep the Glass Surface
Clean your glass thoroughly. Remove any stickers using warm, soapy water and an abrasive sponge if needed. Dry completely.
Cover your work surface with a disposable table covering—decoupage glue is difficult to remove once dry.
Step 2: Cut or Tear Your Paper
Your paper should be larger than the back of the plate and opaque, since it becomes the background.
Method 1: One Large Piece (Best for Plates)
Cut tissue paper slightly larger than the plate surface.
Ideal for flat glass surfaces.
Method 2: Torn Pieces (Best for Bowls)
Tear paper into ~1" pieces.
Works better for curved surfaces where large sheets won’t lay flat.
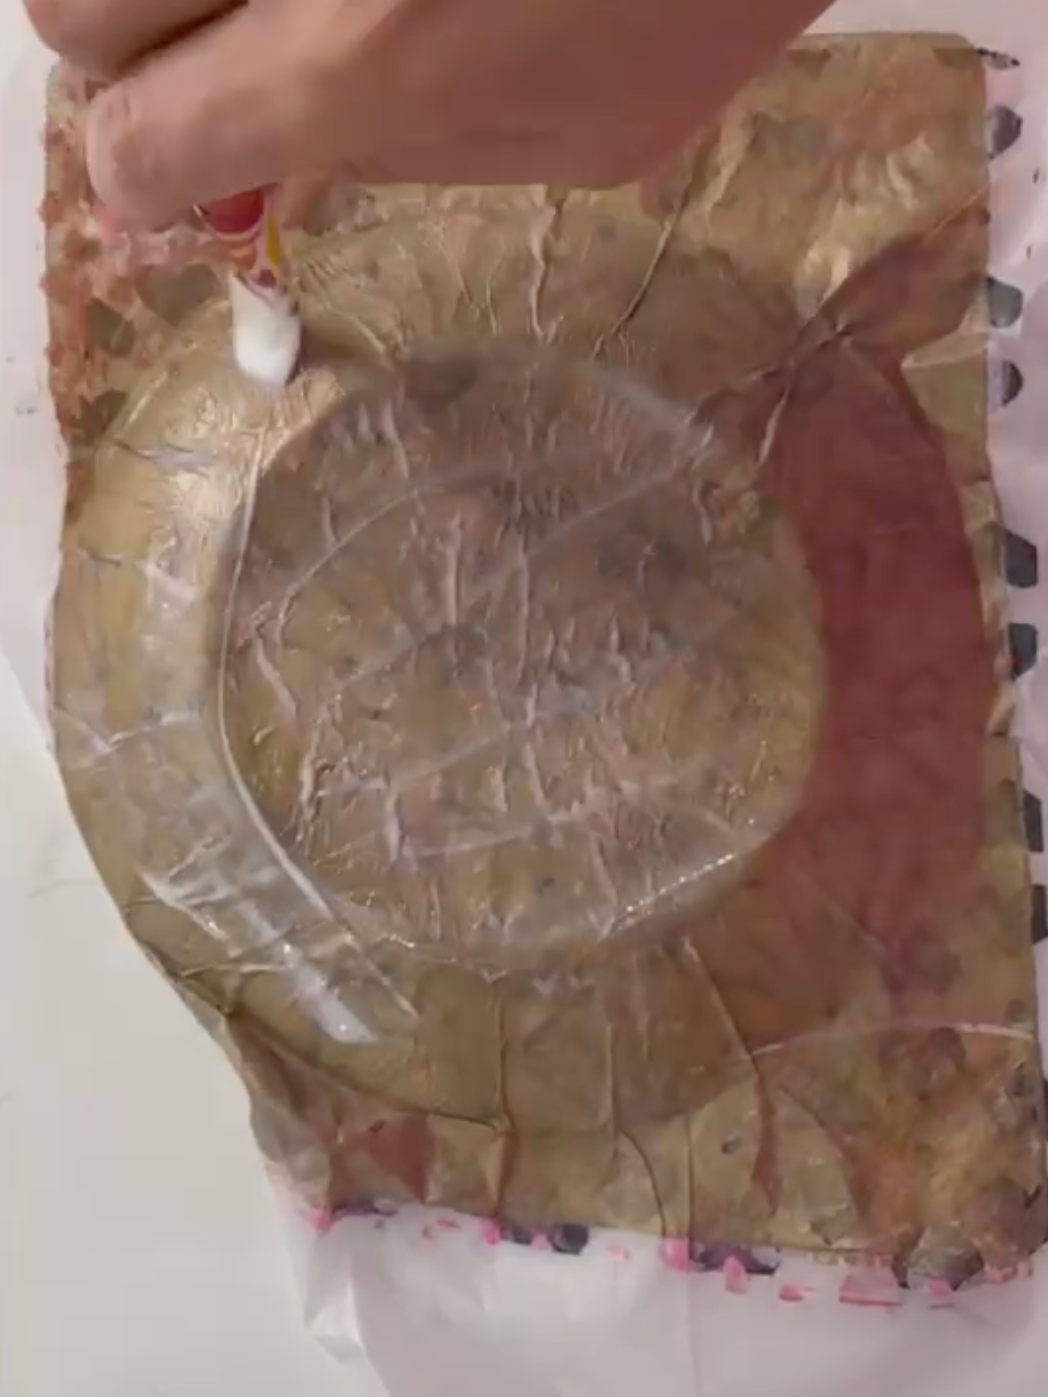
Step 3: Apply Decoupage Medium & Paper
Brush a thin, even layer of decoupage medium onto the outside of the glass.
Place the paper directly onto the glue.
Gently smooth from the center outward to remove air bubbles.
Work slowly—tissue paper is fragile.
If Using Torn Paper
Apply glue, then paper, then a thin layer of glue on top.
Overlap pieces slightly.
Continue until no glass shows through.
Place patterned napkins face down.
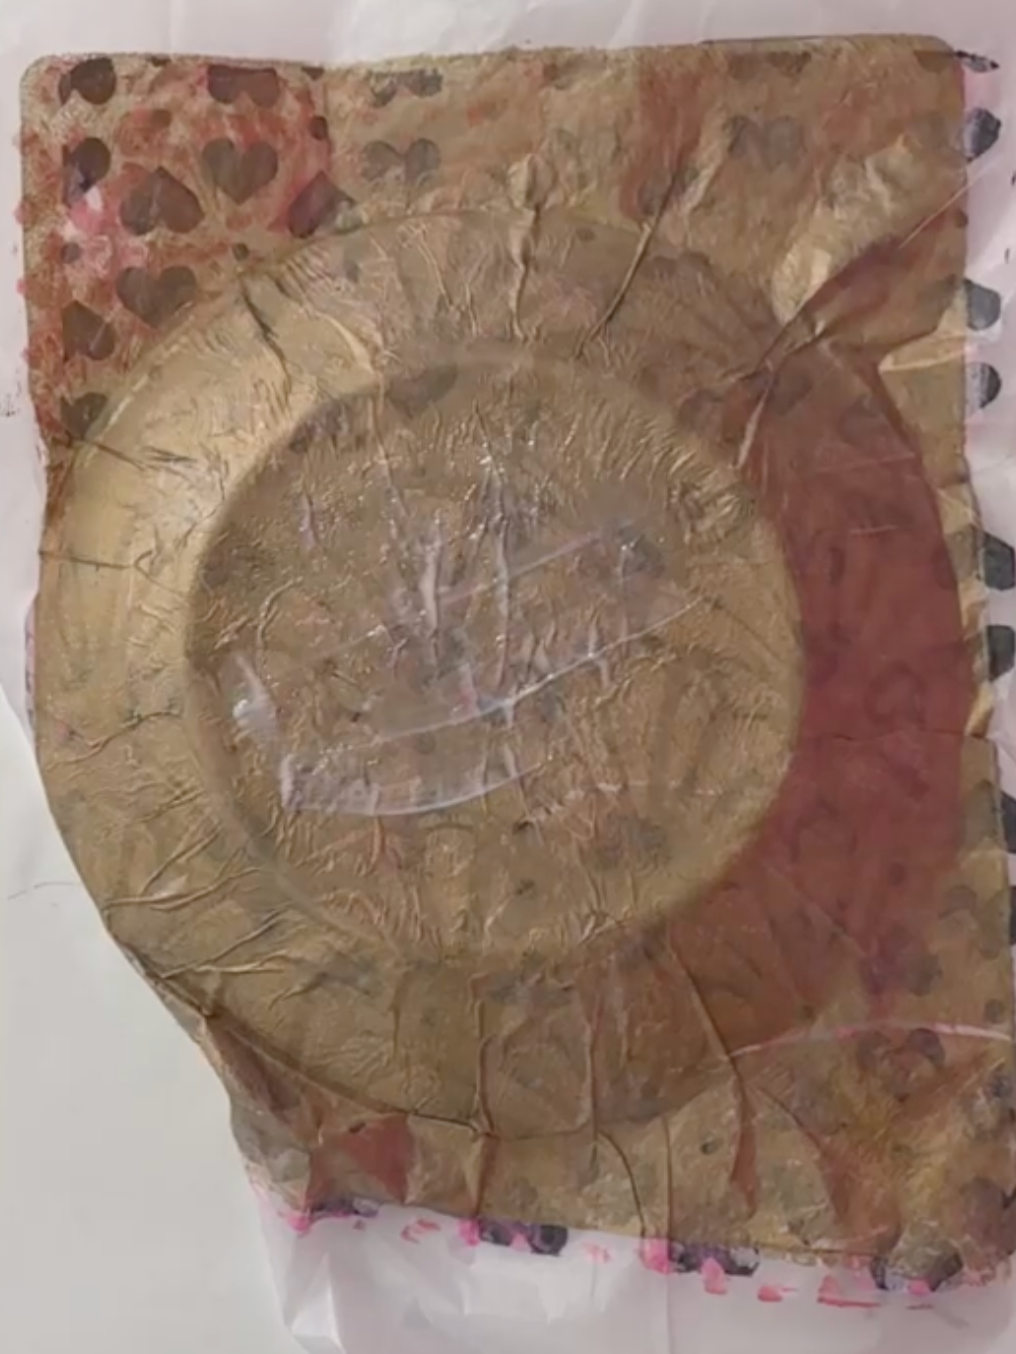
Step 4: Smooth & Add Layers
Use your brush (or hands) to smooth wrinkles gently. You don’t need a scraper—soft brush strokes work just as well.
Once everything is in place, brush a final thin coat of decoupage medium over the entire surface for a clean finish.
Step 5: Dry & Remove Excess Paper
Let dry for 1–2 hours, depending on humidity.
Once dry:
Wet-strength tissue paper: Gently sand around the edges to remove excess.
Napkins or wrapping paper: Use a damp brush to tear away extra paper cleanly.
Step 6: Seal the Finished Piece
Seal with a clear acrylic spray or compatible brush-on sealer.
Important:
These pieces are decorative. Do not use for direct food contact unless you’ve applied a certified food-safe sealer. Wrapped candy or dry items only.
Styling & Display Ideas
Use a large platter for wrapped candy or treats
Style as a catch-all for keys or jewelry
Create a decorative bowl or vase
Mix colors for seasonal decor
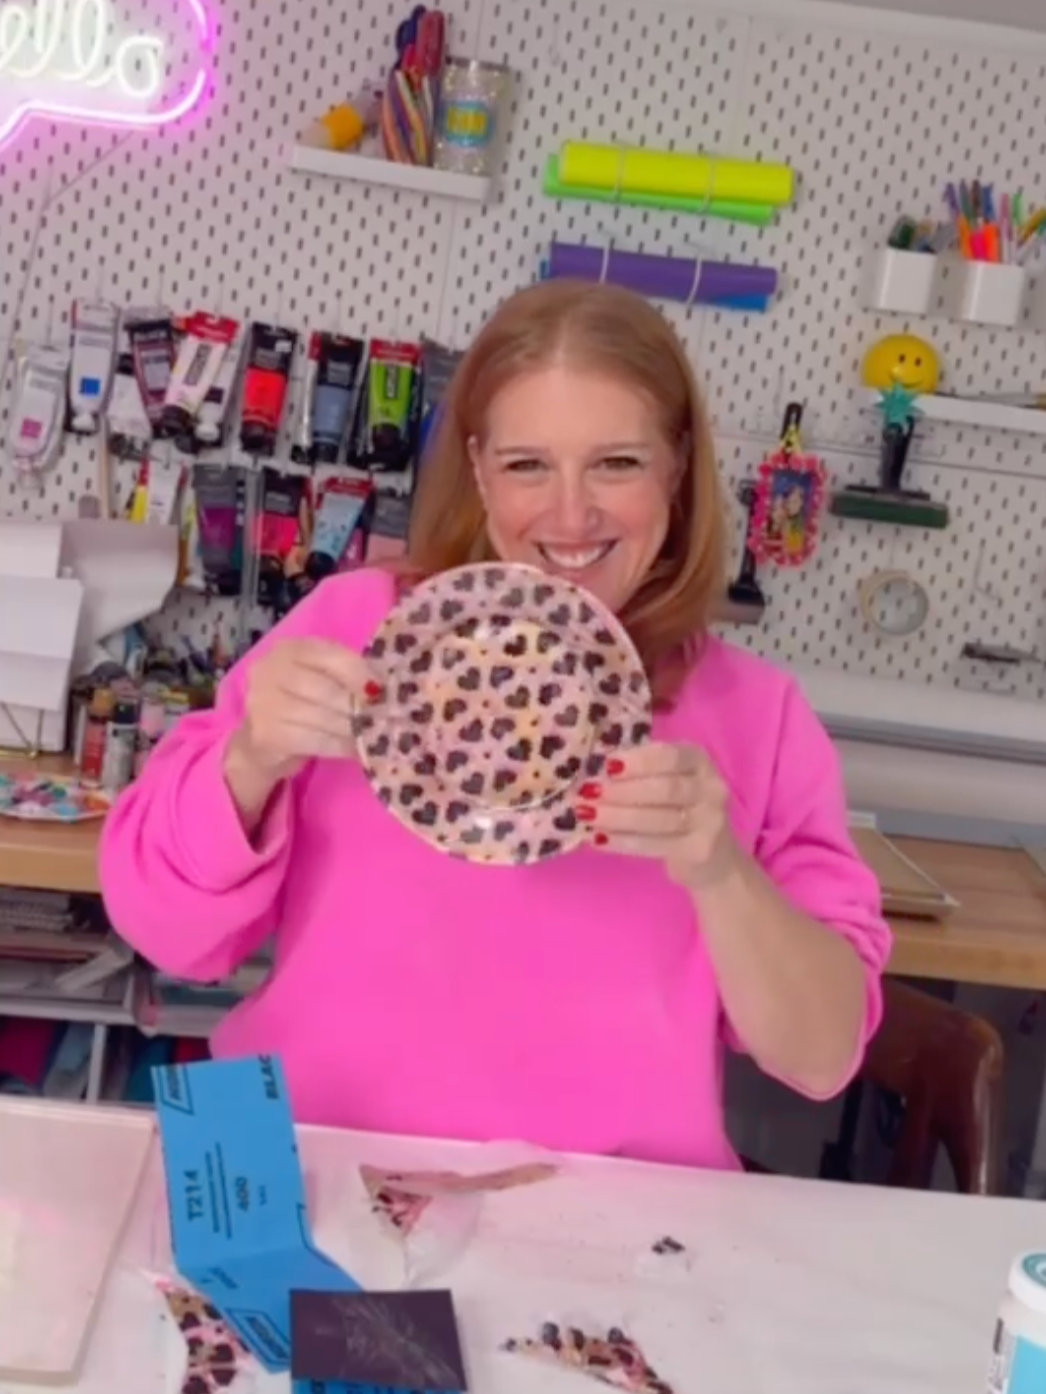
Why This DIY Decoupage Candy Bowl Works
This DIY decoupage bowl project is fast, accessible, and endlessly customizable. It’s perfect for beginners, workshops, and anyone wanting to elevate thrifted glass into something unique.
Once you make one, you won’t be able to resist making more. You can also layer reverse decoupage with additional paper on top for full coverage and depth. This is a fun, low-risk project to experiment & just have FUN with!
Looking for more paper crafts? Check out these ideas:
DIY Butterfly Wall Art
3D Paper Hearts
DIY Egg Carton Animal Portraits - so fun for kids of all ages!
Happy crafting!