
How to Dye Chandelier Crystals with Alcohol Ink (Step-by-Step Tutorial)
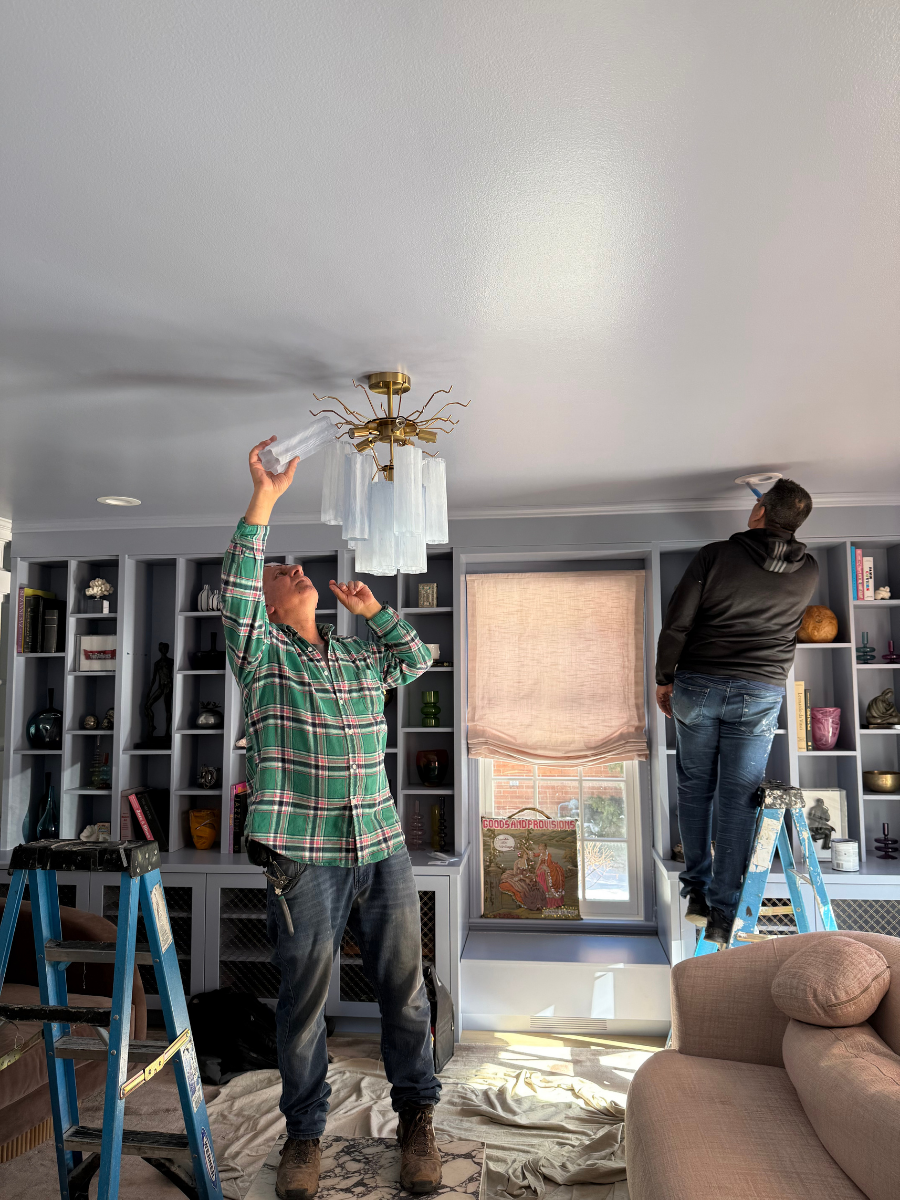
A few months ago I saw a picture of a color drenched room and a chandelier that matched the wall color. I knew I wanted this effect but I couldn't find a chandelier in the exact shade of periwinkle and so I decided to make it myself. So if you've ever fallen in love with a crystal chandelier, but you were unhappy with the color of the chandelier crystals, this is the DIY for you!
Learning how to dye chandelier crystals is surprisingly simple when you use alcohol ink on glass. No expensive equipment needed, and you can completely change your chandelier crystal color in an afternoon. This tutorial walks you through the exact process I used to transform my white murano chandelier into a custom periwinkle statement piece.
Before we dive in, I'd like to share a bit about glass. In college, I minored in glass blowing so I wanted to clarify the fact that we are not, in fact, dyeing the crystals, but we are tinting them. Adding color to glass is done under high heat using colored "frit." We will be tinting glass instead. And I think you’re going to LOVE the result!
What You Need to Dye Chandelier Crystals
Materials:
Paper towels
Foam brushes or makeup wedges (I used makeup wedges but foam brushes work better)
Mixing bowl
Table cloth
Oven
Step 1: Prepare the glass
For this project, I purchased a chandelier with white murano crystal because I wanted more of a diffused, frosted look. However, this works just as well with a light fixture that has clear glass. My crystals were tubes and they were not a smooth surface, but it still worked well. I started by prepping the glass. Here's how:
Remove all of the crystals from the chandelier and lay them down on a protected surface. I used a flannel backed tablecloth PLUS another table cloth right on top.
Grab some rubbing alcohol and thoroughly clean the crystals. You will want to be sure that there is no dust or oil from the factory. Even if the chandelier is not new, you will still want to take this step.
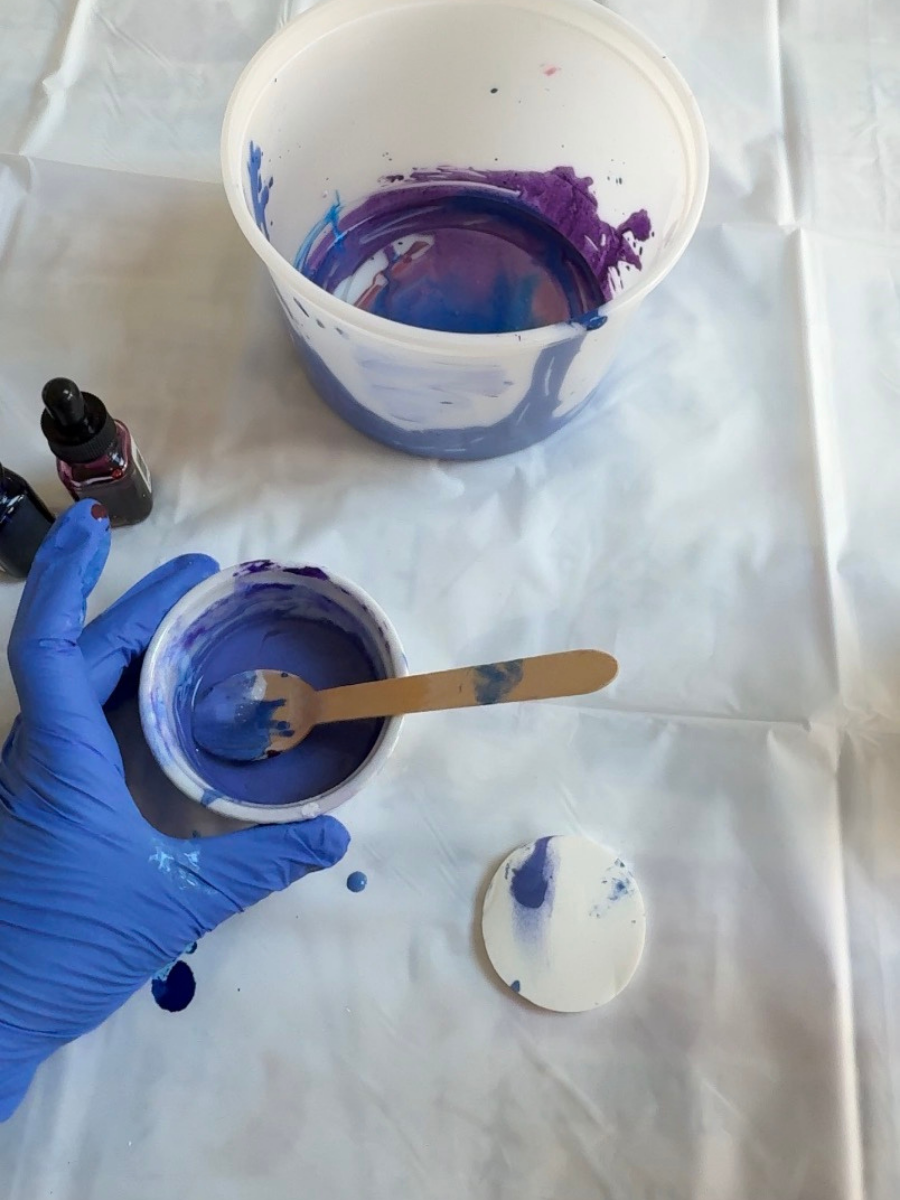
Step 2: Choose your colors
You will either want to mix colors to get to your desired color, or simply choose one. I wanted periwinkle so there was some mixing involved in the process.
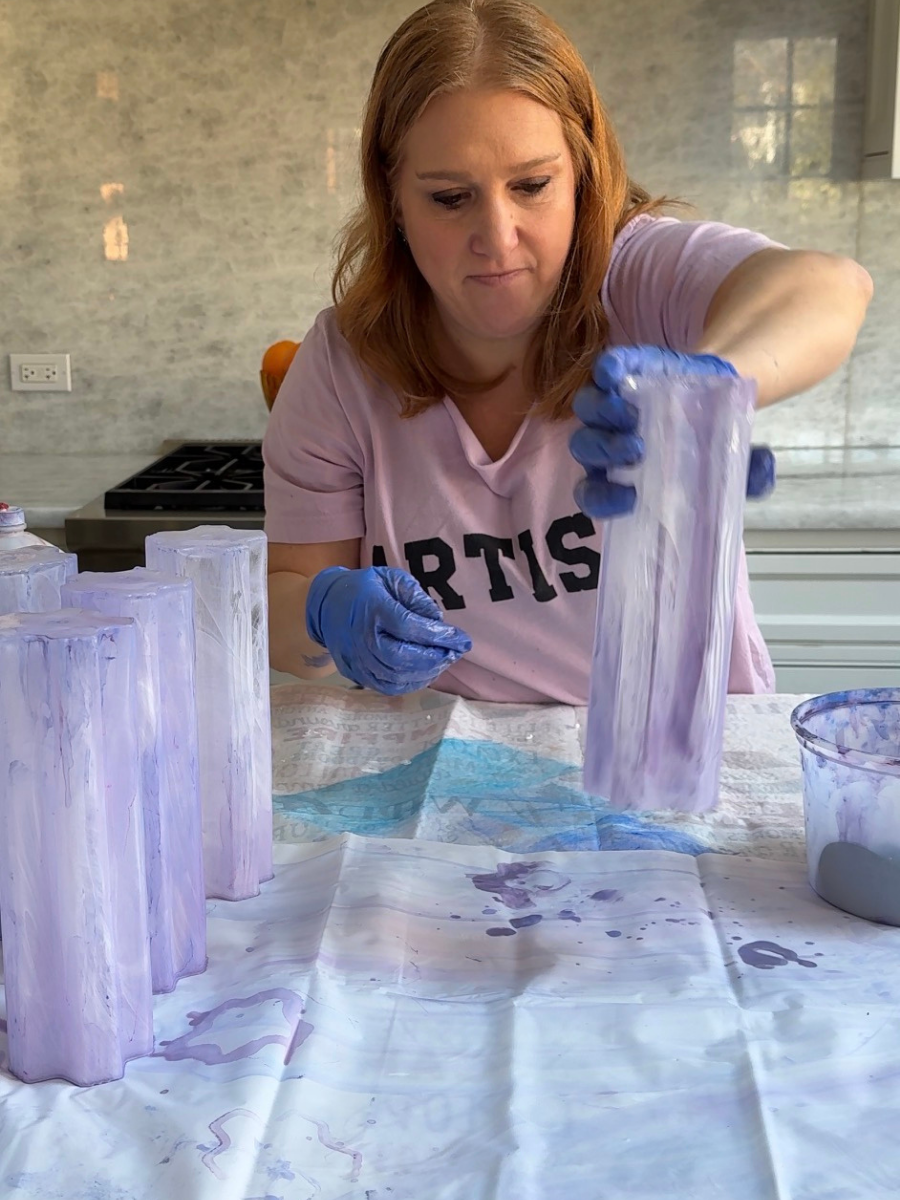
Step 3: Apply Alcohol Ink to Glass Crystals
Since my glass were tubes, I ended up applying the paint to the inside of the tube rather than the outside. This was personal preference, but the good news is that it will work whether you choose to color the inside or the outside of the glass.
Using a makeup wedge or foam brush, begin applying the alcohol ink directly to the glass. I sponged mine on with long strokes, dabbing any extra.
If the alcohol ink dries out, don’t worry - it can be re-activated using more rubbing alcohol solution (be sure to work in a well ventilated space)!
Apply in thin, even coats.
Here's the best part, you can remove any alcohol ink if you decide you don’t like it. Simply use rubbing alcohol to remove the ink.
PRO TIPS:
Work in thin layers - thick coats drip and dry unevenly
Let gravity help you (hang prisms while drying if possible)
Use a soft sponge for a streak-free finish
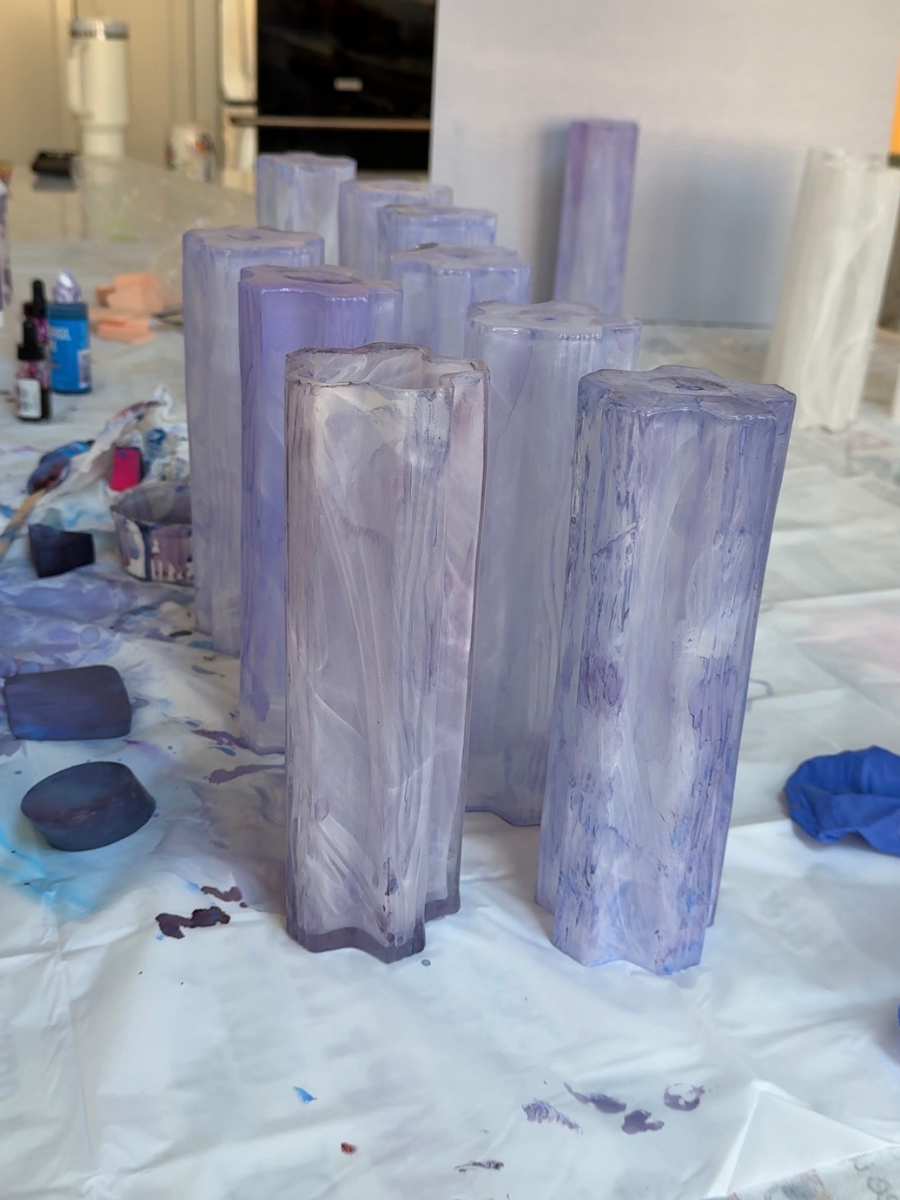
Step 4: Prep for baking
If the alcohol ink looks messy or has dripped, touch it up with a clean sponge and rubbing alcohol, then let it dry completely.
Step 5: Cure
Place the dry crystals onto a baking sheet and set your own temperature to 280 degrees.
This is a very important step: you want to be sure to place the glass in a cold oven. Why? Glass needs to heat up and cool down very gradually. Otherwise it will crack.
Bake for 30 minutes and then turn off the oven. Leave the crystals in the oven until the oven goes back to room temperature.
Once dry, allow the glass to fully cure before reinstalling.
Important safety note: Use LED bulbs only in your colored chandelier. They stay cool and protect your finish from heat damage.
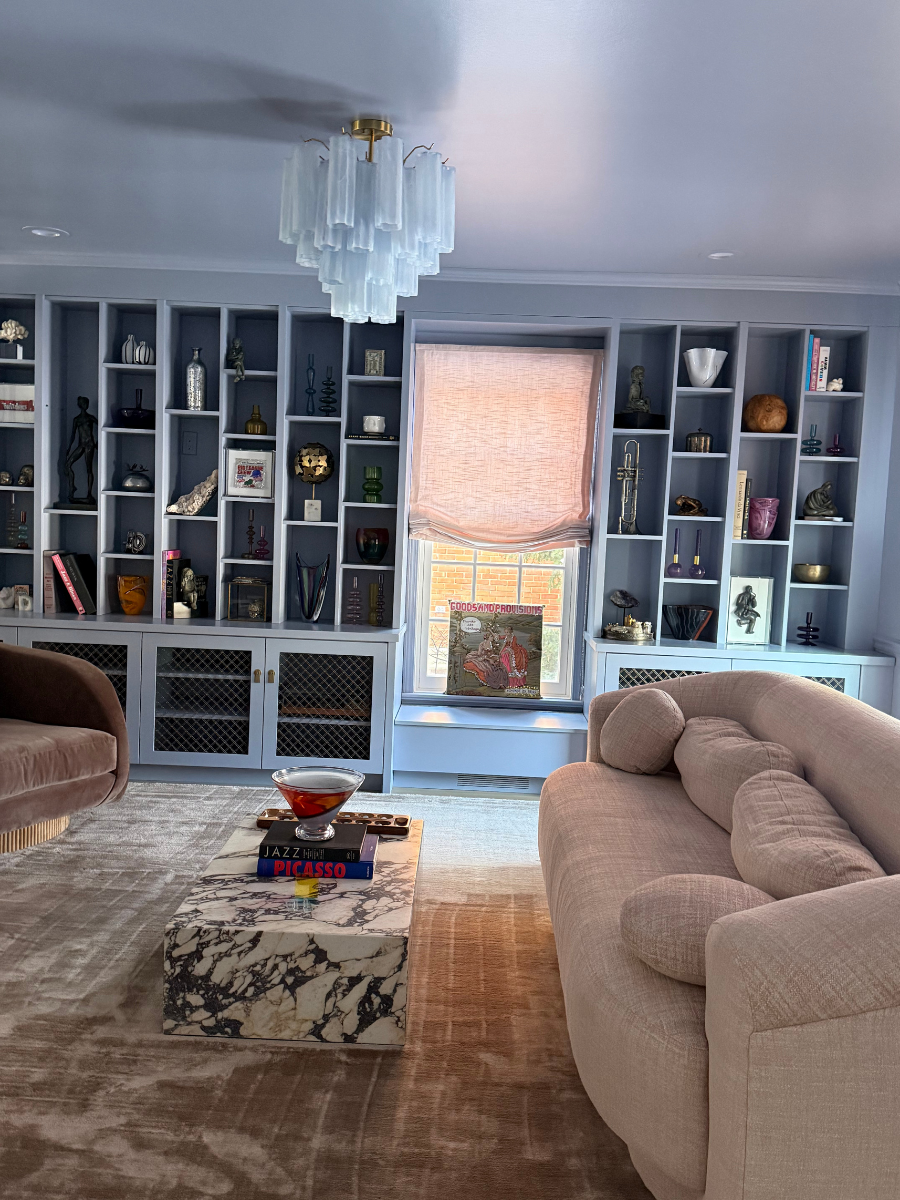
Step 6: Hang up the chandelier
Place the crystals onto the hooks, hang up, and enjoy!
Are there alternatives to using alcohol ink?
Yes! Here they are:
Option 1: Spray Glass Tint (Fastest Method)
You can use tints that are specifically used for glass. This can work well if you have a lot of little tiny pieces.
Follow the manufacturers instructions and you will need a spray bottle - it will get a bit messy!
Option 2: Craft glass paints
Glass stains (like Gallery Glass, Pebeo Vitrea, or FolkArt Enamels).
Follow their instructions to see how to use their products, but these are alternatives that do not have a strong smell.
Troubleshooting: When Dyeing Chandelier Crystals Goes Wrong
Not every crystal dyeing project goes perfectly the first time. Here's what to do if things don't look quite right:
Streaky or uneven color? Re-activate the alcohol ink with rubbing alcohol on a clean sponge and smooth it out while it's still wet.
Color too dark? You can lighten it by dabbing with rubbing alcohol before baking. Remember to work quickly… alcohol ink dries fast.
Glass cracked during baking? You likely put cold glass into a hot oven. Always start with a cold oven and let it heat gradually with the crystals inside.
Finish looks cloudy after curing? This usually means residue from cleaning wasn't fully removed. Use fresh rubbing alcohol and a clean cloth to polish after it's completely cooled.
Common Mistakes to Avoid
❌ Using food coloring or fabric dye (they wash off or discolor)
❌ Skipping the baking process
❌ Painting while glass is attached to the fixture
❌ Not opening a window - ventilation is VERY important
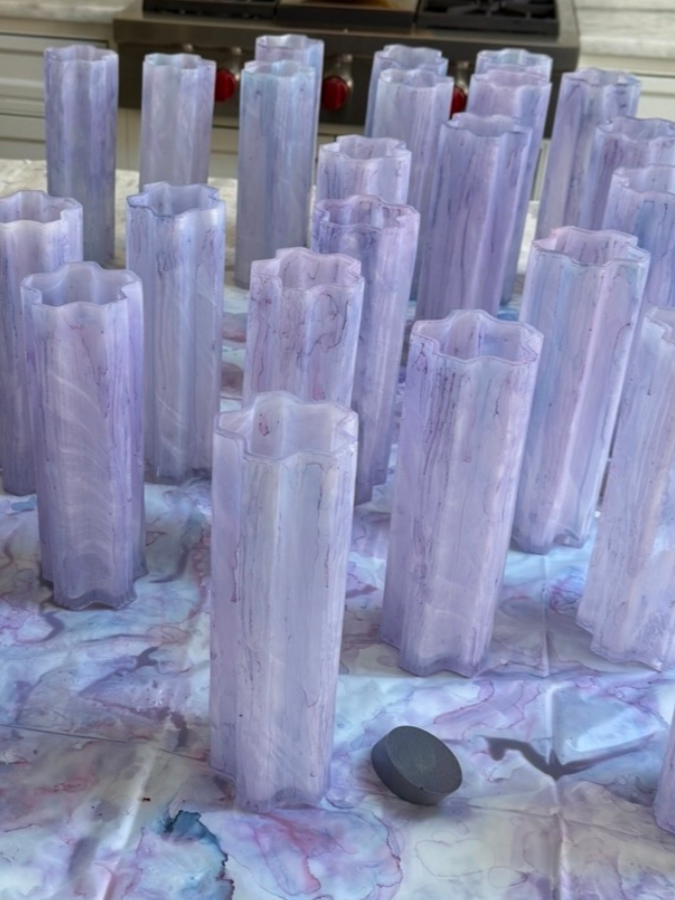
Final Thoughts
Dyeing the glass on a chandelier is one of those DIY upgrades that looks wildly high-end when done right. With the proper materials and a little patience, you can turn a dated fixture into a custom statement piece that glows with personality.
Start small, test often, and let the light do the rest!
Did you love this project? Check out a few more fun home decor DIY tutorials below:
Decoupage seashells with decorative napkins - the perfect DIY trinket dish
DIY Yarn Wall Decor - make this fun moon or any other shape you love! (So fun for teens, too!)