
How to Needle Felt Lips Onto a Sweater: DIY Valentine's Day Sweater Tutorial
Needle felting is a fun way to add personality to even the most boring sweaters! If you're looking for a Valentine's Day craft for adults that's both wearable and unique, this DIY Valentine's Day sweater is perfect! ❤️ It's a great winter activity and it's also a wonderful way to save a sweater with moth holes! 🫣
I've been needle felting for a couple of years now and I've come a long way from my beginner days. If you're looking for a new craft to get you through the winter (or to wear to your Galentine's party!), this one is for you!
What You'll Need
Before you start learning how to needle felt on a sweater, gather the following supplies:
A sweater (wool or wool-blend works best; avoid acrylic if possible)
Wool roving in lip colors (reds, pinks, magenta, or even neon)
Needle felting needles (36 or 38 gauge is great for clothing) Be sure to have a bunch of needles because a single needle will not be enough.
Lip template (paper or cardstock)
Pins or chalk (optional)
Small scissors
Iron
First aid kit (unfortunately with needle felting, there are often times where you will accidentally hit the needle into your finger. Have bandaids ready to go)

Most of these supplies can be found at your local craft store, but it is always good to look for old sweaters at a thrift store - especially when you are just starting out with needle felting. Online you can also find lots of needle felting variety packs, which is a bundle placed together by online vendors. I like using those as beginner's kits.
How to Needle Felt on a Sweater: Step-by-Step Tutorial
Step 1: Choose Your Sweater & Placement
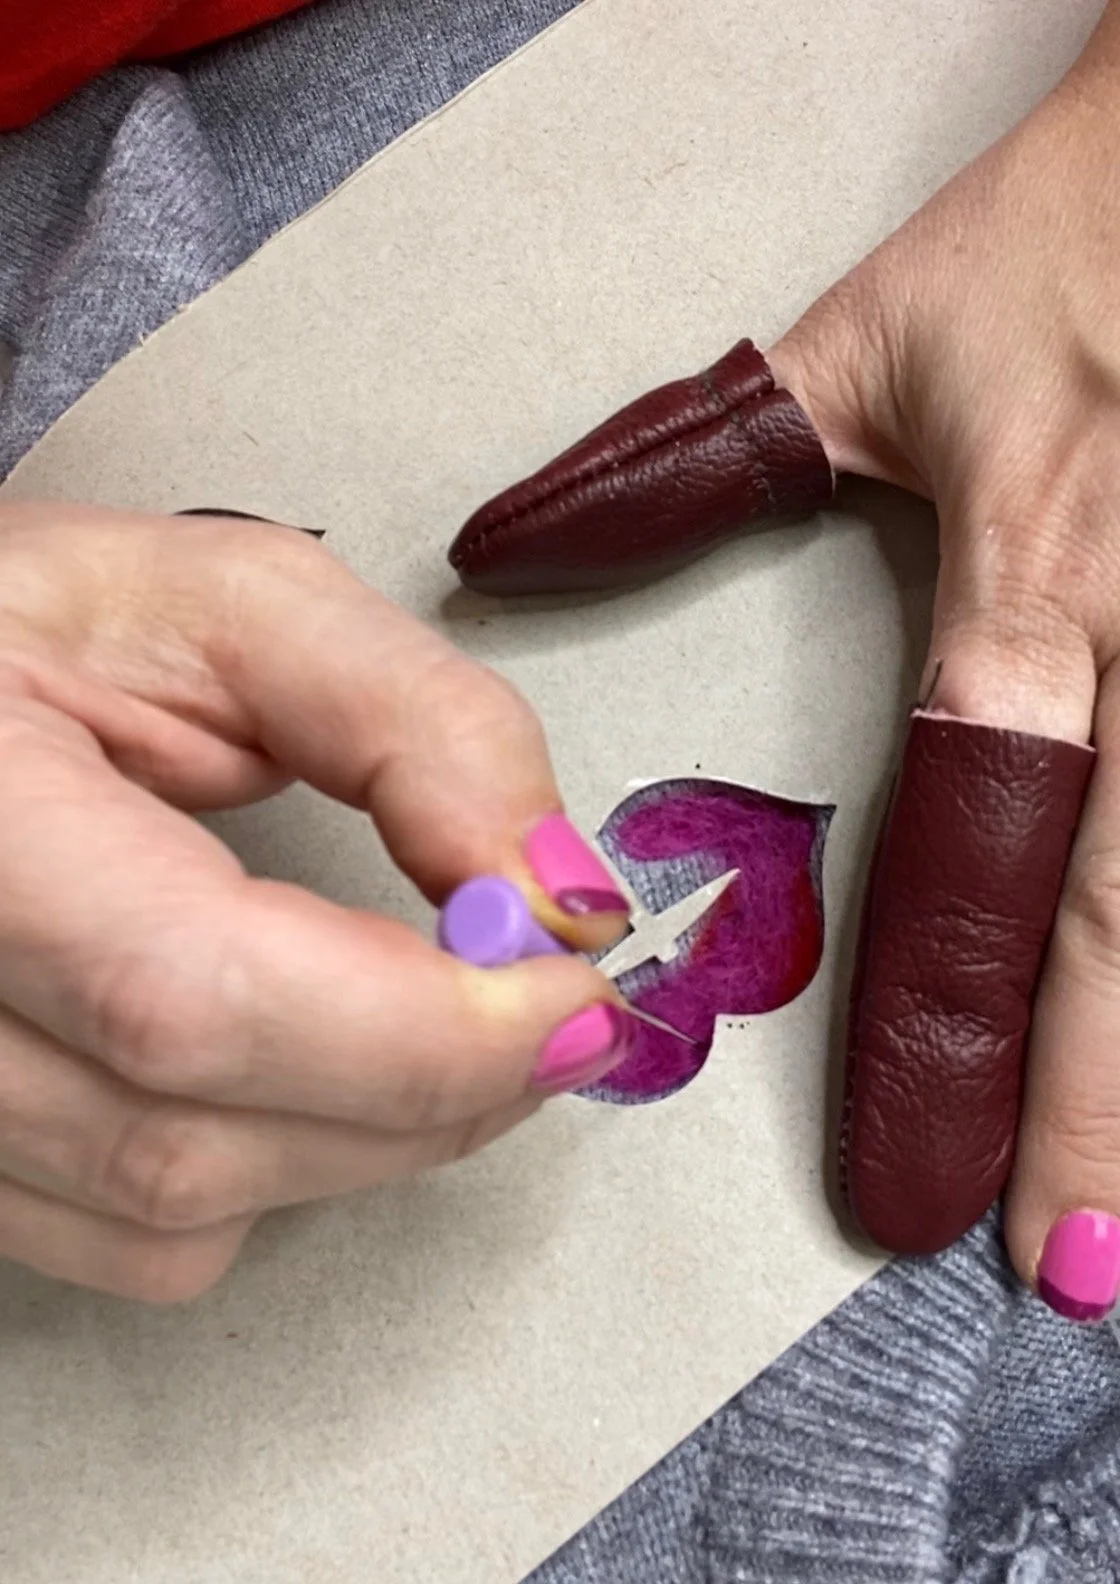
Choose an old sweater for your first attempt. Lay your sweater flat on your table. Be sure you are working on a smooth and flat surface. Place the wool pad inside the sweater to separate the two layers of sweater (don’t make the rookie mistake of needle felting both sides of the sweater together! 🤣) You will be working on the outside of your sweater - that you want to show.
Step 2: Create a Lip Template
Place the template directly onto the sweater and trace the lips using chalk. You can also leave the template on the sweater and needle felt right into the empty spaces. This is what makes this DIY Valentine's Day sweater so customizable - you can make the lips any size or color you want!
Step 3: Start With a Base Layer
When working with needle felting, it is important to start with a very small, whispy piece of wool and place it directly into the stencil. Using your needle, work in an up and down motion. You will hear the satisfying sound of the needle punching tool hitting the pad. Continue adding more roving wool to the template and continue using the needle to do the rest of the shaping. Do the darker colors first and then use the more delicate colors as accents.
Step 4: Build Shape & Dimension
Once your base layer is secure, start refining the shape. Add slightly darker wool along the inner crease of the lips or brighter highlights on the top lip for a dimensional look.
This is where needle felting really shines… you're essentially "painting" with fiber. Take your time, rotate the sweater occasionally, and keep checking for symmetry.
Step 5: Clean Up the Edges
To get crisp edges, you will need to use the needle again and again and again so that it becomes pretty compact. This will insure that it holds up as a clothing item.
Step 6: Heat Set
Roving shrinks so you will want to heat set the needle felted sweater. I like to mist my sweater with water and then iron it to lock into place. I have a couple videos highlighting the whole process where I created a heart elbow patch sweater. You can check out that tutorial here.
Step 7: Test & Finish
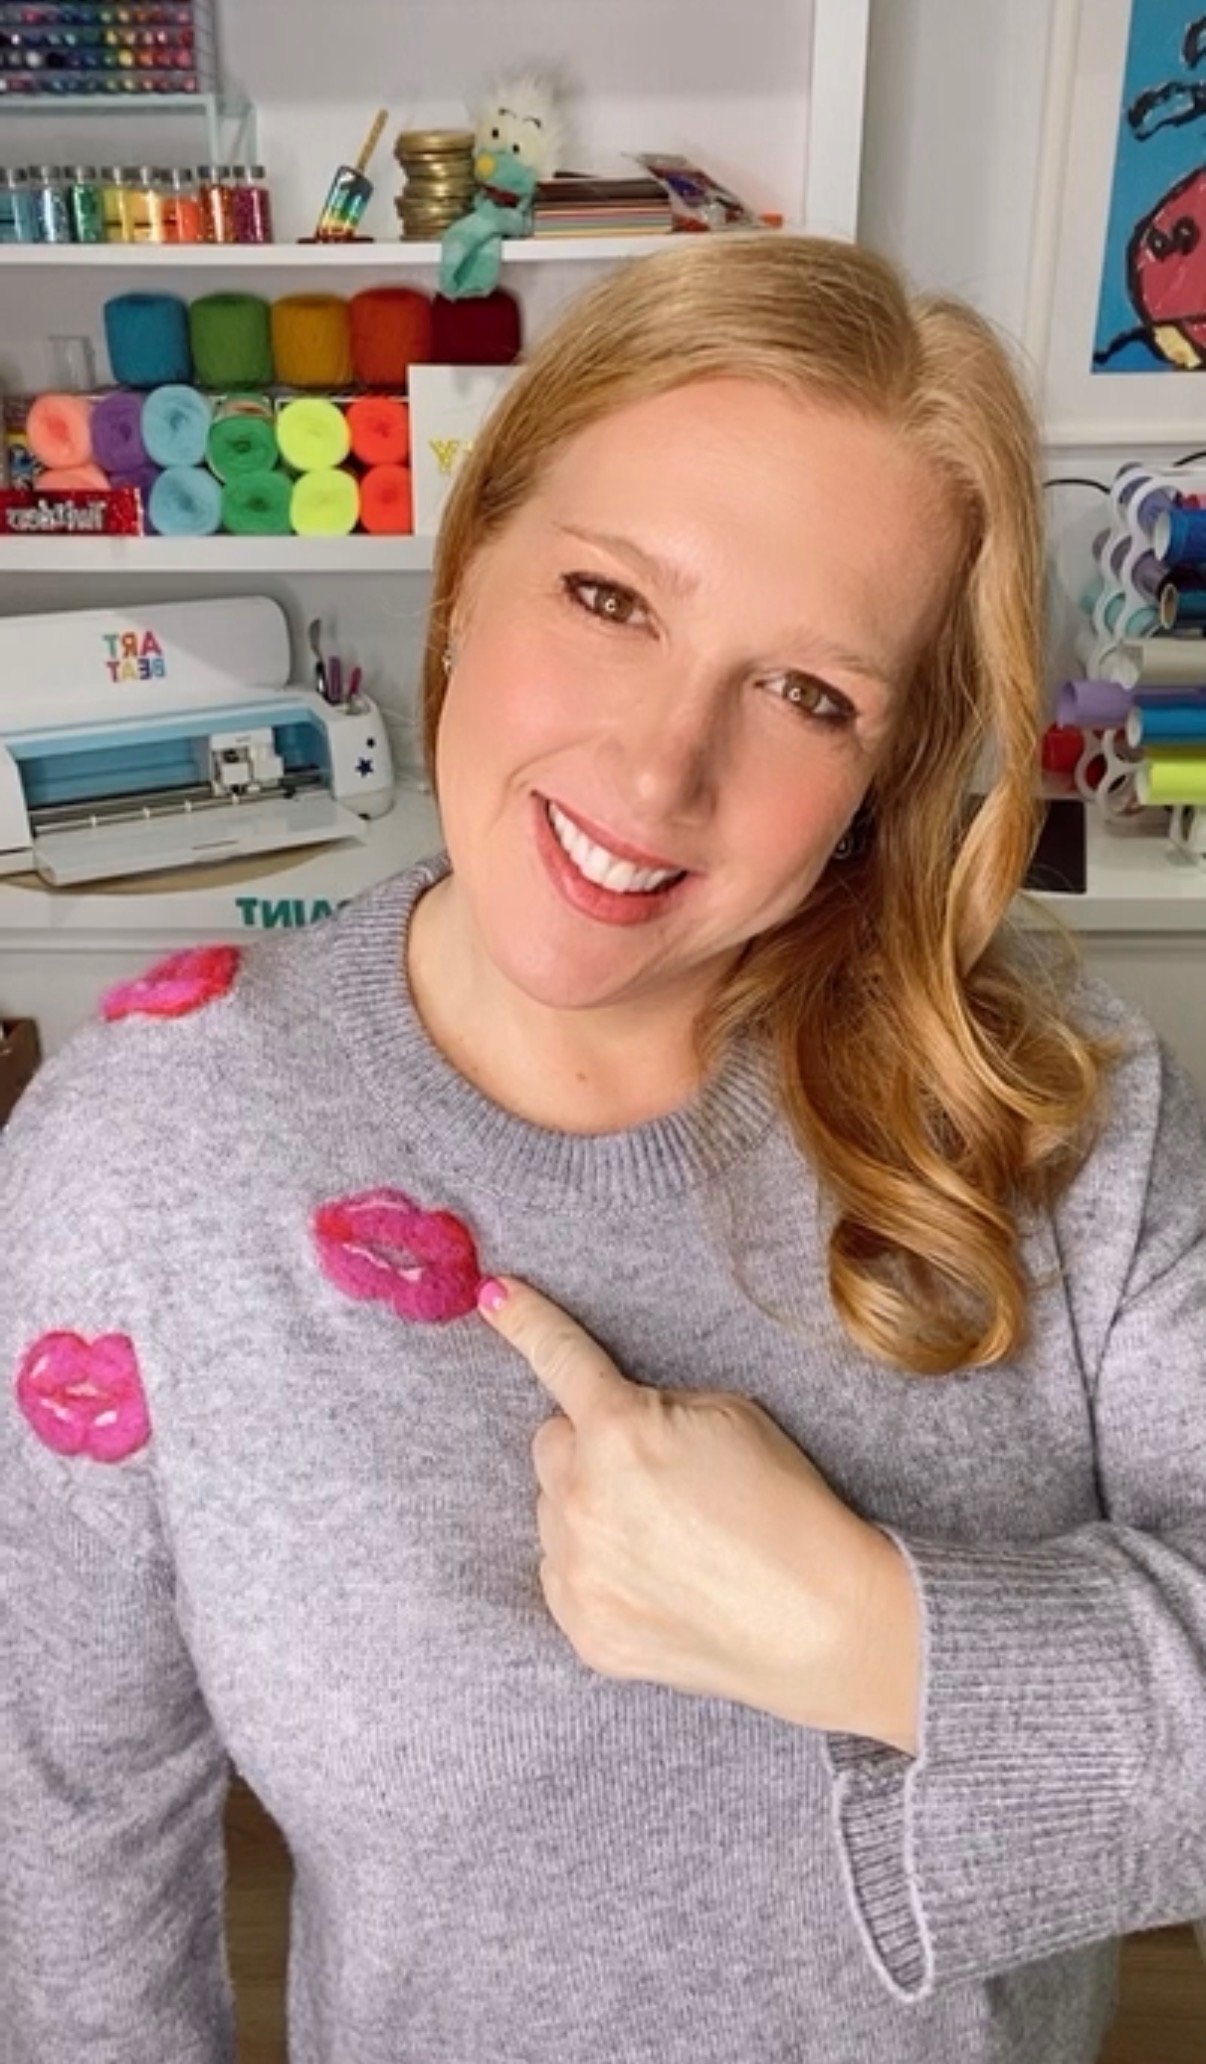
Lightly tug the felted area. If it shifts, add more needle work. When secure, remove the foam pad and admire your work. You just turned a sweater into wearable art! 💁♀️
Why This Valentine's Day Craft for Adults Actually Works
Unlike a lot of Valentine's crafts that are geared toward kids, this project is totally wearable and stylish. You can make this DIY Valentine's Day sweater for yourself, as a handmade gift, or even to wear to a Galentine's Day party. The lips design is bold enough to make a statement but subtle enough to wear year round.
Plus, if you're learning how to needle felt on a sweater for the first time, lips are a great beginner-friendly shape - they're forgiving and fun!
Care Tips
Hand wash only for best results and longevity of your beautiful work!
Looking for more fun Valentine’s crafts? Check out this list - 40+ Valentine’s DIY ideas for all ages!