Painted Rock Turtle: Easy Hexagon Shell Step-by-Step Tutorial
This tutorial is for beginner crafters, teachers planning a classroom rock-painting activity, and parents looking for a low-mess weekend project with kids… no drawing skill required.
Turtle rock painting looks complicated but comes together fast once you get the hang of it. A rounded rock, a simple hexagon pattern, and two shades of green are really all it takes to make a painted rock turtle that looks just as good on a shelf as it does tucked into a garden bed.
Key Takeaways
Supplies: 1 rock (plus 5 smaller ones if you're building the 6-piece version), 4 acrylic paint colors, 2 paintbrushes
Time: About 30–45 minutes of hands-on painting, plus a full 24 hours of drying time before sealing
Skill level: Beginner! The whole design is built from one shape (the hexagon) repeated across the shell
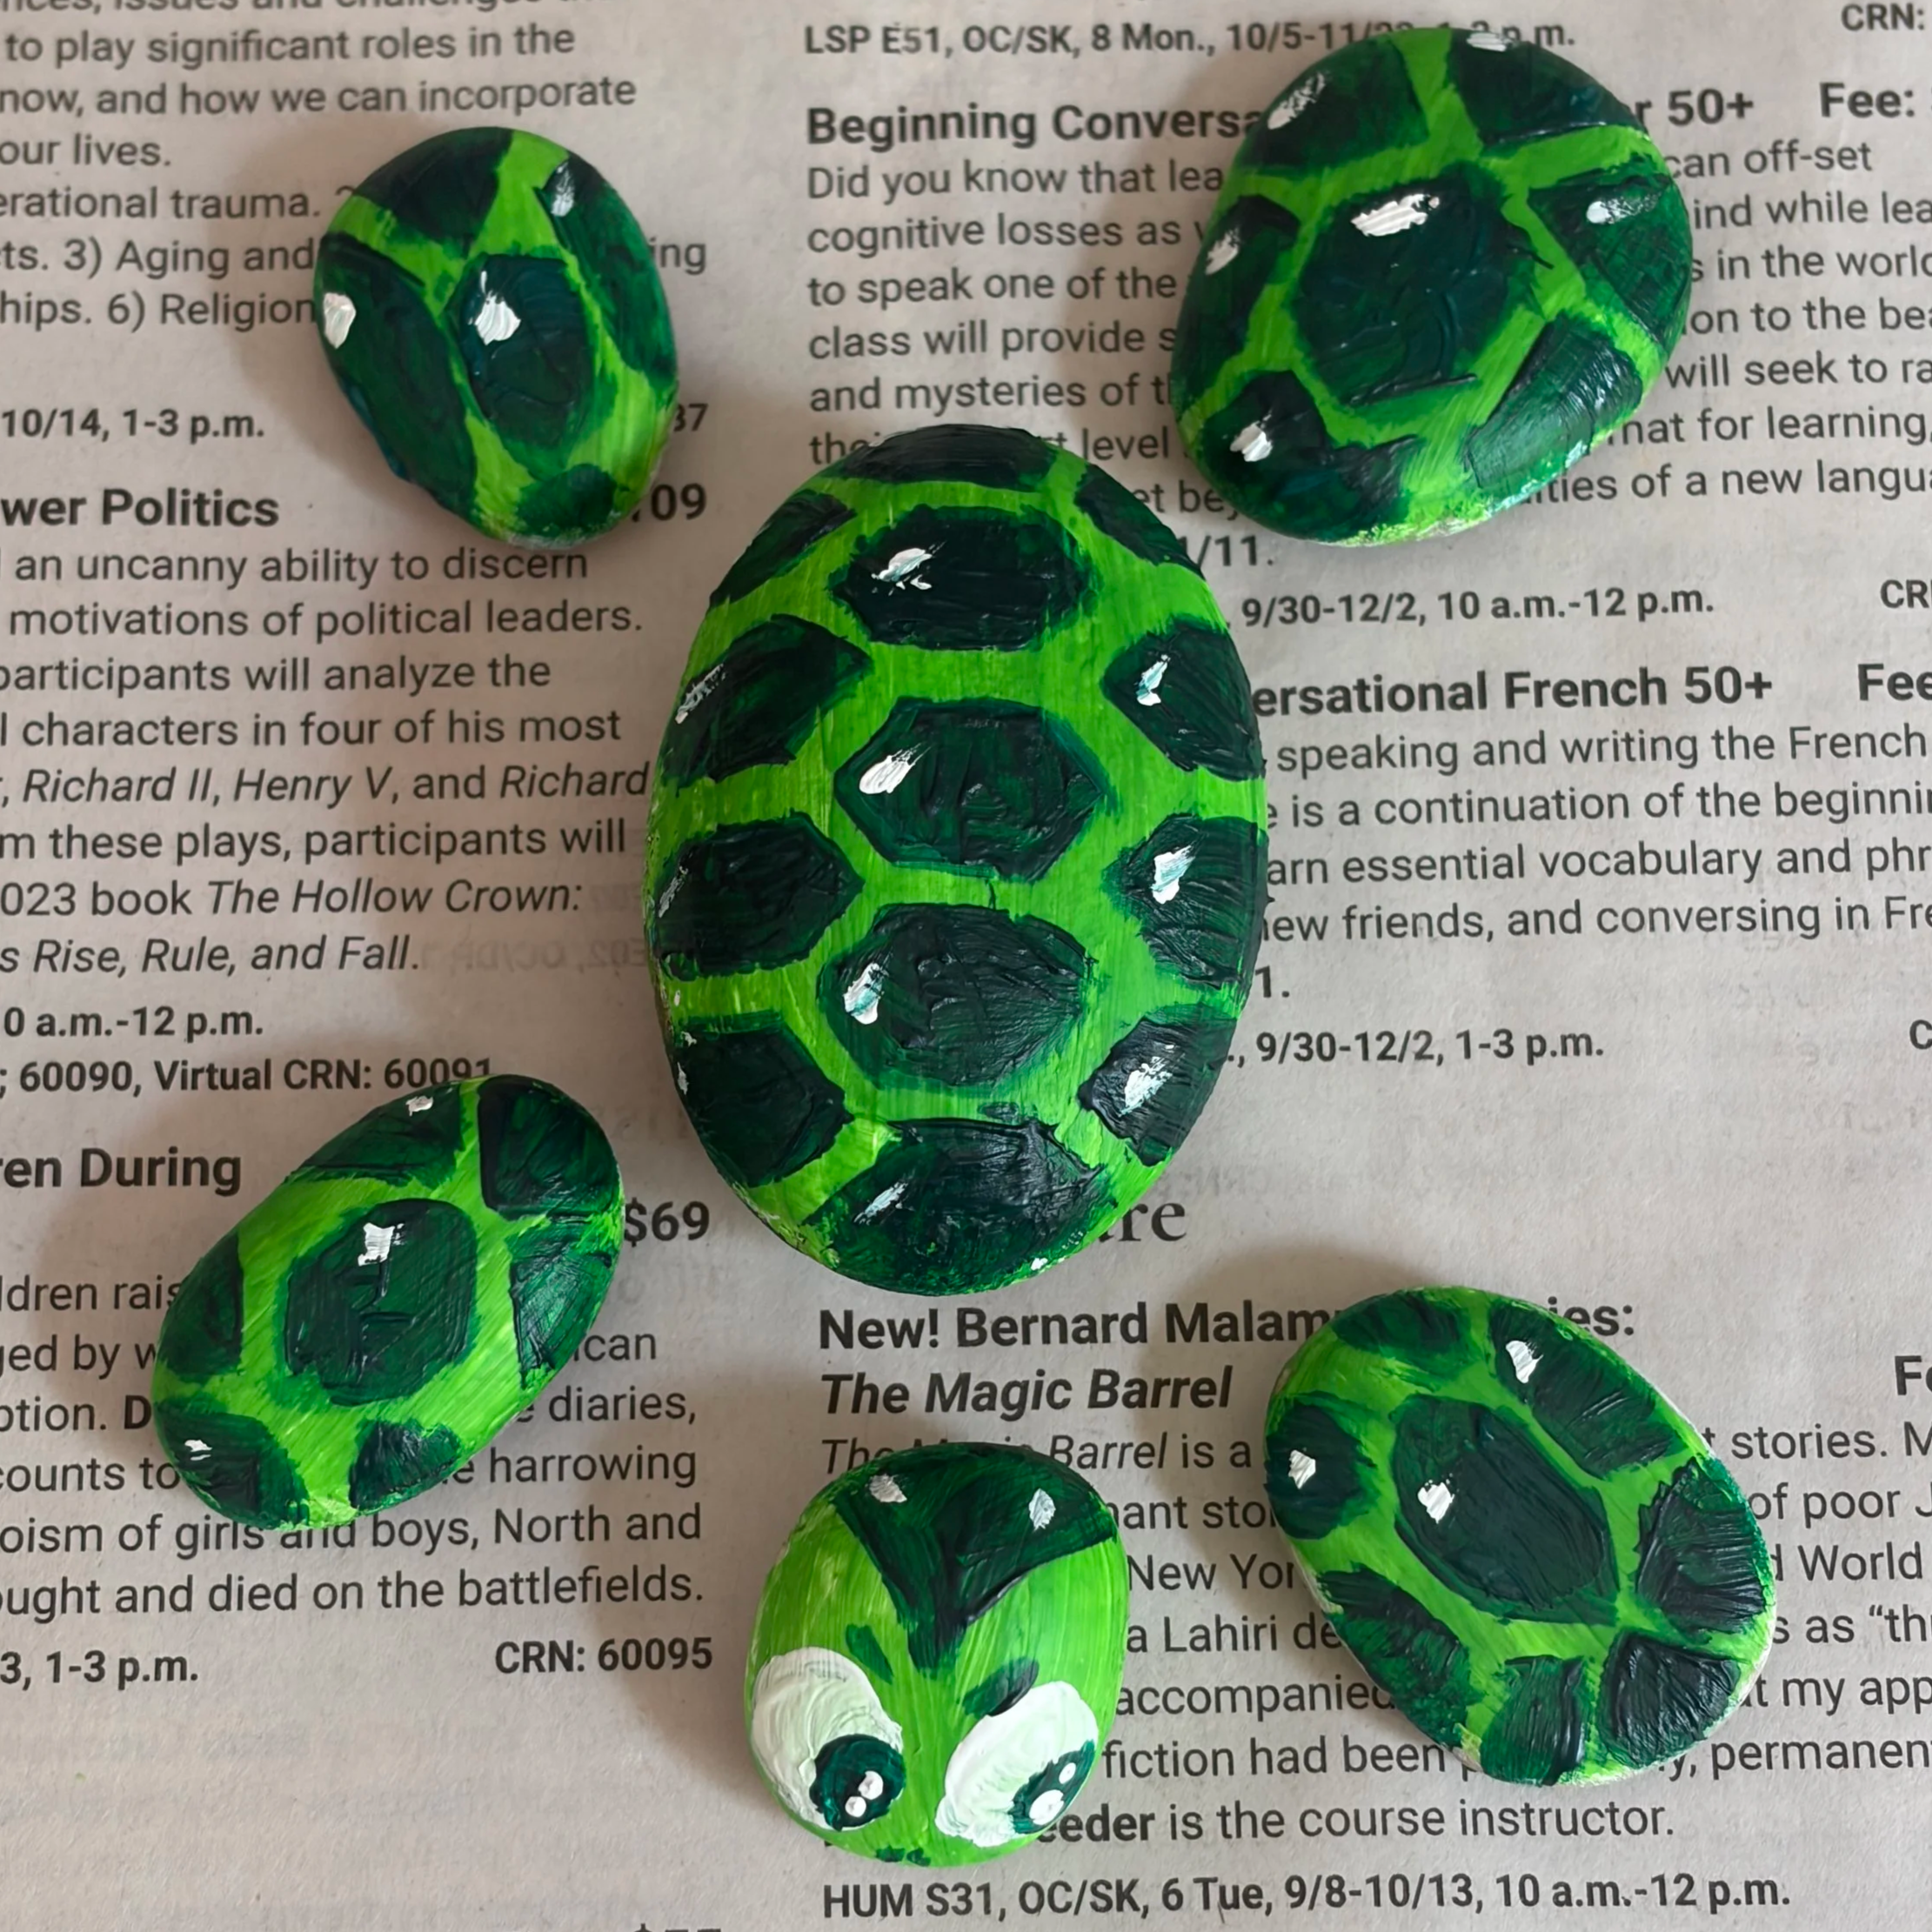
Two versions: A single-rock turtle (one rock, painted whole) or a 6-rock turtle (a domed rock for the shell, plus 5 flat rocks for the head, tail, and four legs)
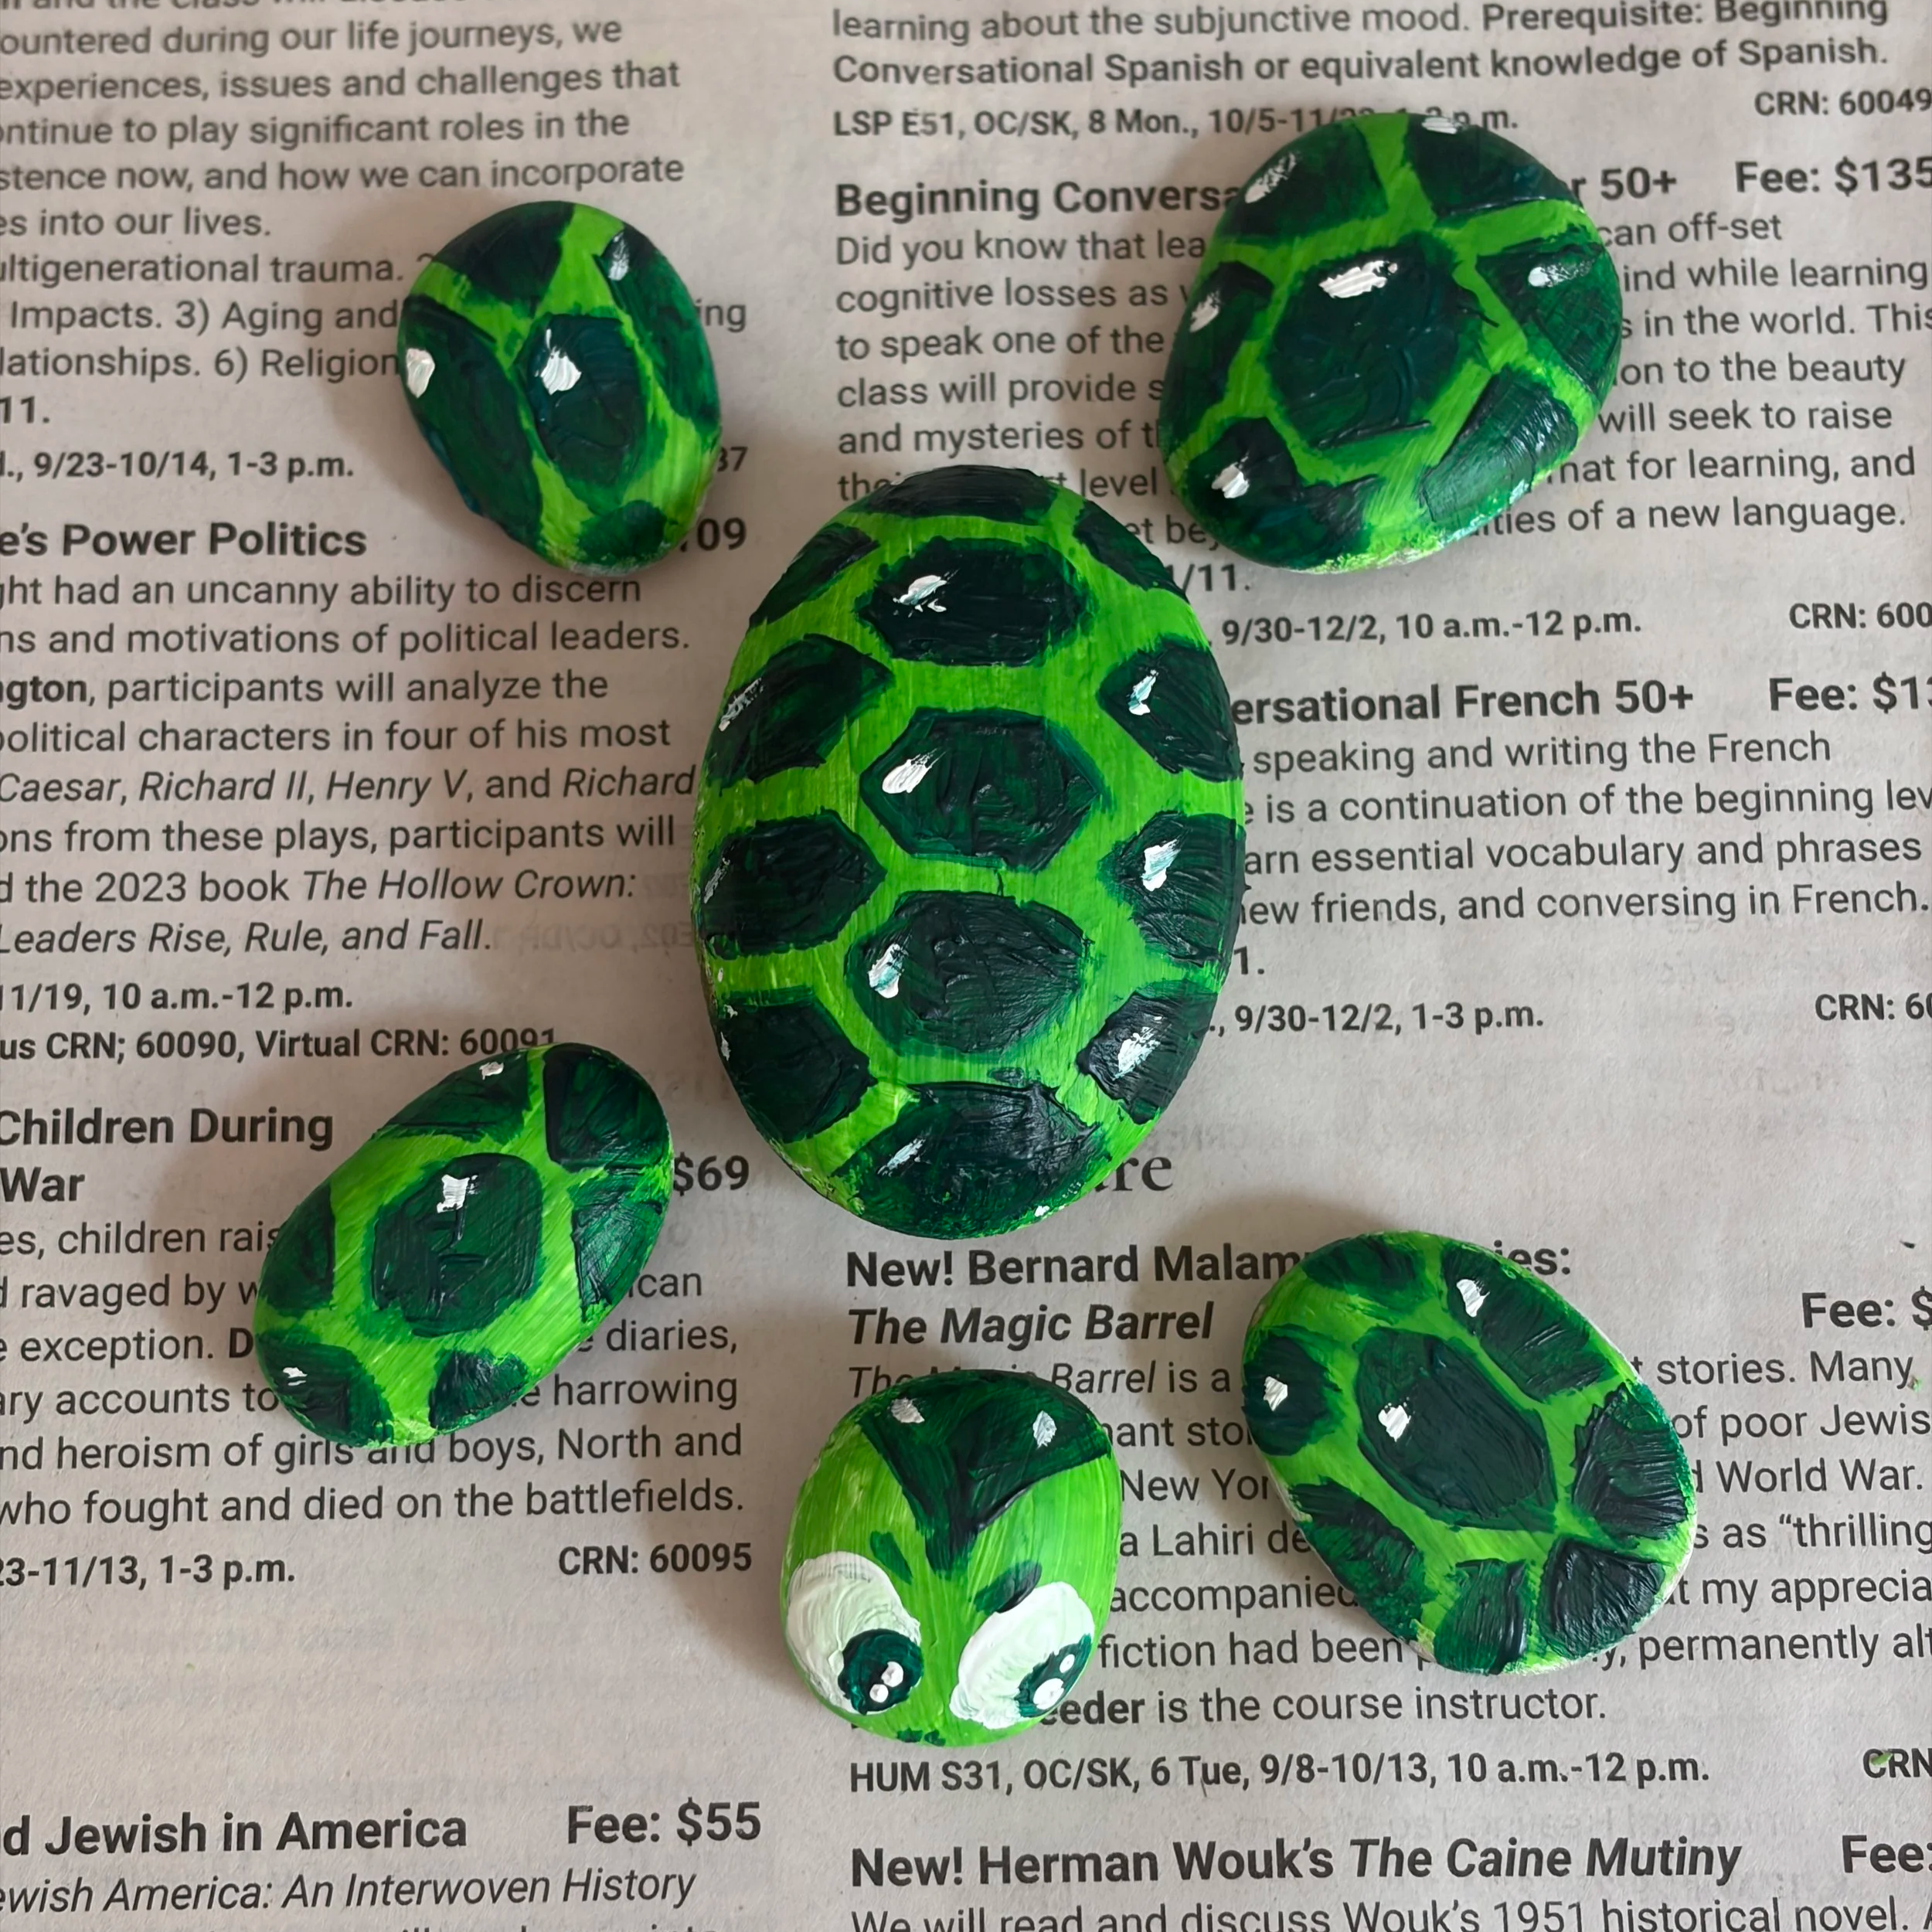
What You Need to Paint Turtle Rocks
Supplies:
Rocks - 1 smooth, rounded rock with a slightly domed top (that curve is what gives the shell its shape). For the 6-rock version, add 5 smaller flat rocks for the head, tail, and 4 legs.
Acrylic paint - White, light green, dark green, and black — 4 colors total. Acrylic dries fast and holds up outdoors better than craft paint.
Paintbrushes - 1 medium brush for base coats, 1 fine-tipped brush for hexagon lines and eyes.
Pencil for sketching the hexagon grid
Water cup and paper towels
Paint palette or paper plate
Sealant - To make sure your turtle lasts for plenty of seasons to come!
For a full walkthrough of core rock-painting supplies and techniques beyond this project, see our rock painting beginners guide.
How to Prepare Your Rock
Choose your rocks. Select smooth rocks in the shapes and sizes described above. Wash them thoroughly to remove dirt and debris, then let them dry completely — paint won't adhere well to a wet rock, and you'll end up with peeling instead of a clean base coat.
Plan your design. Sketch your hexagon layout on paper first, or lightly in pencil directly on the rock. Planning the composition before you paint is what keeps the hexagon spacing even instead of crowded on one side.
Step-by-Step: How to Paint Your Turtle Rock
Step 1: Prime the Rock
Cover the whole rock in white acrylic paint as a base coat. This gives your greens a clean surface to sit on and keeps the colors from looking muddy once they're layered.
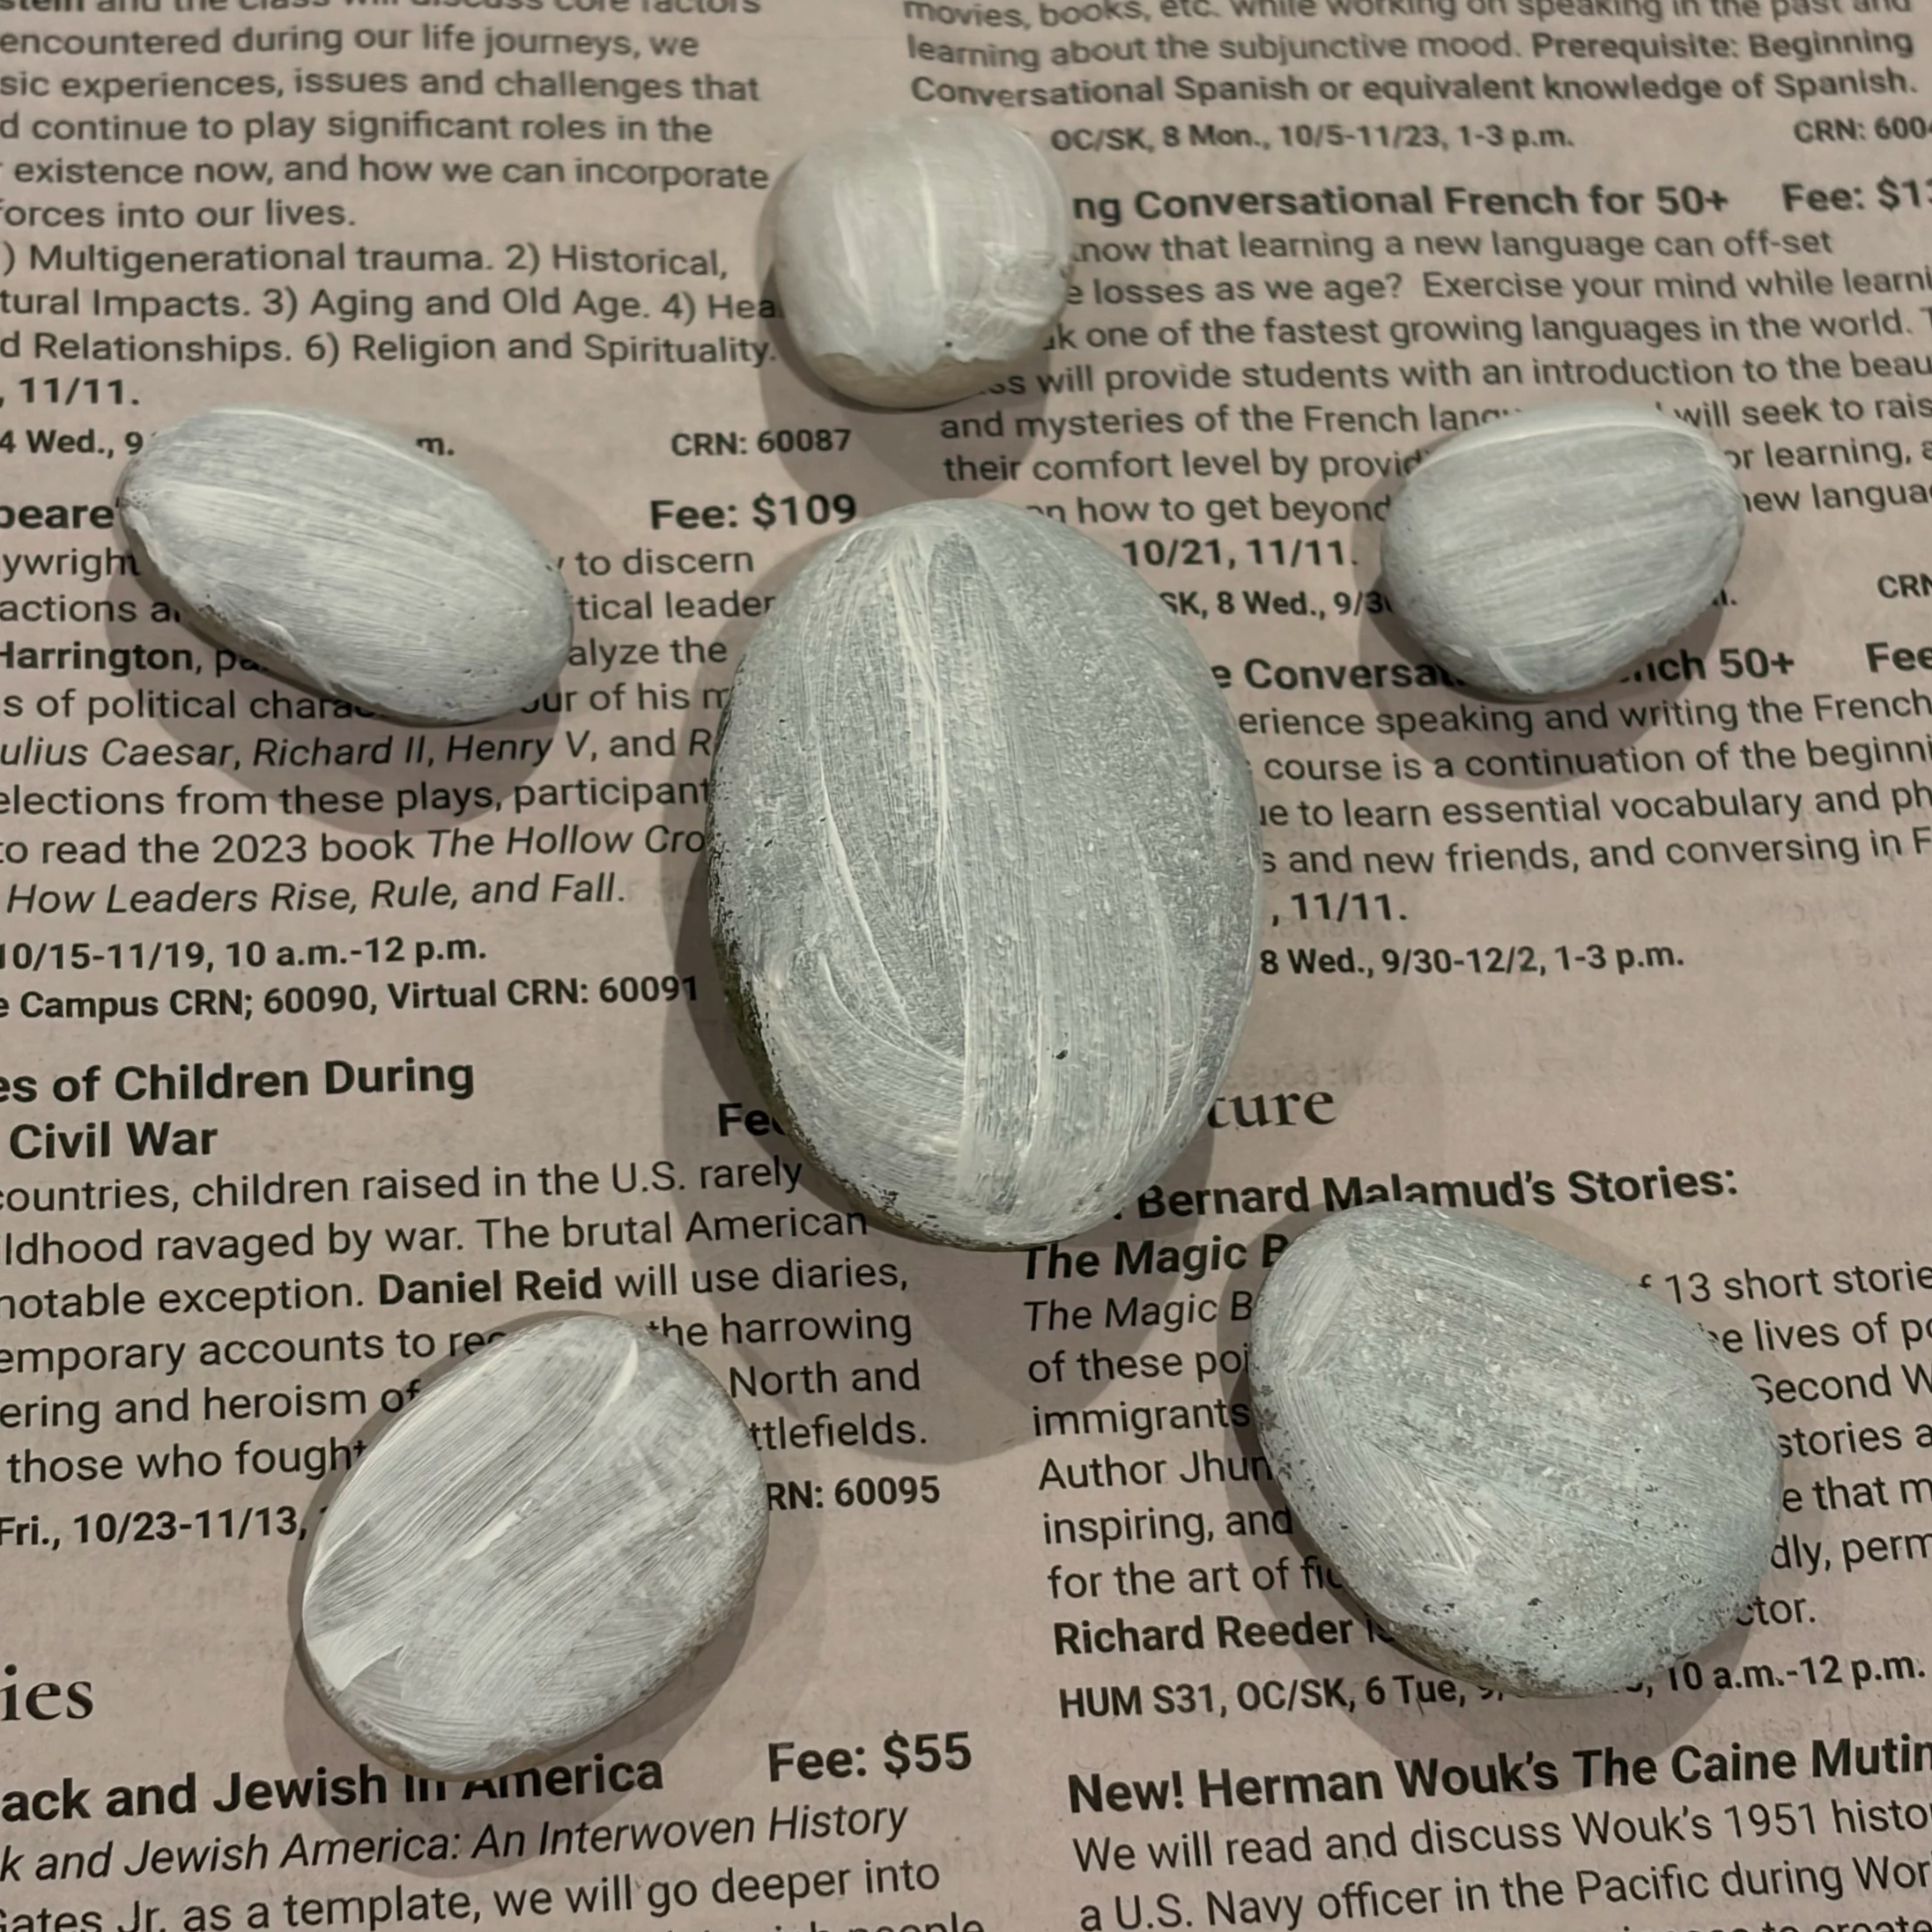
Step 2: Paint the Shell
Once the base coat is fully dry, paint over the rock with light green.
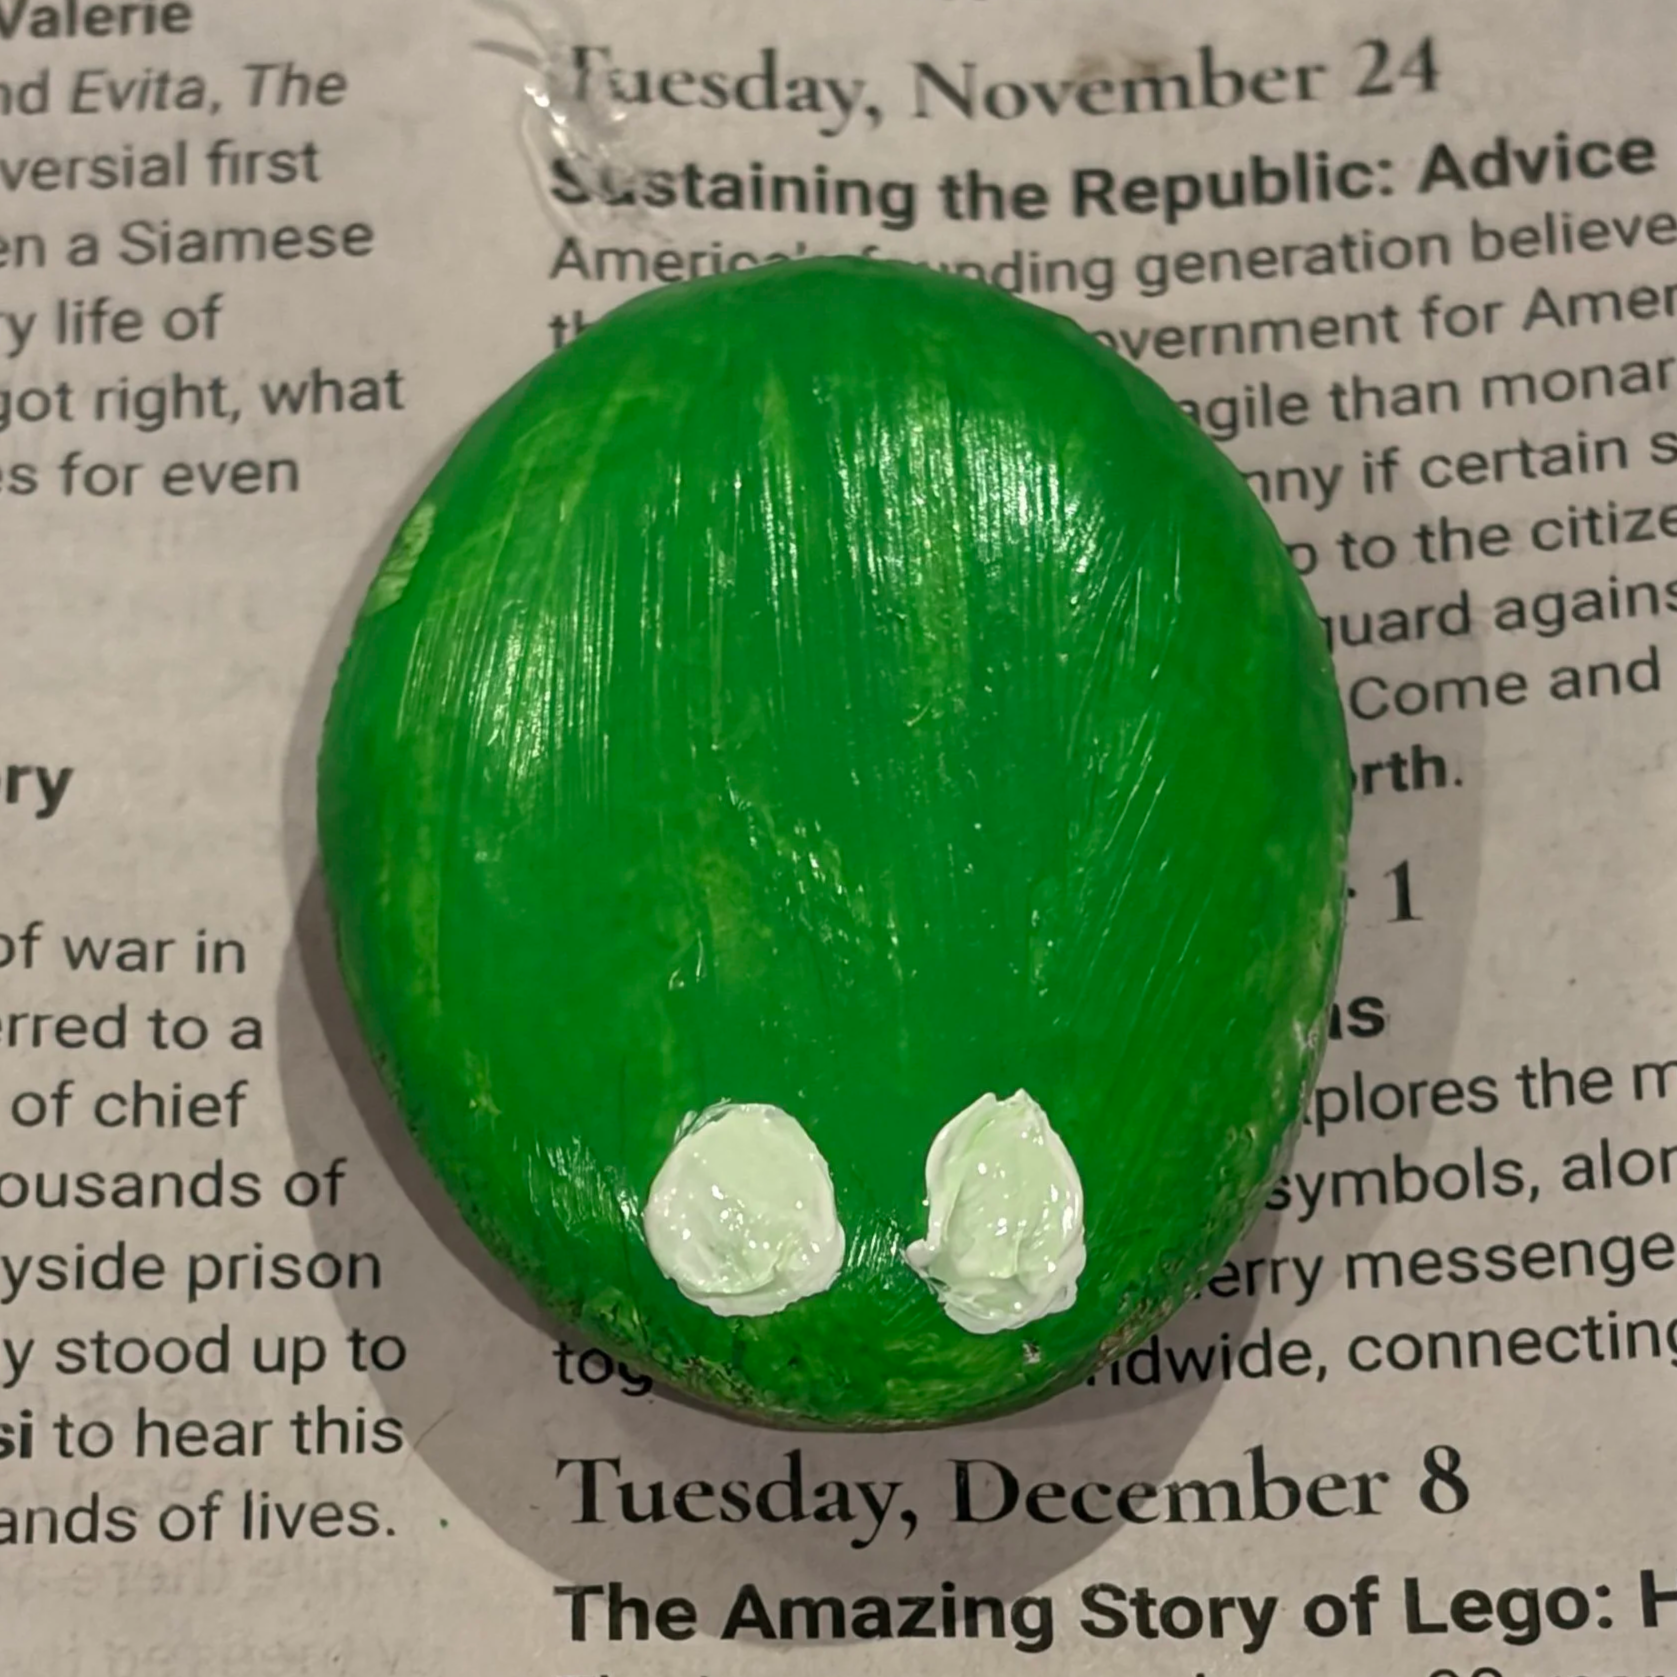
Step 3: Add the Eyes
Paint the eyes using white as your base.
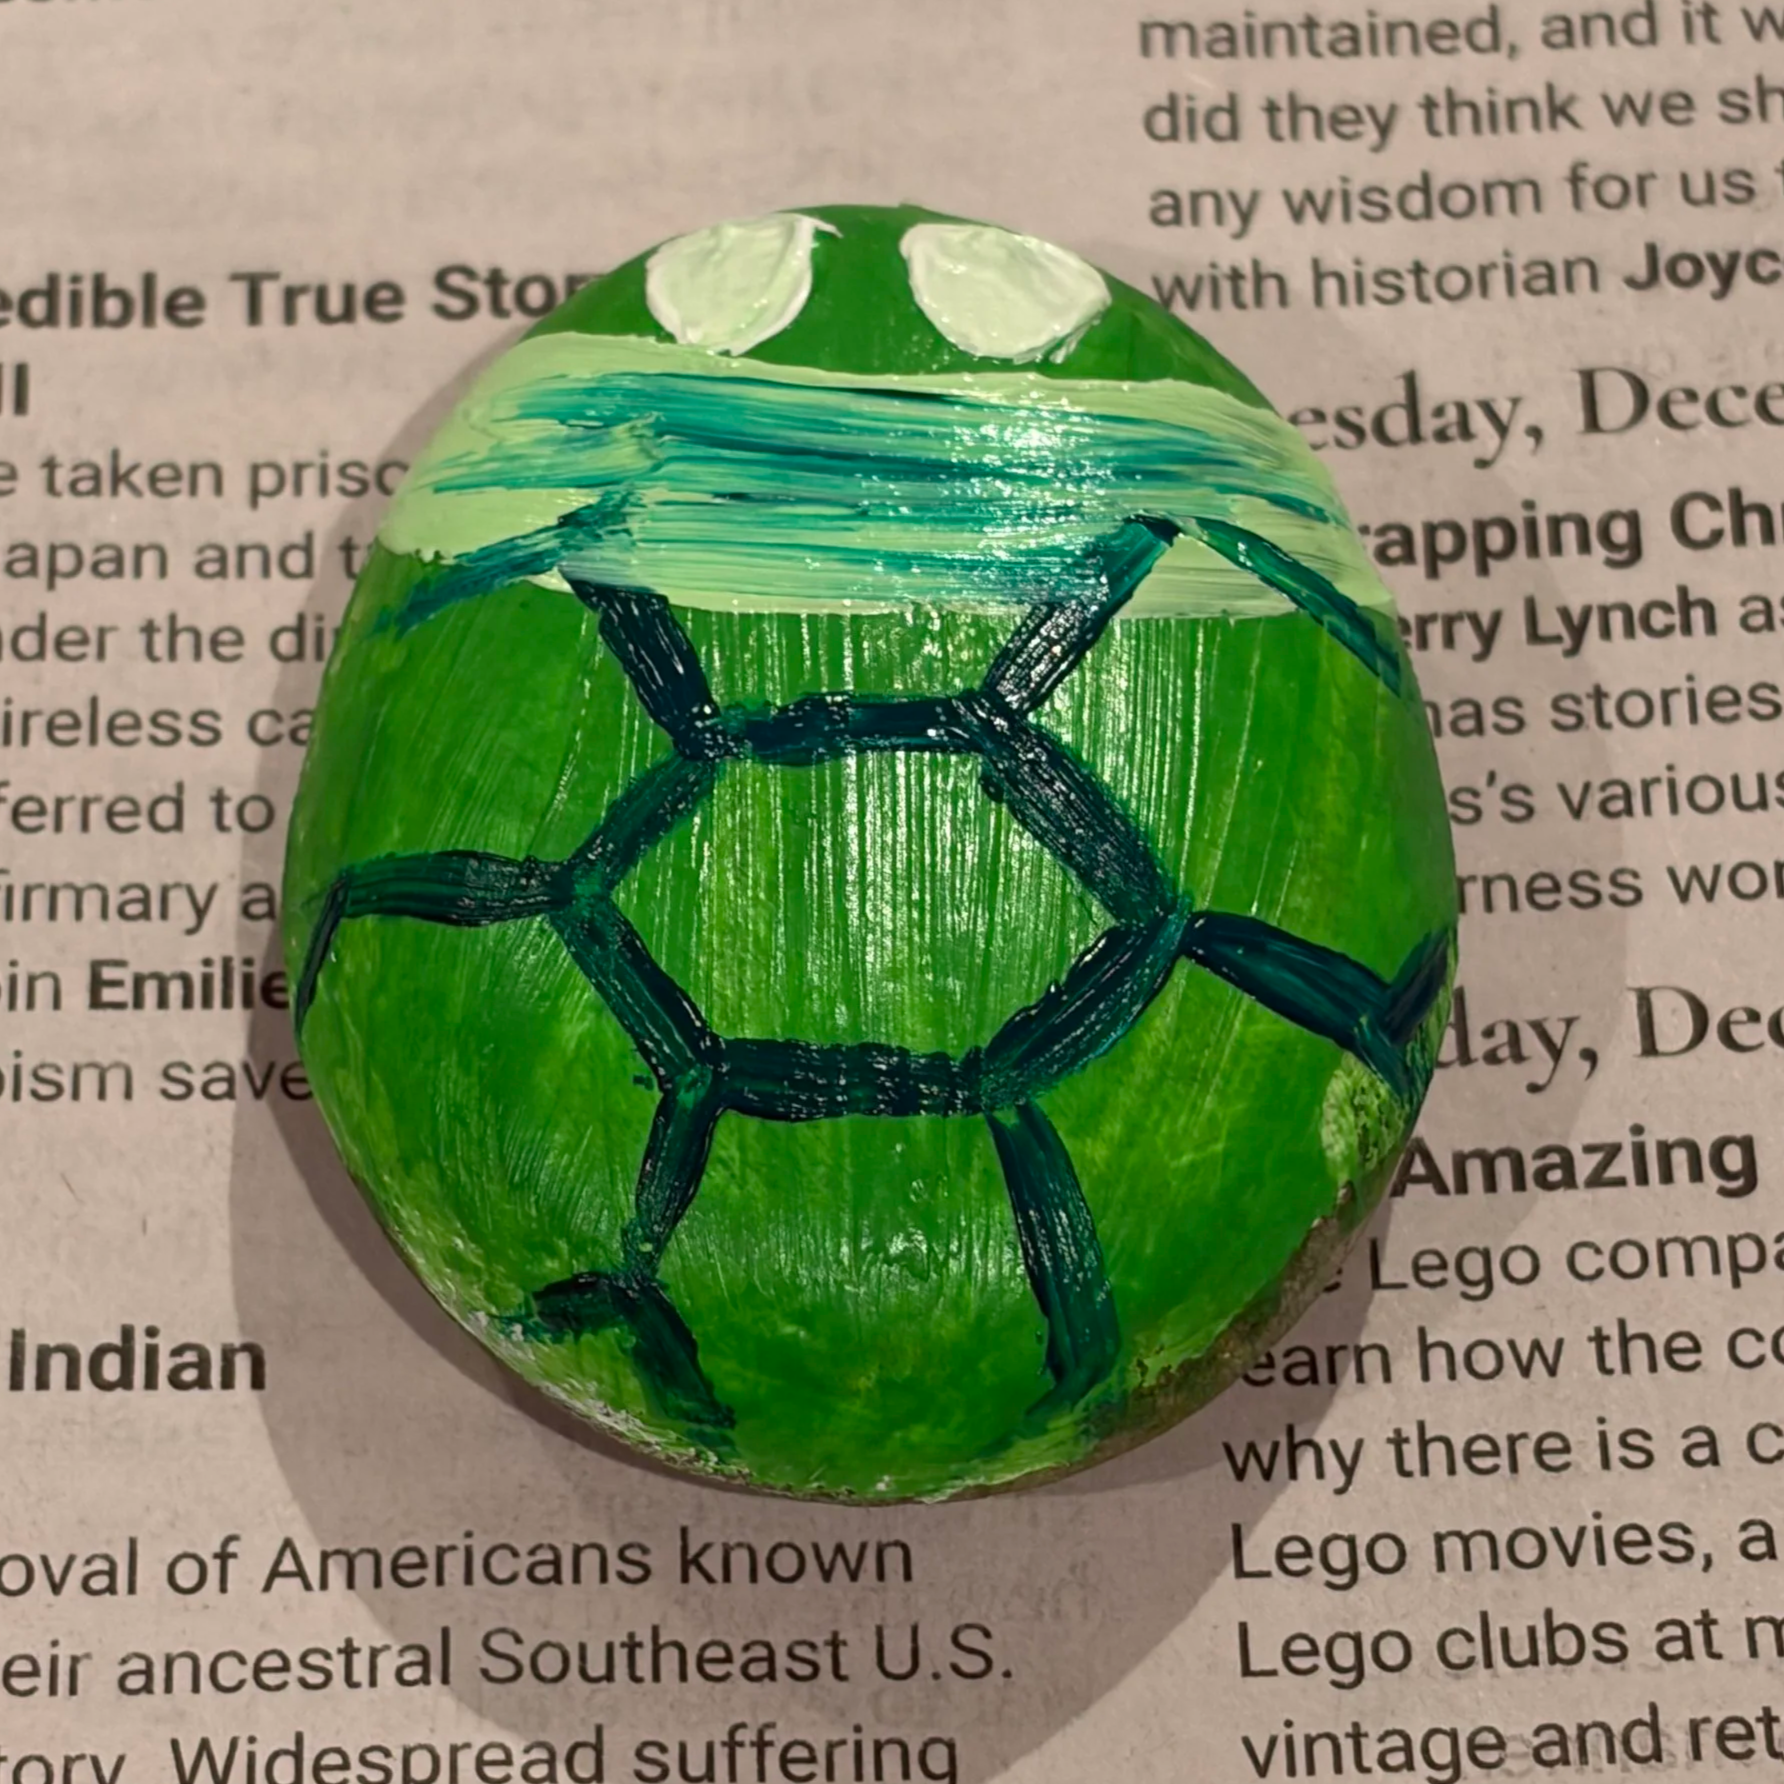
Step 4: Sketch the Hexagons
Lightly trace hexagons across the back of the shell with a pencil.
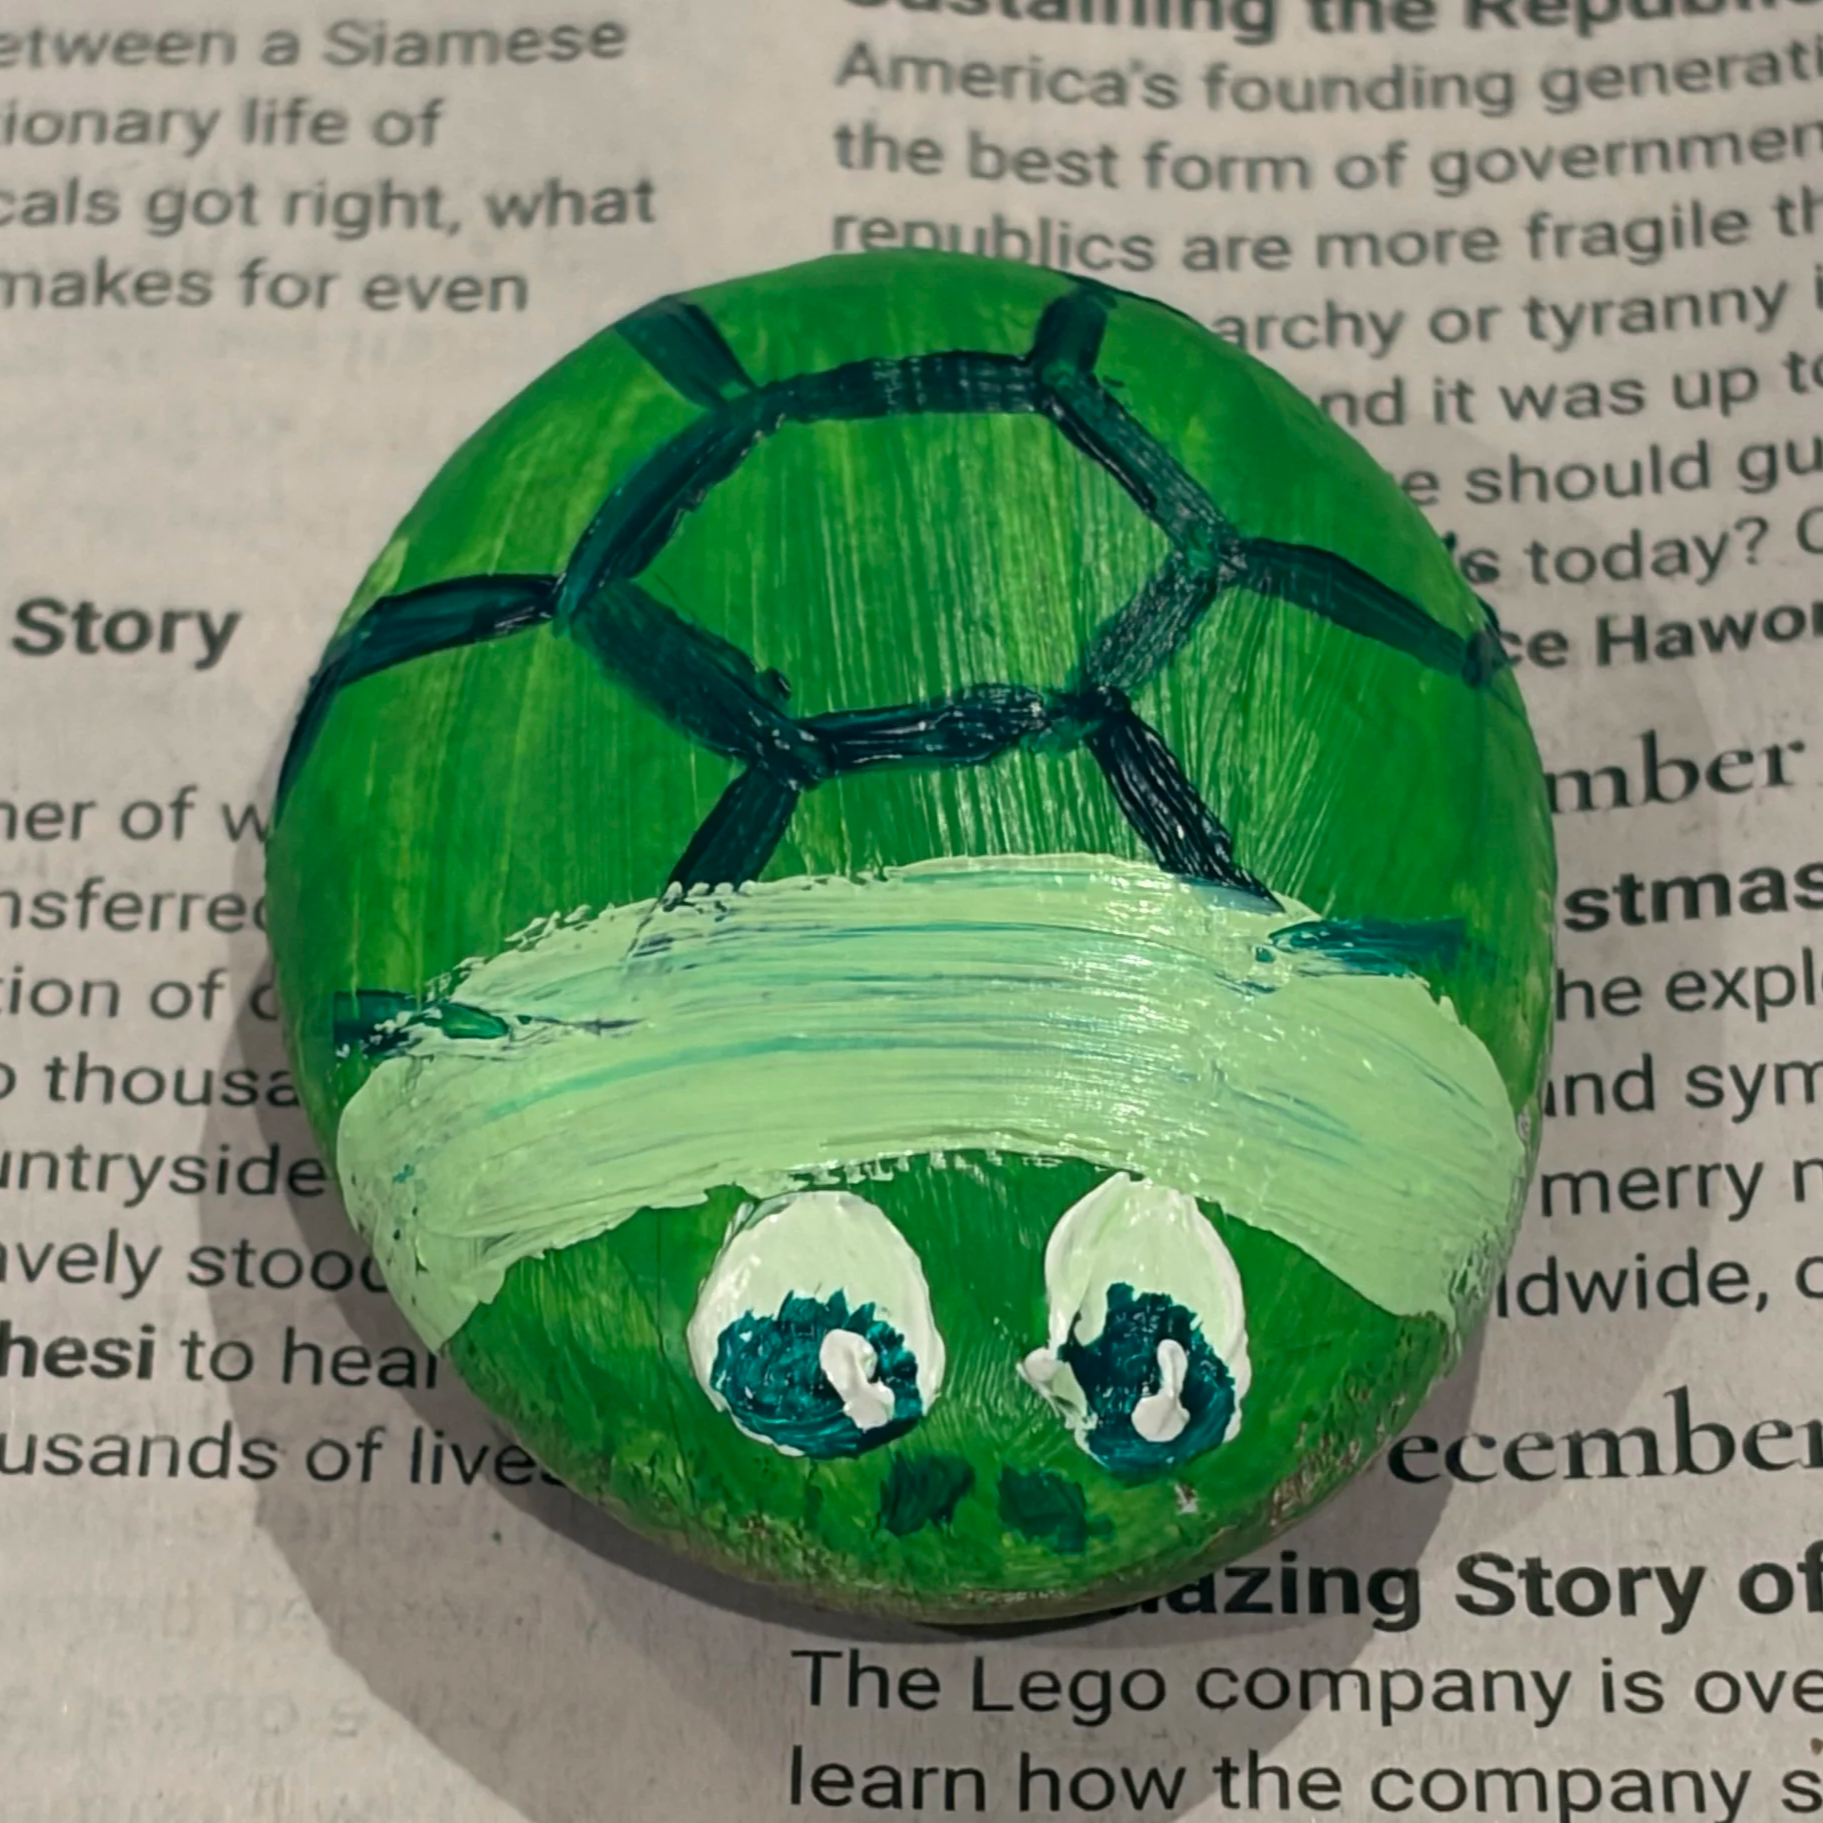
One-rock turtle: Leave the hexagons unfilled. Instead, paint a band of light green toward the front of the shell to separate the head area.
Six-rock turtle: Fill in each hexagon completely.
A real turtle's shell is built the same way - made up of 13 large plates called scutes running down the center and sides!
Step 5: Detail the Eyes
Use dark green to paint in the pupils.
Step 6: Add Highlights
Use white to add small highlights on the shell and in the eyes. This single step is what makes the design pop instead of looking flat — skip it and the shell reads matte and one-dimensional.
Step 7: Seal the Rock
Once everything is completely dry (give it a full 24 hours, not just dry-to-the-touch), apply 2 thin coats of acrylic sealer to protect your work. If this turtle is headed for the garden rather than a shelf, follow our full guide to sealing painted rocks for outdoor durability. The right sealer is the difference between colors that last a season and colors that fade in a few weeks of sun and rain.
Tips for Better Results
Let each color dry completely before adding the next. Rushing the hexagon layer is where most smudging happens.
Keep your hexagons loose and slightly imperfect. Real turtle shells aren't perfectly symmetrical, and yours don't need to be either.
Working with a classroom or a group of kids? Pre-sketch the hexagon grid in pencil ahead of time so little hands only have to focus on staying inside the lines.
Want more animal and character designs to pair with this one? Browse 30+ more painted rock ideas or our cute rock painting ideas for a themed garden collection.
FAQ
What paint should I use for a painted rock turtle? Stick with acrylic paint. It dries fast, layers well, and holds up outdoors far better than craft or poster paint. For this project you only need four colors: white, light green, dark green, and black, plus an acrylic sealer once you're finished.
How do I keep the hexagon pattern even? Lightly sketch the grid in pencil before you paint, working from the center of the shell outward. Keep hexagons loose rather than perfectly uniform — real turtle shells aren't symmetrical, so a little variation actually looks more natural.
Can I use paint pens instead of a brush? Yes. Paint pens work well for the fine hexagon outlines and eye details in Steps 4 and 5, while a brush is usually easier for the solid base coats in Steps 1 and 2.
How long should a painted rock turtle dry before sealing? Acrylic paint is dry to the touch in about 20–30 minutes, but let it cure for a full 24 hours before sealing. Sealing over paint that hasn't fully cured can trap moisture and cause cloudiness or peeling later.
Will a painted rock turtle survive outside? With acrylic paint and 2 thin coats of a UV-resistant outdoor sealer, yes. Rocks kept in direct sun and rain will fade faster than shaded, covered spots, so a shadier garden bed or planter will keep the colors looking fresh longer.
Perfect Rock Painting Project for All Ages
A painted rock turtle is one of the most forgiving beginner projects in rock painting: one shape, four colors, and a shell pattern that looks intricate but is really just repetition. Whether you build the single-rock version for a shelf or the six-rock version for the garden, the technique scales to a classroom activity, a rainy-day project, or a quiet weekend craft. Save this tutorial, and when you're ready for your next design, check out our rock painting beginners guide for more techniques and troubleshooting tips.