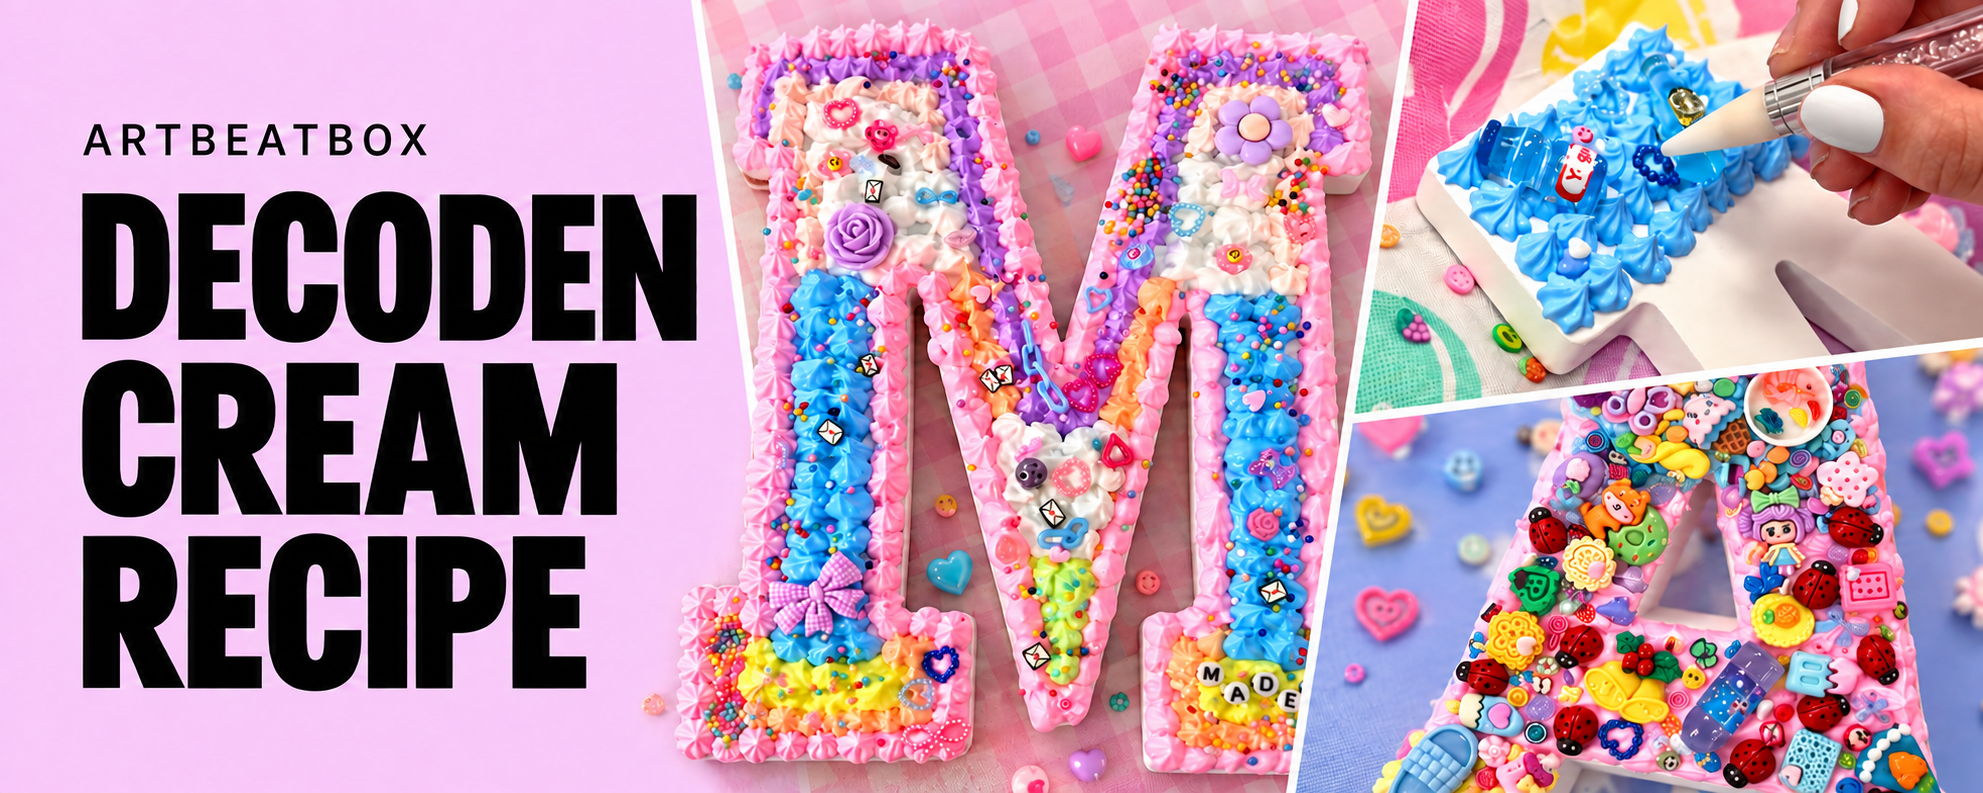
Decoden cream is a thick, pipeable craft paste that dries to look like real whipped cream. You can make it at home by mixing 100% neutral-cure silicone sealant with cornstarch, then tinting it with a drop of acrylic paint. It pipes like frosting, holds charms and rhinestones in place, and fully cures in about 24 hours.
If you've ever seen a phone case piled with "frosting," candy charms, and sparkle, that's decoden. I'm Kim, a former art teacher, and I've made decoden projects with middle schoolers and on my own crafting table. This tutorial is for beginners, teens, parents, and crafters who want a budget-friendly recipe that actually works.

Decoden cream looks like whipped cream
Quick answer: decoden cream recipe
- What it is: a whipped-cream-look craft adhesive, also called cream glue, whipped cream glue, or imitation cream
- Ingredients: 100% neutral-cure silicone sealant, cornstarch, acrylic paint (optional)
- Starter ratio: 3 parts silicone to 1 part cornstarch by volume
- Working time: about 10 to 20 minutes once mixed
- Dry time: dry to the touch in about an hour, fully cured in about 24 hours
- Cost: one tube of silicone from the hardware store makes several phone cases
What is decoden cream?
Decoden cream is a craft material that looks and pipes like whipped cream, then dries into a flexible, rubbery finish. Crafters use it as both the decoration and the glue: you pipe the "cream" onto a surface and press charms, cabochons, and rhinestones into it while it's wet.
You'll see it sold and searched under lots of names, and they all mean the same material:
Cream glue or whipped cream glue
Decoden glue or deco cream
Imitation cream, fake whipped cream, or simulation cream
Whipped silicone or silicone cream
The word decoden comes from Japan, a blend of "decoration" and denwa, the Japanese word for telephone. The style started with decorated phones and now shows up on hair clips, jewelry boxes, mirrors, picture frames, and wall art.
What is decoden cream made of?
Homemade decoden cream is made of silicone sealant thickened with cornstarch. Store-bought cream glue is usually a ready-made silicone or acrylic paste in a squeeze tube.
| Ingredient | What it does | Tips |
|---|---|---|
| 100% silicone sealant, neutral cure | Forms the rubbery, waterproof body of the cream | Clear or white both work. White gives the most realistic cream color. |
| Cornstarch | Thickens the silicone so it holds a piped shape and helps it set faster | Add 1 teaspoon (5 mL) at a time. Baking powder also works in a pinch. |
| Acrylic paint (optional) | Tints the cream pink, mint, chocolate, or any color | Start with one drop. Too much paint can make the cream runny. |
Supplies you'll need:
A caulk gun (most silicone comes in a 10 oz cartridge)
A disposable cup or bowl you won't use for food again
A craft stick or silicone spatula for mixing
Nitrile gloves
A piping bag with a large star tip, such as Wilton 1M or 2D
Your project: a phone case, hair clip, frame, or mirror
Charms, cabochons, or rhinestones for decorating
The hardware store is the budget move here. A tube of silicone costs much less per ounce than craft-store cream clay, and it goes a long way.
How to make decoden cream, step by step
Mix only what you can pipe in about 15 minutes. Cornstarch speeds up how fast silicone sets, so small batches give you the smoothest results.
Set up your space. Open a window or work outside, cover your table, and put on gloves. Silicone sticks to everything while it's wet.
Squeeze out the silicone. Depending on the size of your project, pipe about 3 tablespoons (45 mL) of silicone into your cup.
Add cornstarch slowly. Stir in 1 teaspoon (5 mL) of cornstarch at a time, folding it in with your craft stick. Stop when the mixture looks like thick frosting and holds a soft peak, usually around 1 tablespoon (15 mL) total.
Tint it (optional). Add one drop of acrylic paint and fold until the color is even. Pastels look the most like real whipped cream, so go easy.
Fill your piping bag. Spoon the cream into a piping bag fitted with a large star tip. Twist the top closed so it doesn't ooze out the back.
Practice first. Pipe a few swirls on scrap cardboard to get a feel for the pressure and speed.
Pipe onto your project. Hold the bag at a 90-degree angle and squeeze steadily as you move. Work in short sections.
Add your decorations right away. Press charms and rhinestones into the cream within the first 10 minutes, while the surface is still tacky. I like a wax pencil rhinestone picker for placing tiny crystals.
Let it cure. Set your project flat somewhere it won't get bumped and leave it for a full 24 hours before using it.
How long does decoden cream take to dry?
Homemade decoden cream is usually dry to the touch within about an hour and fully cured in about 24 hours. Thick swirls take longer to cure all the way through, so wait at least a full day before you handle your project. Many 100% silicone sealants list a tack-free time of 10 to 20 minutes and a fullcure of 24 hours (DAP technical data sheet). Adding cornstarch speeds that up (Make:).
Which silicone to buy for decoden
Buy 100% silicone sealant labeled "neutral cure." Acetic cure (also called acetoxy) silicone releases acetic acid as it cures, which gives it a strong vinegar smell. Neutral cure silicone has a much lighter smell and is gentler on delicate surfaces (Soudal).
| Silicone type | Smell while curing | Best for decoden? |
|---|---|---|
| Neutral cure, 100% silicone | Light or almost none | Yes. This is the one to buy. |
| Acetic or acetoxy cure, 100% silicone | Strong vinegar smell | It works, but plan to work outdoors. |
| Siliconized acrylic caulk ("paintable" caulk) | Mild | No. It won't fluff up the same way and can shrink as it dries. |
How to make decoden cream without silicone
When I made decoden phone cases with my middle school classes, we skipped silicone and used spackle tinted with acrylic paint in a piping bag. It worked great! Spackle is low-odor and easy to clean up, which makes it a smart pick for kids and classrooms.
Keep in mind that spackle dries harder and more brittle than silicone. It's best for projects that won't bend, like wall art, frames, and boxes. For a bendy phone case, silicone holds up better. You can also find ready-made "cream clay" or cream glue at most craft stores if you'd rather skip the mixing.
Want to take it further? See how I turned this technique into decoden wall art.
Tips for realistic whipped cream piping
Use a big star tip. The ridges are what make it read as whipped cream from across the room.
Keep your pressure even. Stop squeezing before you lift the bag for a clean point on top.
Layer swirls on swirls. Real whipped cream is lumpy and generous, so overlap your swirls.
Don't overload the cornstarch. Too much makes the cream stiff, crumbly, and hard to pipe.
Pair it with fake food. Decoden cream is perfect for topping miniature fake food, realistic fake donuts, and a DIY fake cake.

Troubleshooting your decoden cream
| Problem | Likely cause | Fix |
|---|---|---|
| Too runny, won't hold a swirl | Not enough cornstarch, or too much paint | Fold in more cornstarch, 1 teaspoon at a time |
| Too stiff or crumbly | Too much cornstarch | Mix in a fresh squeeze of silicone |
| Setting up in the piping bag | Batch was too big | Mix smaller batches you can use in 10 to 15 minutes |
| Strong vinegar smell | Acetic cure silicone | Switch to neutral cure or work outdoors |
| Charms falling off after drying | Decorations were added too late | Press charms in within the first 10 minutes |
Decoden cream FAQ
-
Yes. Decoden cream, cream glue, whipped cream glue, deco cream, and imitation cream all describe the same kind of material. It's a thick, pipeable paste that looks like whipped cream and doubles as the adhesive that holds charms and rhinestones in place. Homemade versions use silicone sealant and cornstarch.
-
Homemade decoden cream is made of 100% silicone sealant mixed with cornstarch, plus a drop of acrylic paint for color. The silicone gives it a flexible, waterproof finish, and the cornstarch thickens it so it holds a piped shape. Store-bought cream glue is usually a premixed silicone or acrylic paste.
-
Most homemade decoden cream is dry to the touch in about an hour and fully cured in about 24 hours. Thick swirls and humid rooms can slow that down. Wait a full day before handling your project or putting a phone back into a decorated case.
-
Yes. Tinted spackle in a piping bag makes a great silicone-free decoden cream, especially for kids and classrooms. It's low-odor and cleans up with water. Spackle dries harder than silicone, so it works best on flat projects like frames, boxes, and wall art.
-
Silicone-based decoden cream is best for teens and adults working with gloves in a well-ventilated space. Always follow the safety directions on your sealant label. For younger kids, use the spackle method with adult supervision. Cured decoden pieces have small parts, so keep them away from little ones.
-
Silicone-based decoden cream is water-resistant once fully cured, so a quick wipe with a damp cloth is fine. Avoid soaking your project, since charms and rhinestones can loosen over time. Spackle-based cream is not waterproof and should stay dry.

Ready to start decorating?
Now you know how to make decoden cream with three simple ingredients: neutral-cure silicone, cornstarch, and a touch of acrylic paint. Mix small batches, pipe with a big star tip, press your charms in fast, and give it a full 24 hours to cure. This really is such a fun project for kids, teens, AND adults! The possibilities are endless!
Want to add a little sparkle to your decoden projects? Start with my guide to bedazzling with rhinestones for beginners, or join the Bling It On course to learn my full rhinestone process. Tag me when you make your first decoden project - I'd love to see it!