DIY Halloween Cloche: An Easy Miniature Craft for Kids
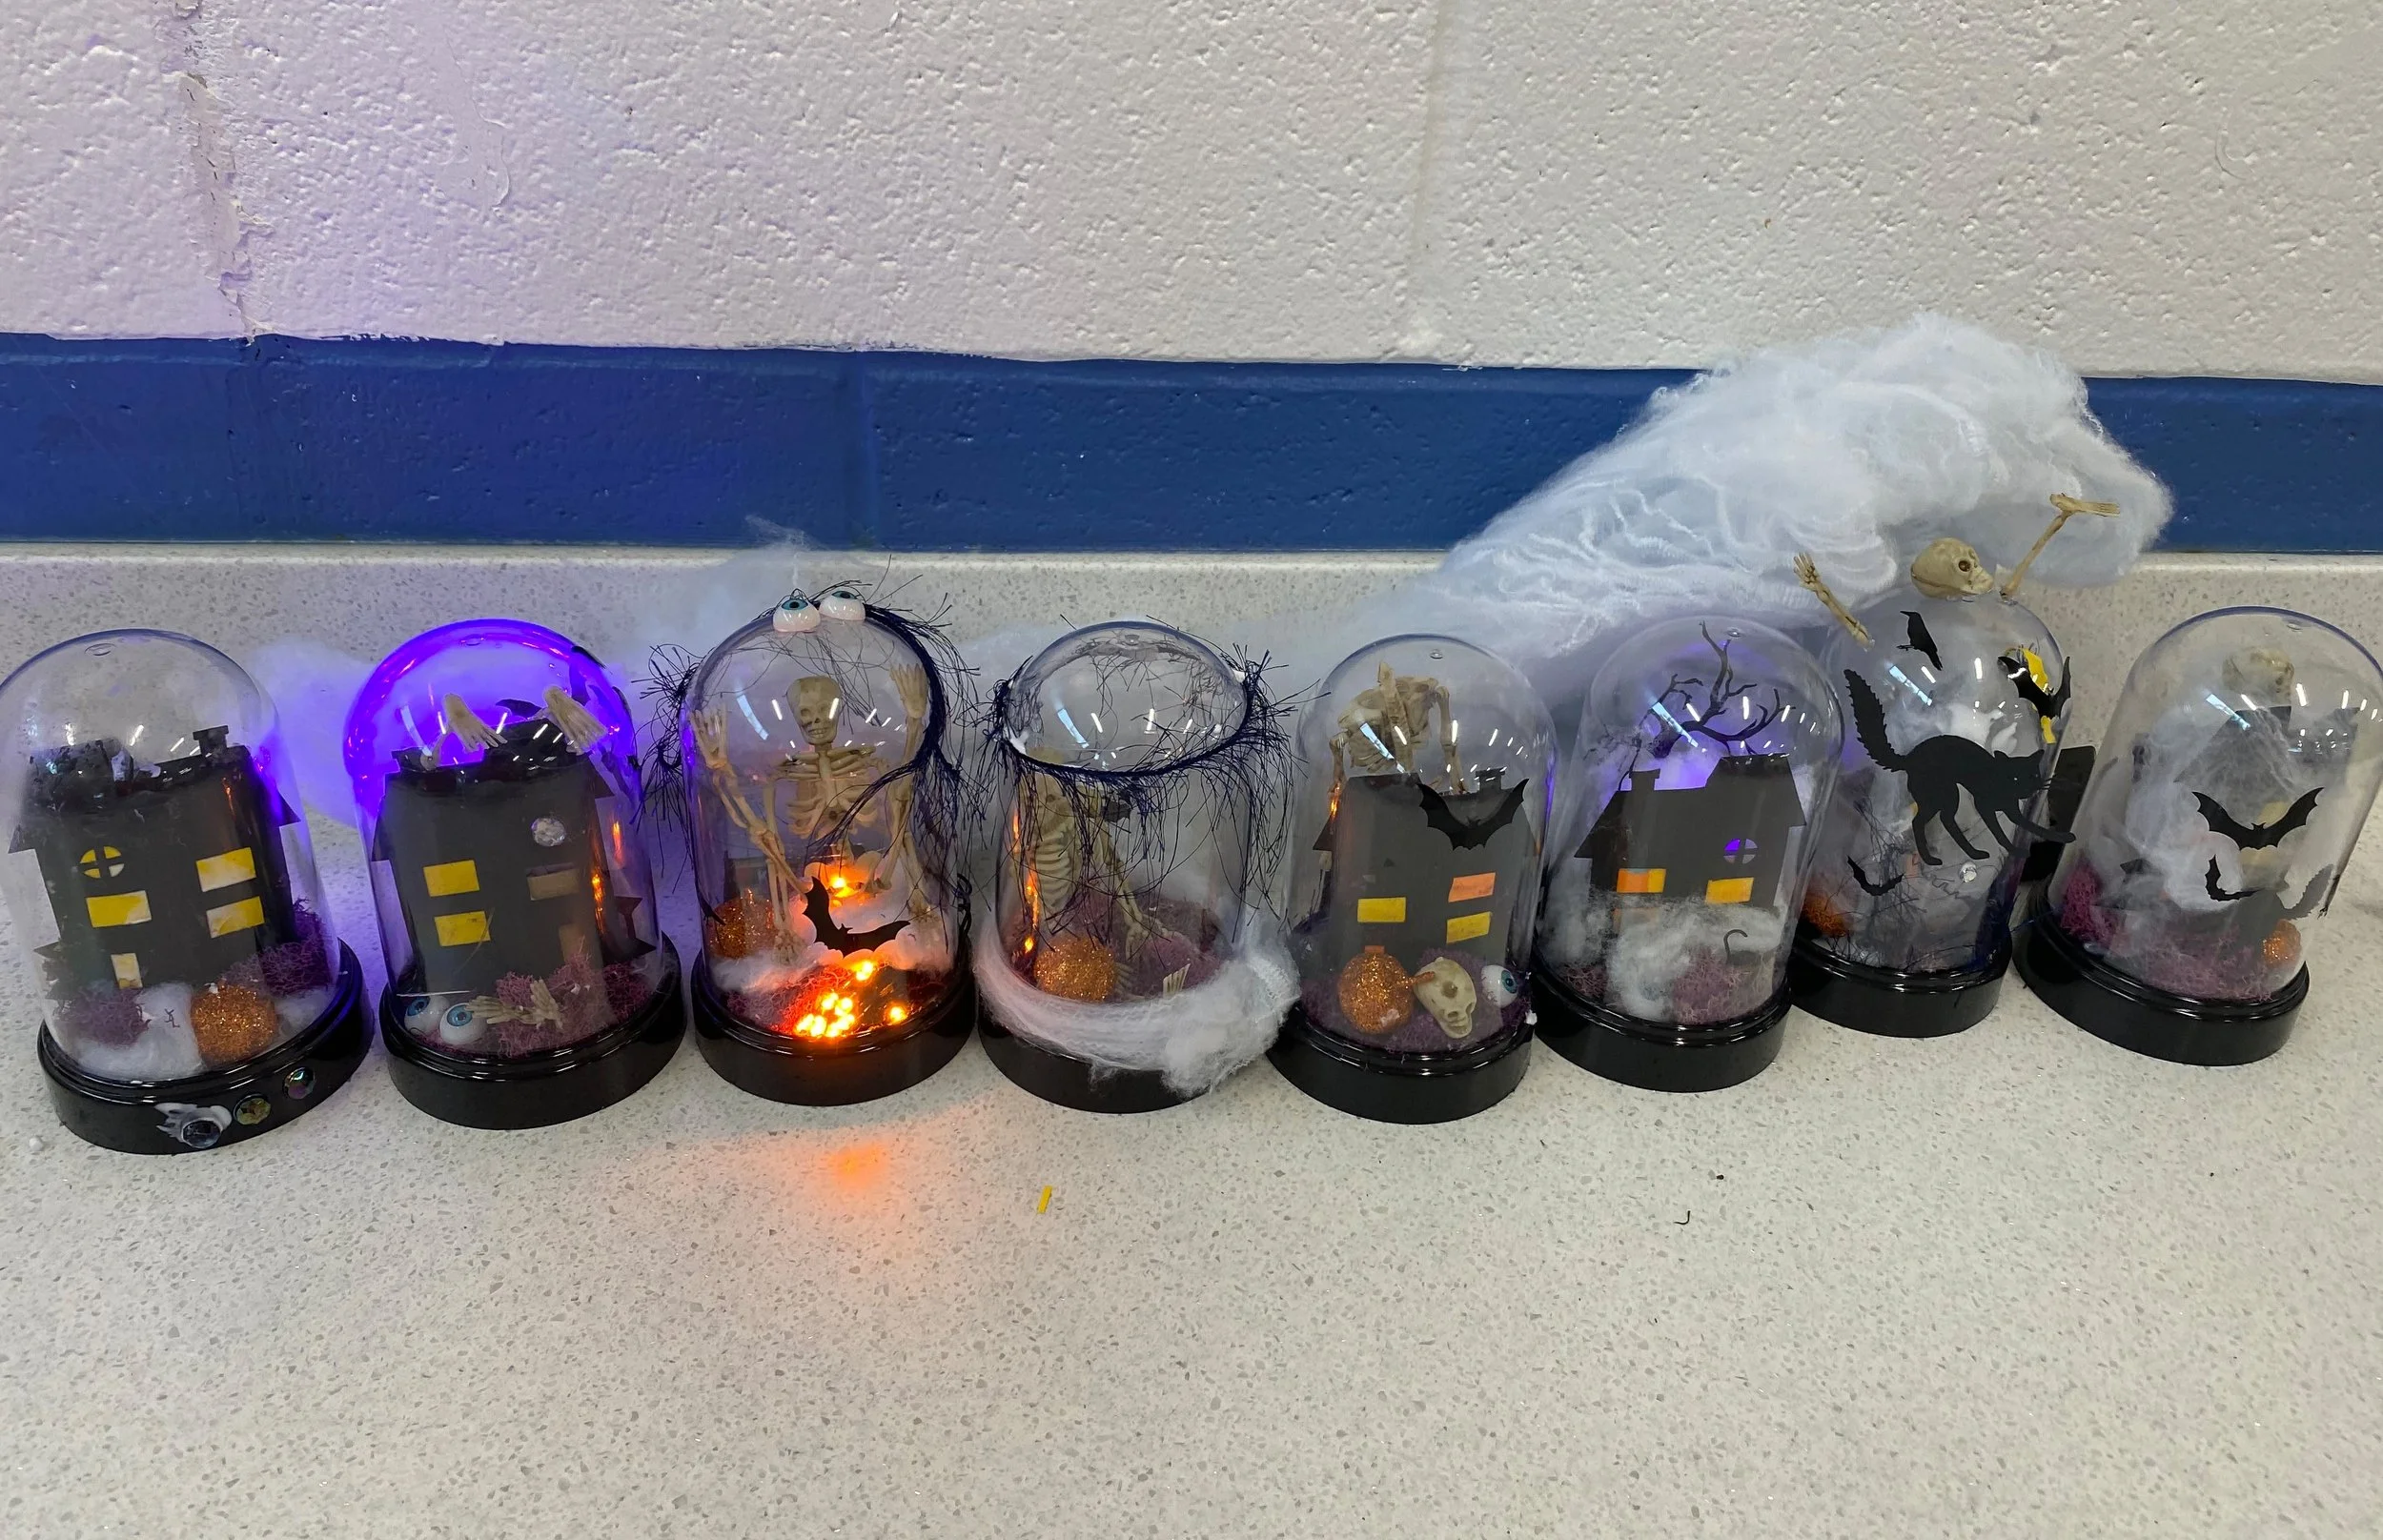
A DIY Halloween cloche is a glass or plastic dome filled with a tiny spooky scene: miniature houses, skeletons, black cats, moss, and a little glow of fairy lights. Every year I look for new ideas to bring to my art classes, and this one was a hit. Kids need chances to experiment and build things with their hands, and Halloween is the perfect excuse.
This miniature Halloween village is the kind of decoration parents pull out of the box every October. It's for art teachers, parents, and anyone who loves miniatures and loves being a little spooked.
What Is a Halloween Cloche?
A Halloween cloche is a glass or plastic dome that displays a small Halloween scene, like a spooky diorama under glass. Cloches are usually used for plants, terrariums, and flowers. Fill one with a miniature haunted village instead, and you get a whimsical, spooky, or funny scene, similar to a fairy garden with a Halloween twist.
Materials for a DIY Halloween Cloche
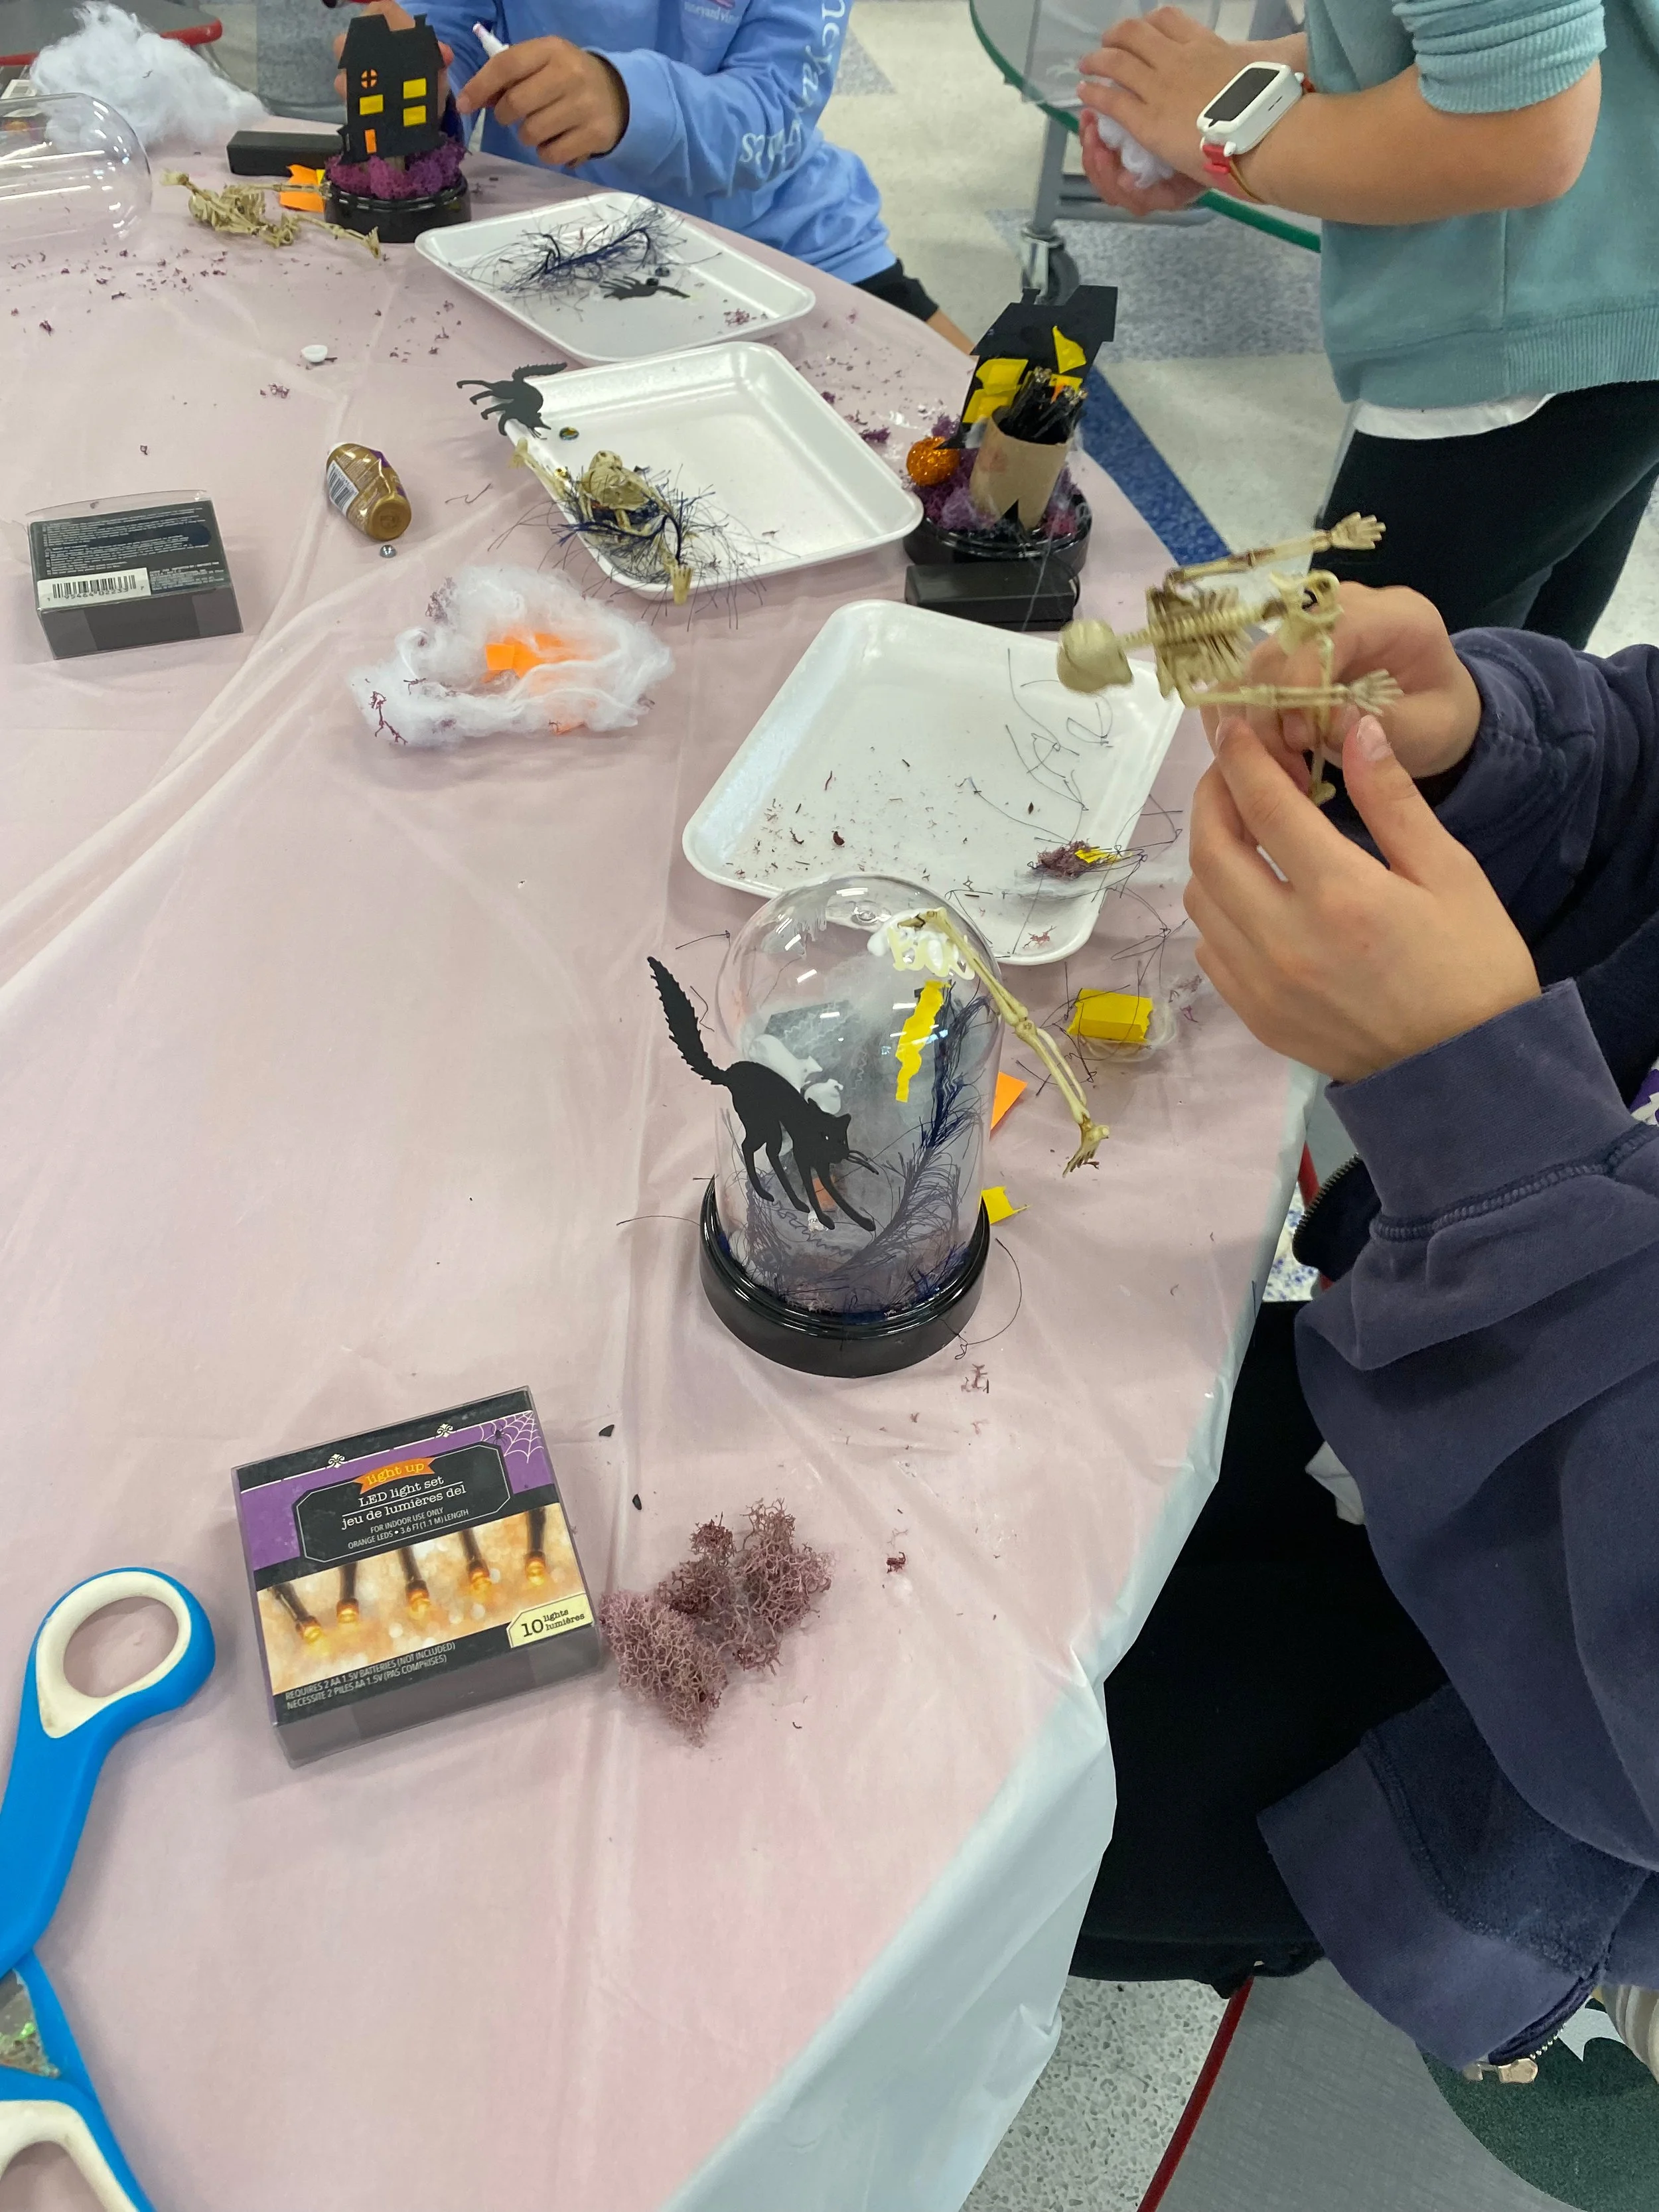
I sourced almost everything from the dollar store. Dollar store inventory changes every year, so I've linked similar items below. My favorite trick is to visit Dollar Tree and the art supply store right after Halloween, when everything is on sale, and stock up for next year. Since I work with kids, I used a plastic dome instead of glass.
| Supply | What It's For |
|---|---|
| Glass or plastic cloche dome | Holds and displays your scene (plastic is safest for kids) |
| Craft glue or hot glue | Secures pieces to the base (use a low-temp glue gun with kids) |
| Miniature skeletons | Your spooky characters |
| Mini Halloween figurines | Focal points like pumpkins, ghosts, and witches |
| Mini spiders | Small creepy details |
| Scissors | Cutting paper houses and cellophane |
| Faux spider webs | Filling gaps and adding atmosphere |
| Moss or faux moss | Ground cover that also hides wires |
| Construction paper | Houses and structures (black makes great spooky silhouettes) |
| Yellow cellophane | Glowing windows on paper houses |
You don't need the exact items listed here. These are simply the supplies I found most useful while making this project.
How to Make a DIY Halloween Cloche in 6 Steps
Step 1: Choose Your Cloche
Decide which cloche or dome to use. I chose plastic because I was making these with kids and didn't want to risk broken glass. I also picked one with a built-in light, because a glowing dome is extra fun for kids.
Kim tip: A mini cloche fills up fast, so choose your size with your supplies in mind.
Step 2: Gather Your Halloween Miniatures
Lay out everything you might want to include in your diorama. I keep the cloche right next to the supplies while I work so I can check what fits.
Step 3: Arrange and Glue Your Scene
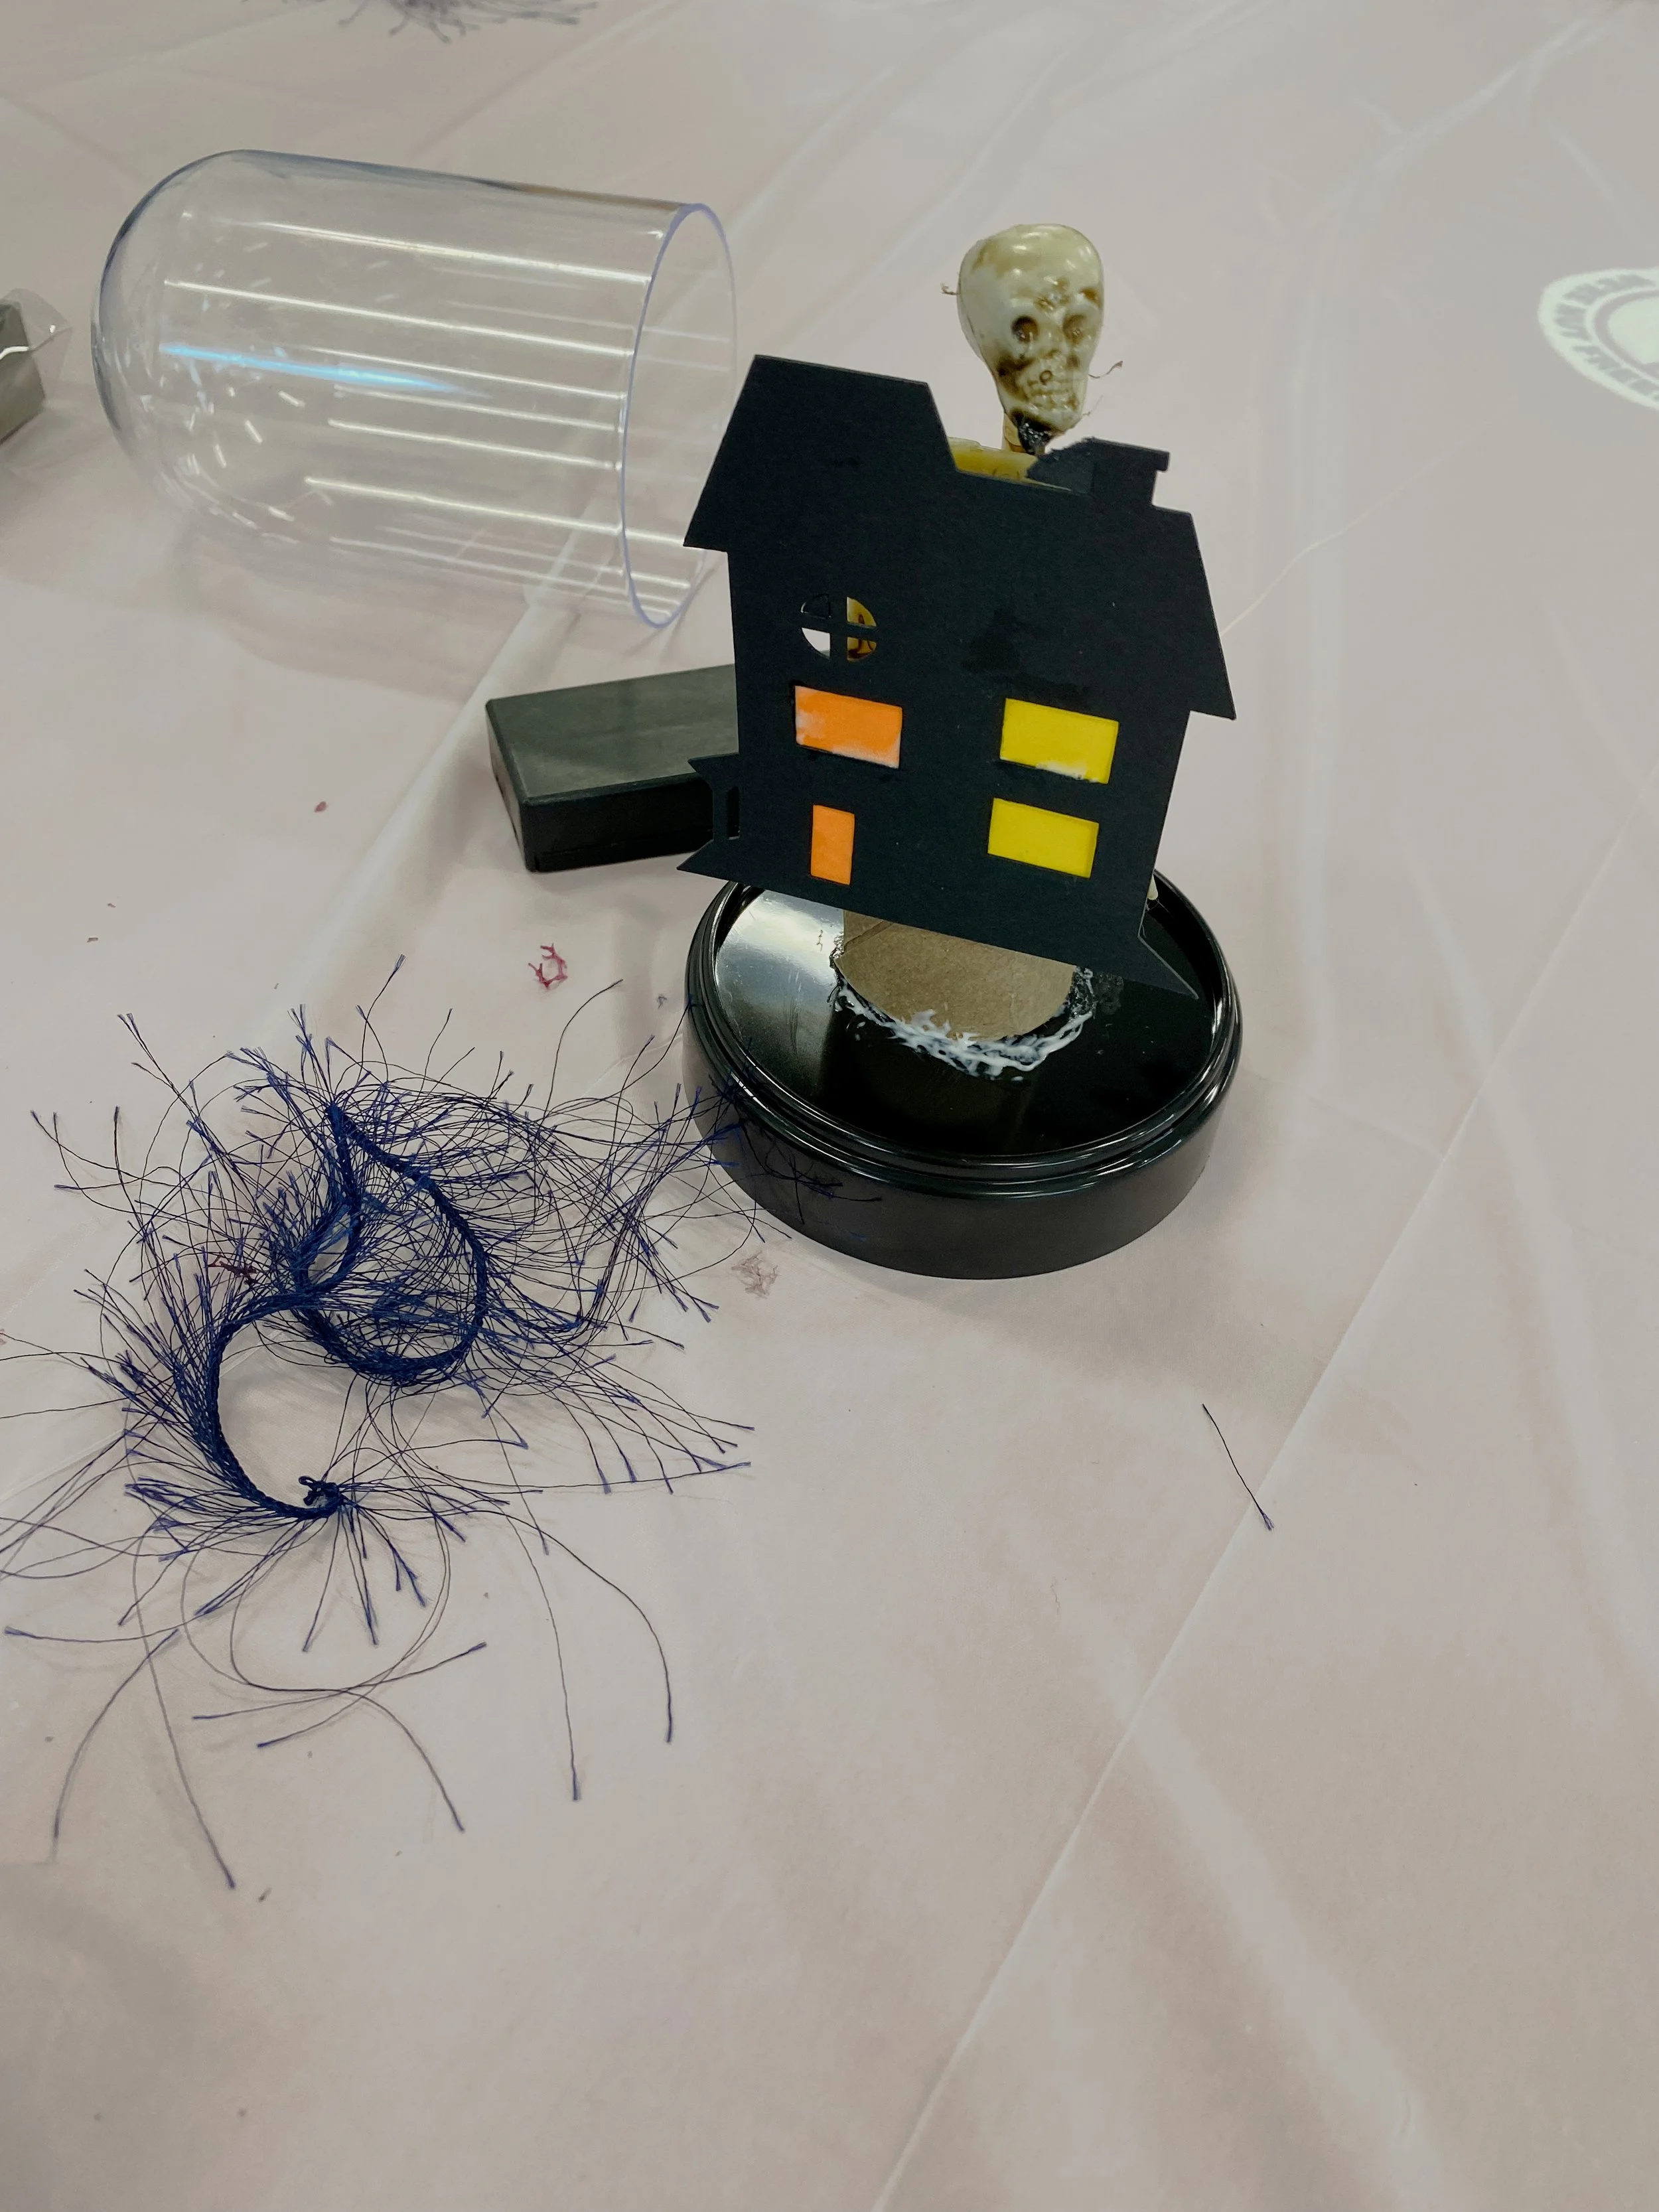
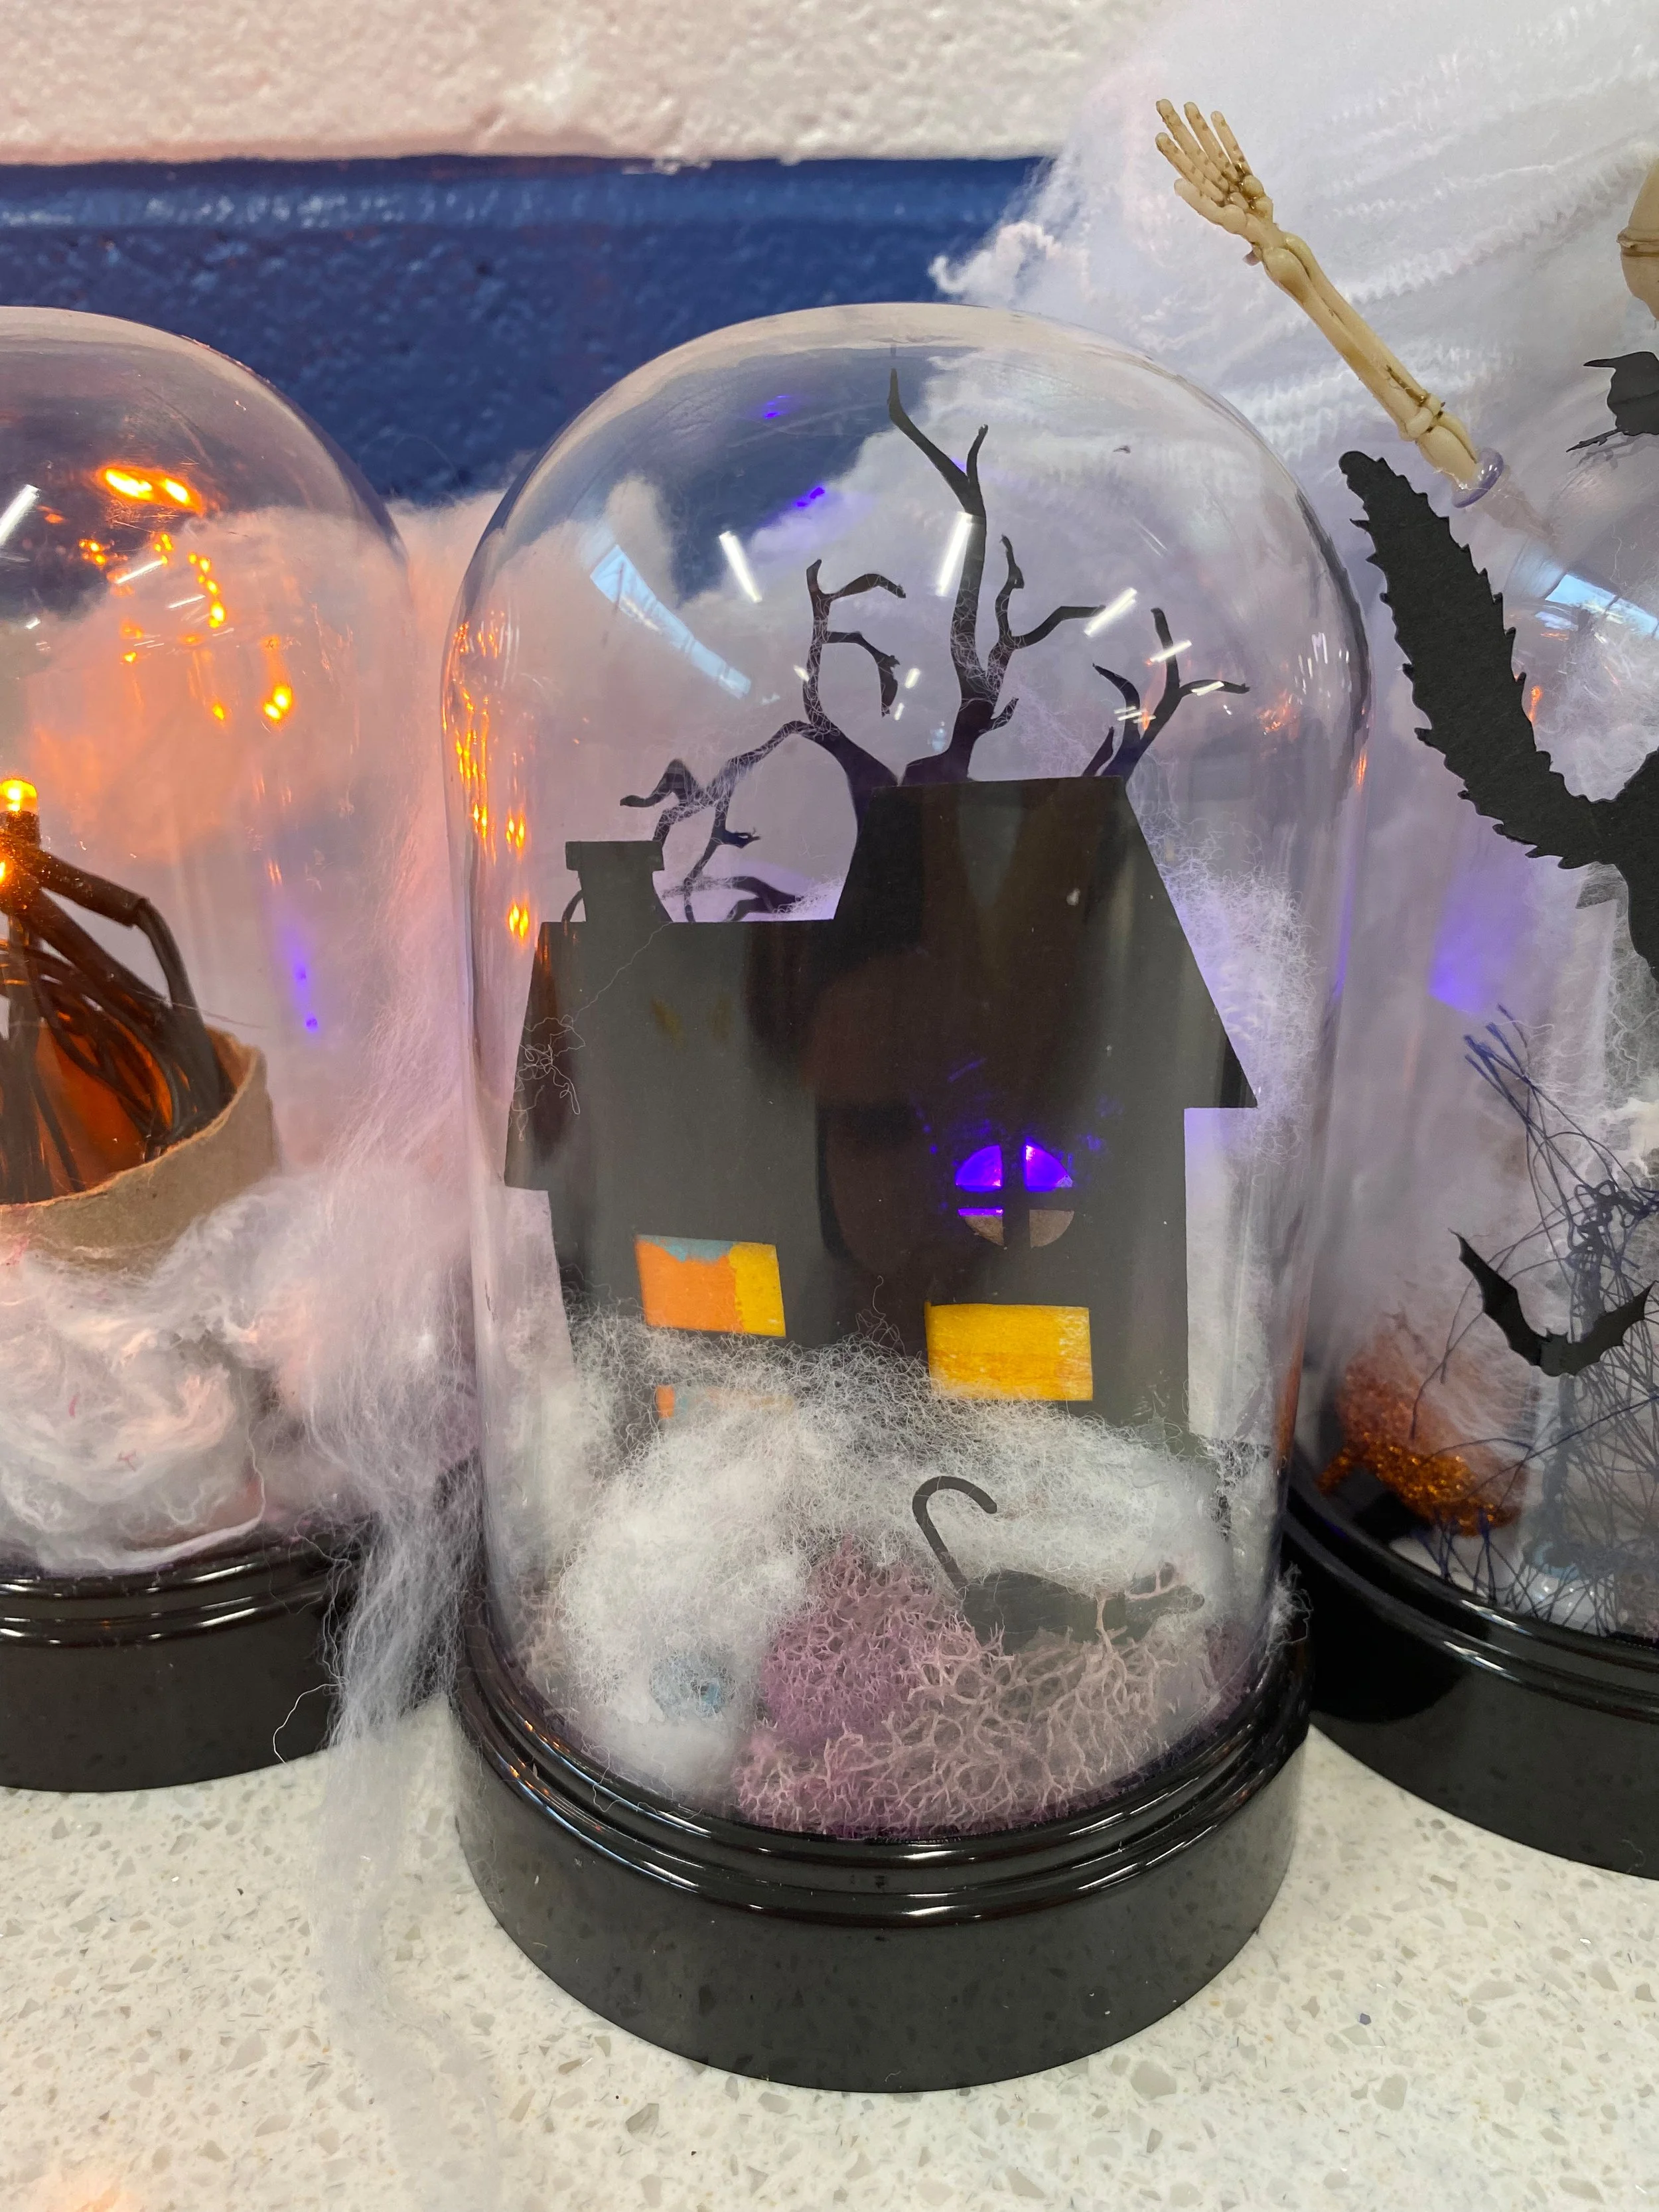
Glue the largest piece first. For my classes, I made a black spooky house template for kids to trace and cut from construction paper. If a student wanted a house or other structure, that went down first.
Add items of varying heights. Mixing tall, medium, and short pieces makes the design more visually appealing.
Test the fit often. Place the dome on top every so often. Once everything is glued, it's hard to go back and remove pieces.
Rotate as you work. A cloche is seen from every side, so turn it and check your little Halloween village from all angles.
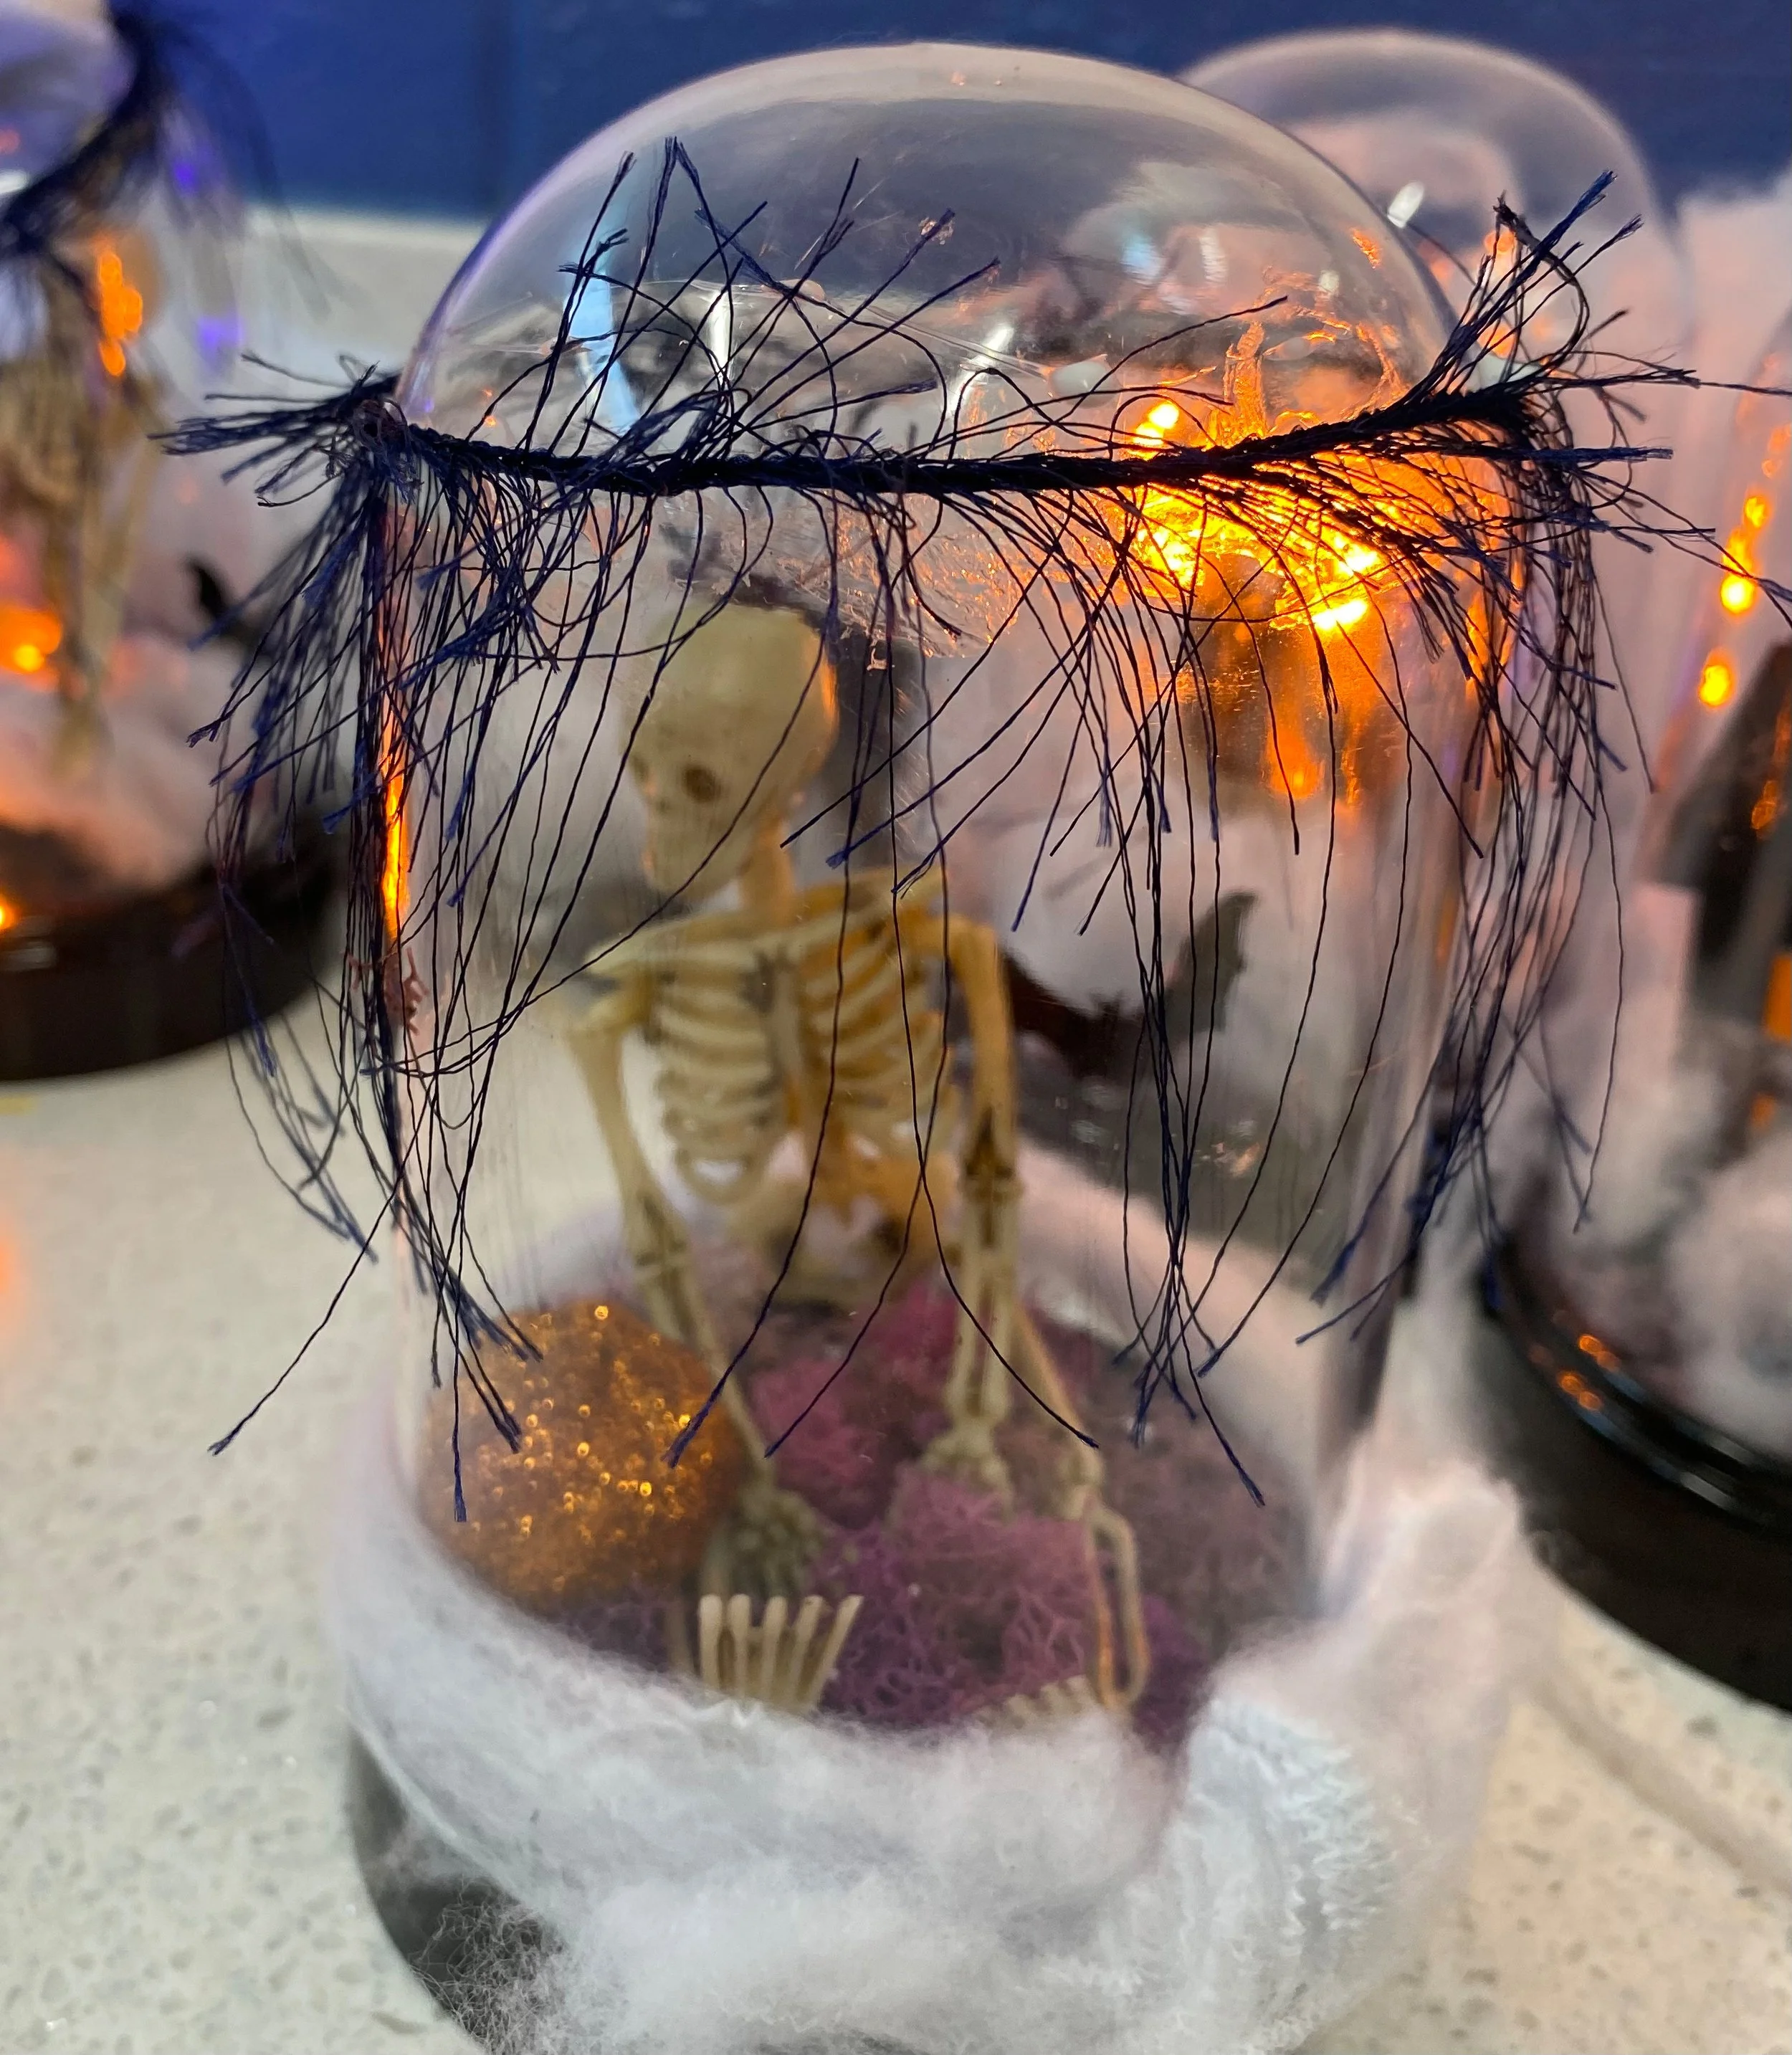
Add skeletons and black cats along the bottom.
Glue moss around the base to cover the ground.
Step 4: Add Halloween Details
Fill any gaps with spider webs, glitter, or gravel. Be creative and have fun!
Step 5: Light It Up
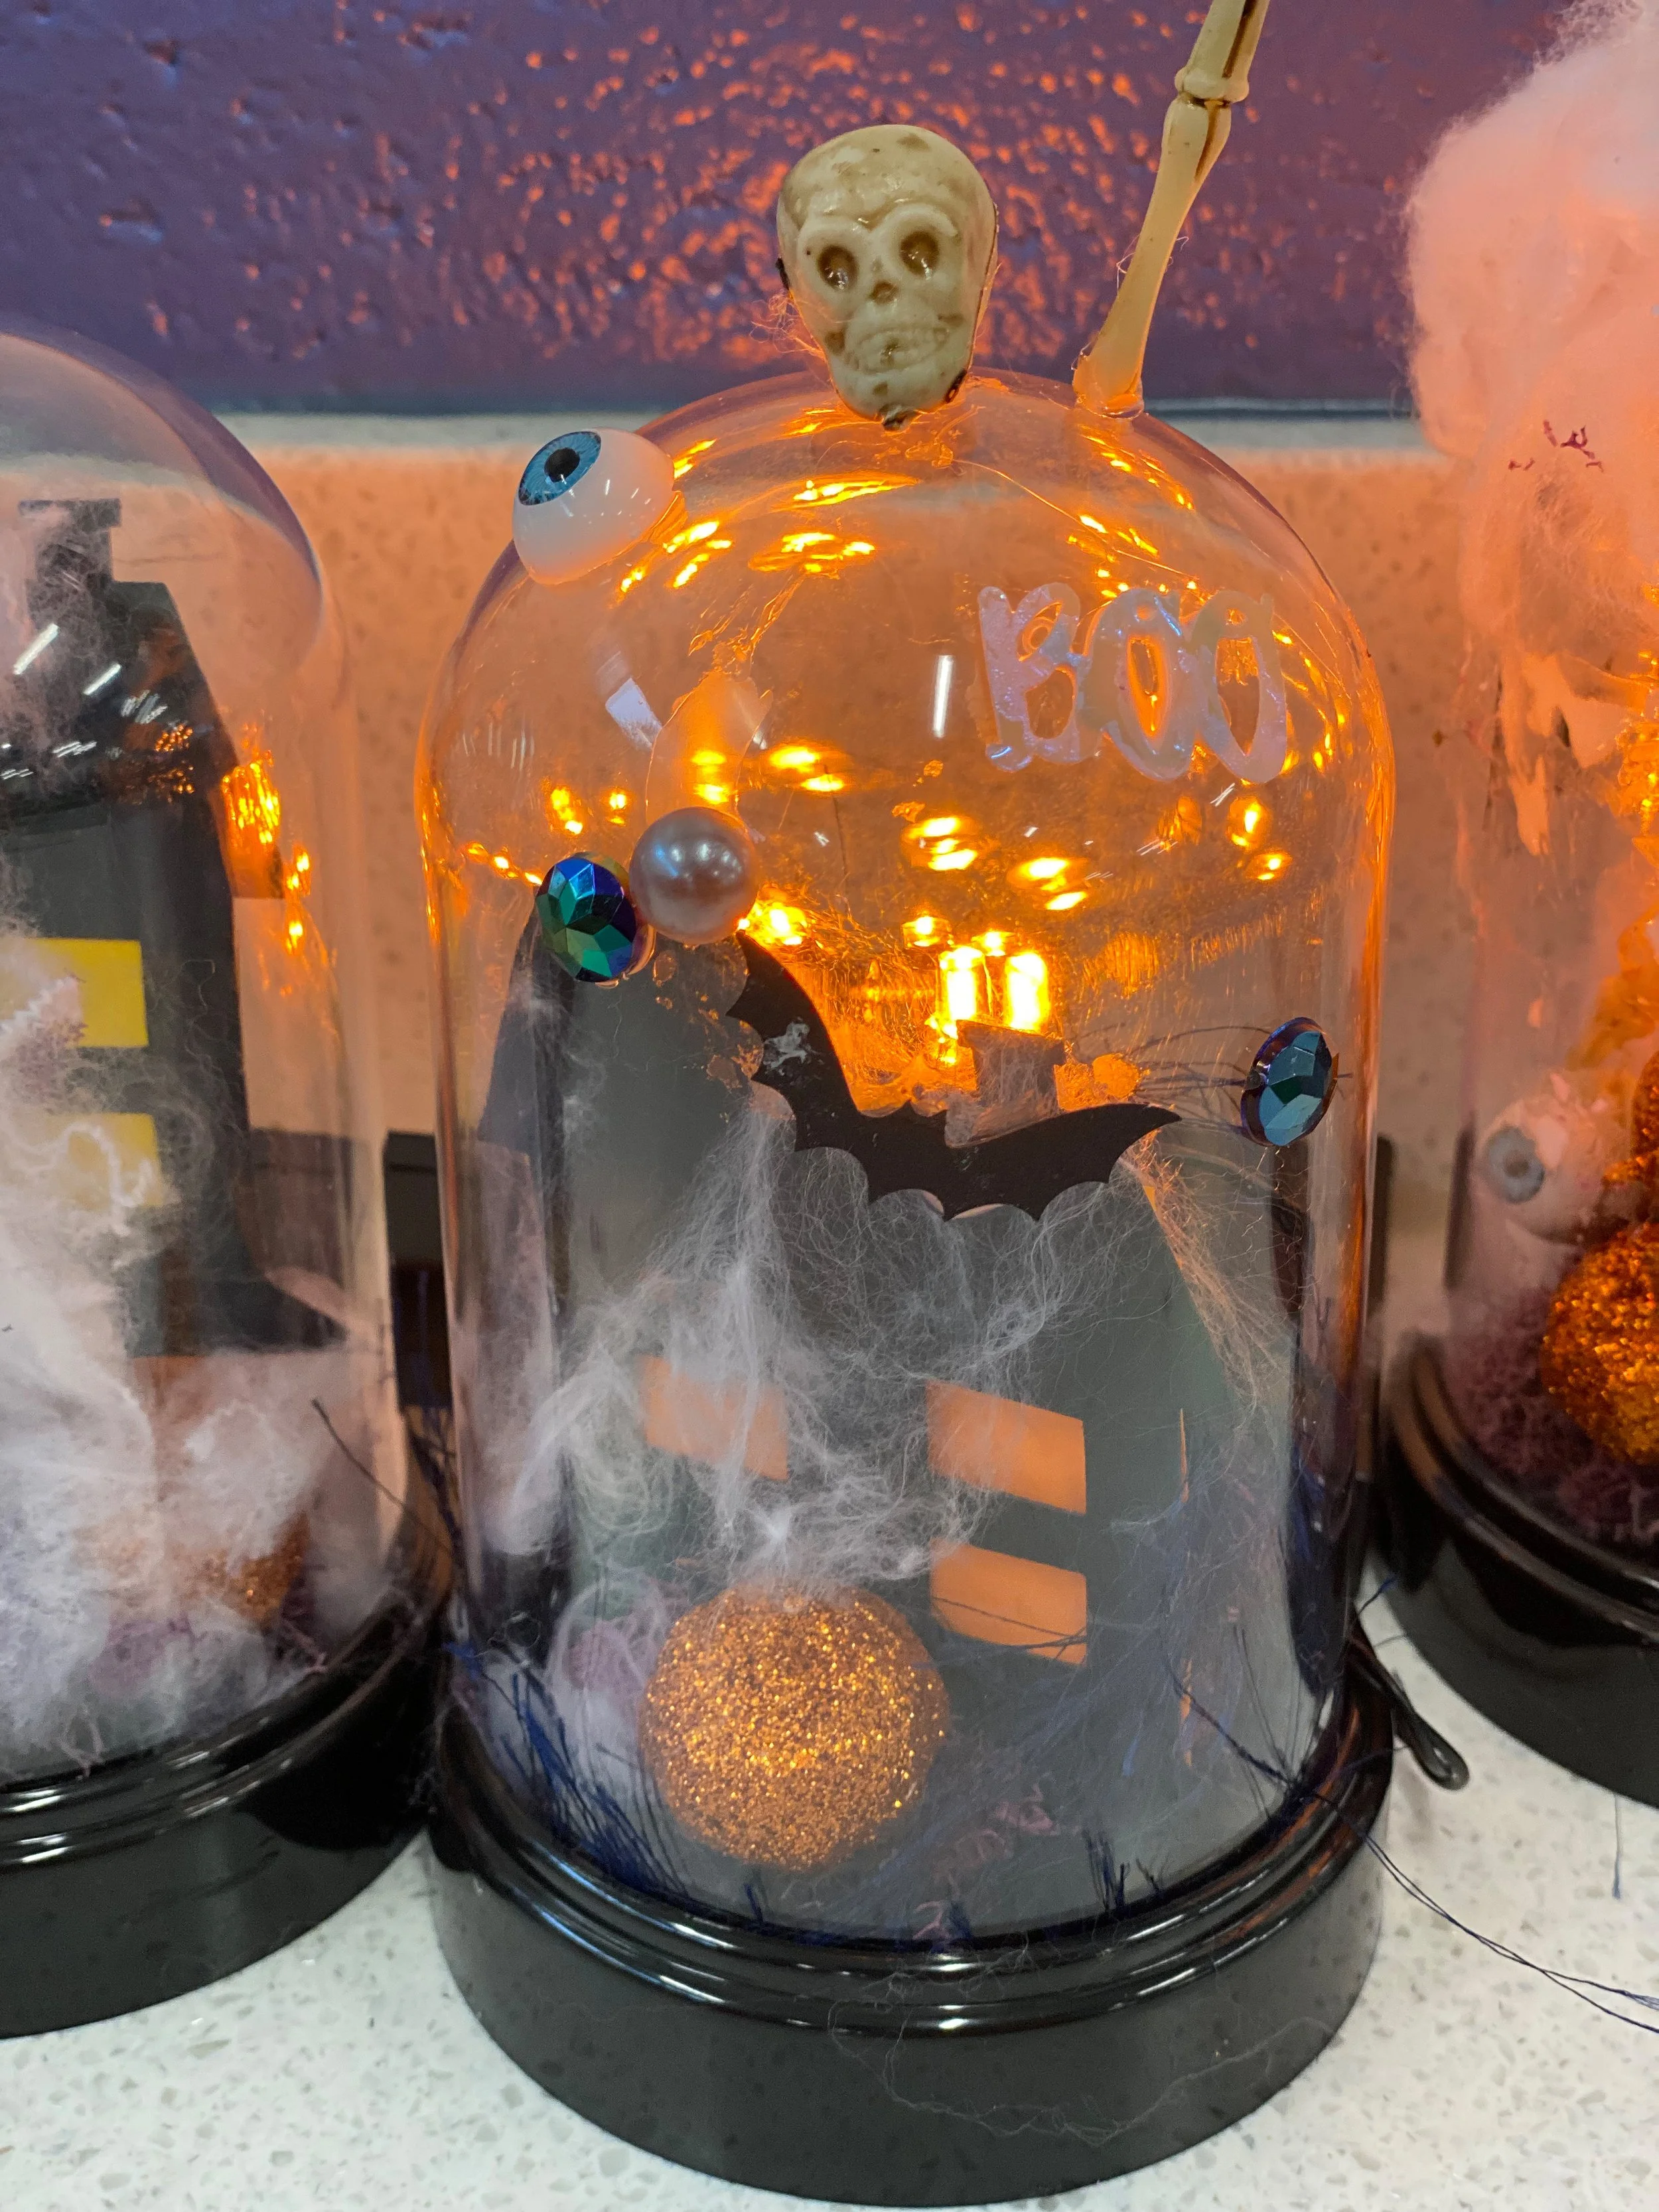
Add battery-operated fairy lights, or use a cloche that already lights up. Either way, keep the light switch uncovered so you can turn it on and off.
Step 6: Place the Dome on Top
Here's the most satisfying part. Set the glass or plastic dome in place and watch your little Halloween scene come to life!
Tips for Making a Miniature Halloween Scene
Here's what I learned making these with my students:
Create different heights. It makes the scene feel much more dimensional.
Think in layers. Build a foreground, middle ground, and background.
Use an odd number of focal elements. Groups of three or five look more natural.
Arrange before you glue. Move pieces around until you love the layout.
Hide fairy-light wires. Moss is perfect for this.
Check the fit constantly. Make sure everything fits under the dome.
Give your characters a story. Skeletons and cats positioned as if they're interacting make the finished piece much more interesting.
Make your own pieces. My students often sculpt little clay pumpkins, which makes every village one of a kind.
Where to Find Cloches and Halloween Miniatures
You can find cloches at most craft stores, some dollar stores, thrift stores, Etsy, and sometimes Target. They're always available on Amazon, which makes it an easy place to pick one up.
For miniatures, don't limit yourself to the Halloween aisle. Look in the home goods section too. And shop Dollar Tree and the art supply store right after Halloween for the best deals on next year's village.
Halloween Cloche Ideas to Try
Haunted village: paper houses with glowing cellophane windows, skeletons, and black cats
Pumpkin patch: clay pumpkins, moss, and a tiny scarecrow
Graveyard scene: mini tombstones, spider webs, and a crooked tree
Witch's cottage: a paper cottage, a tiny broom, and a cauldron
Cute, not creepy: smiling ghosts and pumpkins for little ones who scare easily
Frequently Asked Questions About DIY Halloween Cloches
-
Almost anything small and spooky: mini pumpkins, ghosts, skeletons, black cats, cobwebs, moss, trees, paper haunted houses, and fairy lights. Mix store-bought miniatures with handmade pieces like clay pumpkins. Choose items of different heights so the scene looks full from every side.
-
Yes! Use a plastic cloche, an upside-down clear bowl on a plate, or a large glass jar. You can also skip the cover entirely and build a little Halloween village right on a plate or tray. Plastic domes and plates are the safest choices for young kids.
-
Use battery-operated, low-heat LED fairy lights. They stay cool, so they're safe inside a closed dome with moss and paper decorations. Inexpensive strands work great. Some cloches come with lights built in. Mine did, so I didn't need to buy any separately.
-
Choose the thinnest, tiniest fairy lights you can find. Tuck the battery pack behind the tallest piece in your scene and run the wire under the moss so it disappears. A cloche with built-in lights avoids the problem entirely.
-
No. I glue everything in my art classes because the cloches travel home with kids. If you'd like to change your scene each year, leave the pieces loose or use removable putty. It's your village, so do what works for you!
-
Yes. Use a plastic dome, craft glue or a low-temp glue gun with adult help, and pre-cut paper templates. Kids can arrange, glue, and decorate on their own. I make these with my art students, and the finished cloches become keepsakes families bring out every Halloween.
Final Thoughts: Make Your DIY Halloween Cloche Your Own
This is exactly my kind of Halloween craft because there really aren't any rules. Make it creepy, cute, colorful, completely over-the-top, or all of the above. It's also a great excuse to finally use all those tiny Halloween things you've been collecting.
If you make a DIY Halloween cloche, I'd love to see it! Tag me @artbeat_box and don’t forget to save this post to your fall fun boards on Pinterest for later.
Looking for more spooky season projects? Check these out:
Love decorating & accessorizing for the season? Don’t miss these three:
Or if you have a Halloween class party coming up or are celebrating with littles at home, be sure to check out my Monster Wreath & Mummy Pumpkins - both are so fun for little hands!
Happy Halloween!