
DIY Monster Wreath: A Fun & Easy Halloween Craft
Looking for a silly, kid-safe Halloween wreath idea? This Monster Wreath DIY is quick, hilarious, and uses supplies you already have on hand!
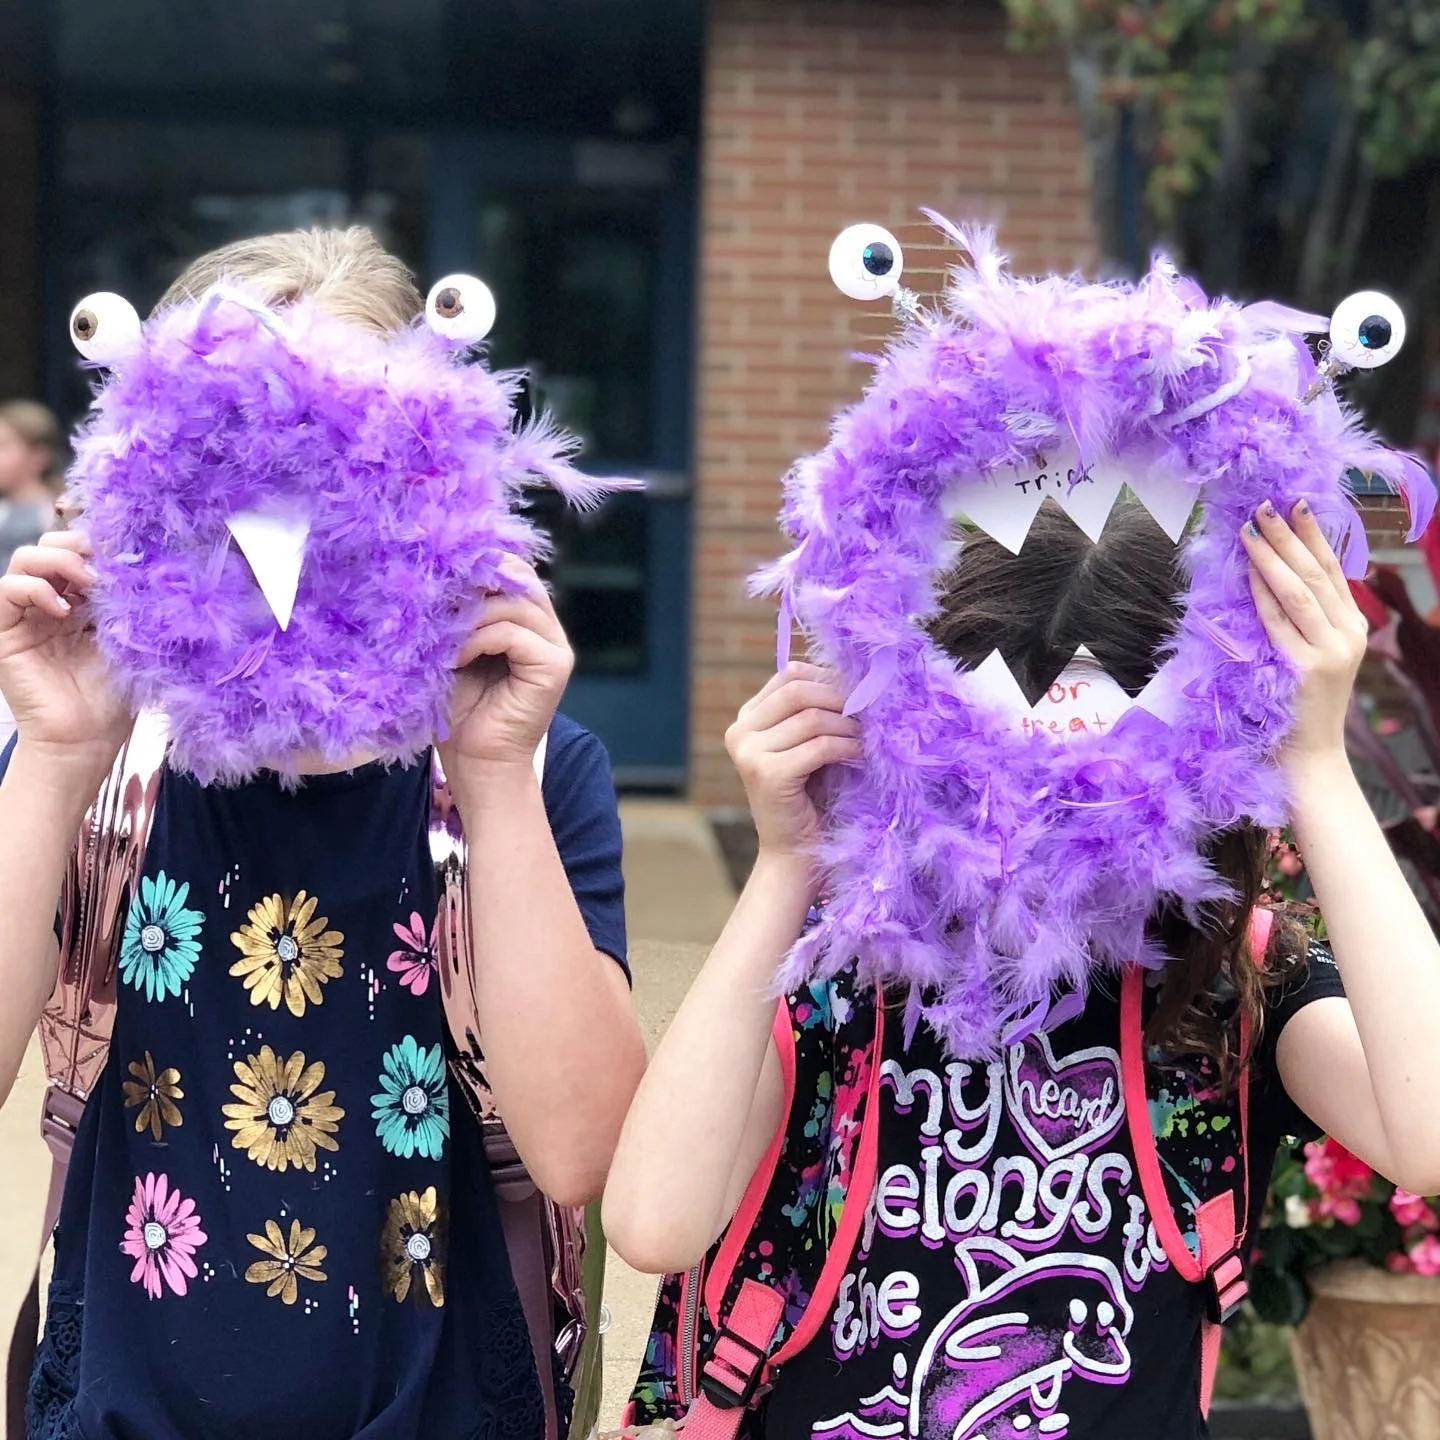
What is a Monster Wreath?
A monster wreath is one of my favorite spooky crafts because it’s made with simple supplies and can be displayed on your front door, your classroom door, kids bedroom doors, or really - anywhere around your house or classroom!
While pumpkins are the centerpiece of Halloween, I am always looking for fun and easy crafts to make with my classes in the fall.
I especially love this easy monster wreath because you can make the entire little monster from start to finish in under an hour. This is so much fun and completely beginner-friendly!
Here’s why I love making these monster wreaths:
Kid-friendly: No sharp x-acto knives or hot glue needed (although you can use hot glue if that’s faster and easier for you).
Budget-conscious: You can make this entire project for under $5!
Reusable: Once you make this spooky monster wreath, you’ll be able to use it for years to come! In fact, my friend’s daughter made one in my class years ago and she still has it in her Halloween décor box almost ten years later.
Customizable: You can make goofy, scary, creepy, or cute monsters! You can also make these in different colors. Fun for the whole family!
Supplies You’ll Need
Here’s a simple list to get started (and many of these can be swapped out with what you already have in your craft stash):
1 foam wreath or wire wreath form (12–14 inches works best — these are from Amazon, but they’re also available at Dollar Tree)
1–2 packs of feather boas, fuzzy yarn, or faux fur fabric strips
Large googly eyes (or ping pong balls with pupils painted on)
Craft felt (white for teeth, optional accent colors for horns or tongue)
Hot glue gun + glue sticks
Scissors
Pipe cleaners (optional, for silly monster arms or antennae)
String or ribbon (to hang)
Step-by-Step Instructions
Step 1: Wrap the Wreath
Grab your boa and start wrapping it around and around and around the wreath form. You’ll need to use glue or duct tape to secure the boa.
Note: this part can be a bit messy because boas tend to shed. If you want to avoid that, you can use strips of tulle instead.
Step 2: Add Monster Eyes
You can make the eyes in so many different ways. Use styrofoam balls, ping pong balls, giant googly eyes, or even draw eyes onto a piece of paper. Attach them with glue.
Step 3: Create the Mouth
Cut a mouth out of felt and apply it as close to the center of the wreath as possible.
Step 4: Add Other Details
This is where your monster really comes to life. Add pipe cleaners as crazy antennae, felt horns at the top, or a long red felt tongue sticking out of the mouth. Kids especially love helping at this stage.
I’ve seen so many cute variations: bow ties, big monster teeth… even a few Halloween treats tucked inside!
Step 5: Hang and Enjoy
Grab a piece of festive Halloween ribbon and attach it to the back of the wreath toward the top. You can also use ribbon, twine, or a wreath hanger to display your monster wreath on your door.
Bonus points if you add battery-operated fairy lights around the wreath for a spooky glow at night. ✨
A Halloween Craft Kids (and Grown-Ups) Can’t Resist
Monster wreaths make everyone happy! Making these is such a great way to get Halloween décor, and I promise these monster wreath projects are always a hit.
No exact measurements needed. Just lots of fun. Happy crafting!
Want More Halloween Crafts?
If the answer is “yes,” then you’ll want to check out:
Happy Halloween!
Kim