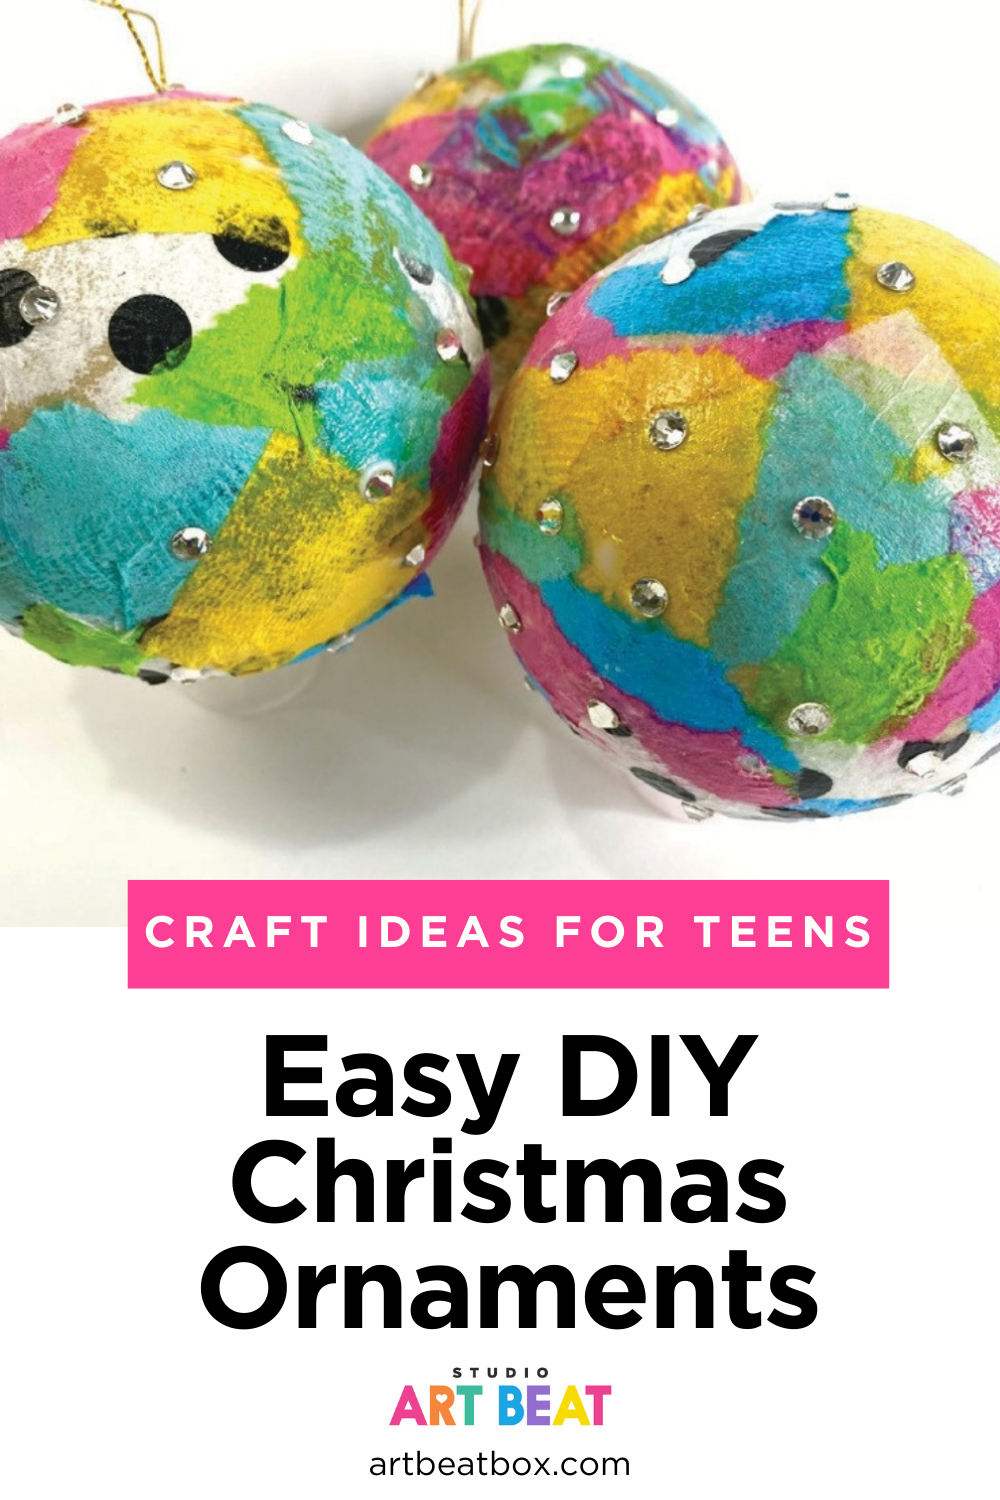
If you're looking for a homemade Christmas ornament craft that older kids will actually get excited about, this is the one I keep coming back to. You cover a paper mache ornament in torn napkin pieces and Mod Podge, then add rhinestones once it dries. The result is a bright, pop-art ornament that looks so much fancier than the supply list suggests.
We celebrate Hanukkah at my house, but I still love sharing Christmas crafts this time of year because they bring the holiday spirit to kids of all ages. The kids have so much fun making these, and every single one comes out different.
This tutorial is for parents, teachers, and anyone crafting with tweens and teens. Younger kids can join in too with a little help on the rhinestone step.
Quick Project Details
- Best for: Older kids, tweens, and teens (the rhinestones are small)
- Technique: Napkin decoupage plus rhinestones
- Hands-on time: About 30 to 45 minutes
- Dry time: 24 hours before hanging
- Budget: Low. One pack of cocktail napkins covers a lot of ornaments.
Why Make Homemade Christmas Ornaments This Year?
Making ornaments together is one of my favorite ways to spend quality time with kids or students during the holiday season. Little ones get great fine motor practice from tearing paper and placing pieces, and older kids get to flex their creativity with color and design.
Teens may be past the reindeer-and-candy-cane stage, but a handmade ornament still makes the perfect gift for a parent, grandparent, or friend. Bonus: paper mache ornaments don't shatter like glass ones, so they're safe to hang low on the tree and easy to pack away year after year.
What Kind of Ornament Works Best for Napkin Decoupage?
Paper mache ornaments work best for this craft. Their matte, slightly porous surface grabs the napkin and Mod Podge so the paper lays flat and stays put. Plastic and clear glass ornaments are too slick, so the napkin tends to wrinkle and slide around.
There are so many ways to make homemade ornaments (salt dough, popsicle sticks, photo ornaments, fillable ornaments, pine cones, and wood slices, to name a few). Think about the age of your crafters before you pick one. Because of the small rhinestones, the ornaments I'm sharing today are best for older children and teens.
If you can't find paper mache ornaments, a foam ball works too. Paper mache also comes in fun shapes like stars, snowflakes, and Christmas trees if you want to switch it up.
Supplies for Napkin Decoupage Christmas Ornaments
Affiliate disclaimer: Although I stand by all of the products I use, I can receive a small commission from any products purchased via my affiliate links.
Here's what you'll need:
Colorful napkins or thin wrapping paper (bright cocktail napkins work best)
Paper mache ornaments (plastic or clear ornaments won't work well)
Tablecloth or table covering
Plastic cup
You can find my go-to craft supplies in my Amazon Faves.
How to Make Napkin Decoupage Christmas Ornaments
Step 1: Reinforce the Hanging String
Add a drop of Gem Tac where the string attaches to the ornament. Please don't skip this step! If you don't reinforce it, you risk your ornament falling off the tree.
Step 2: Tear the Napkins into Small Pieces
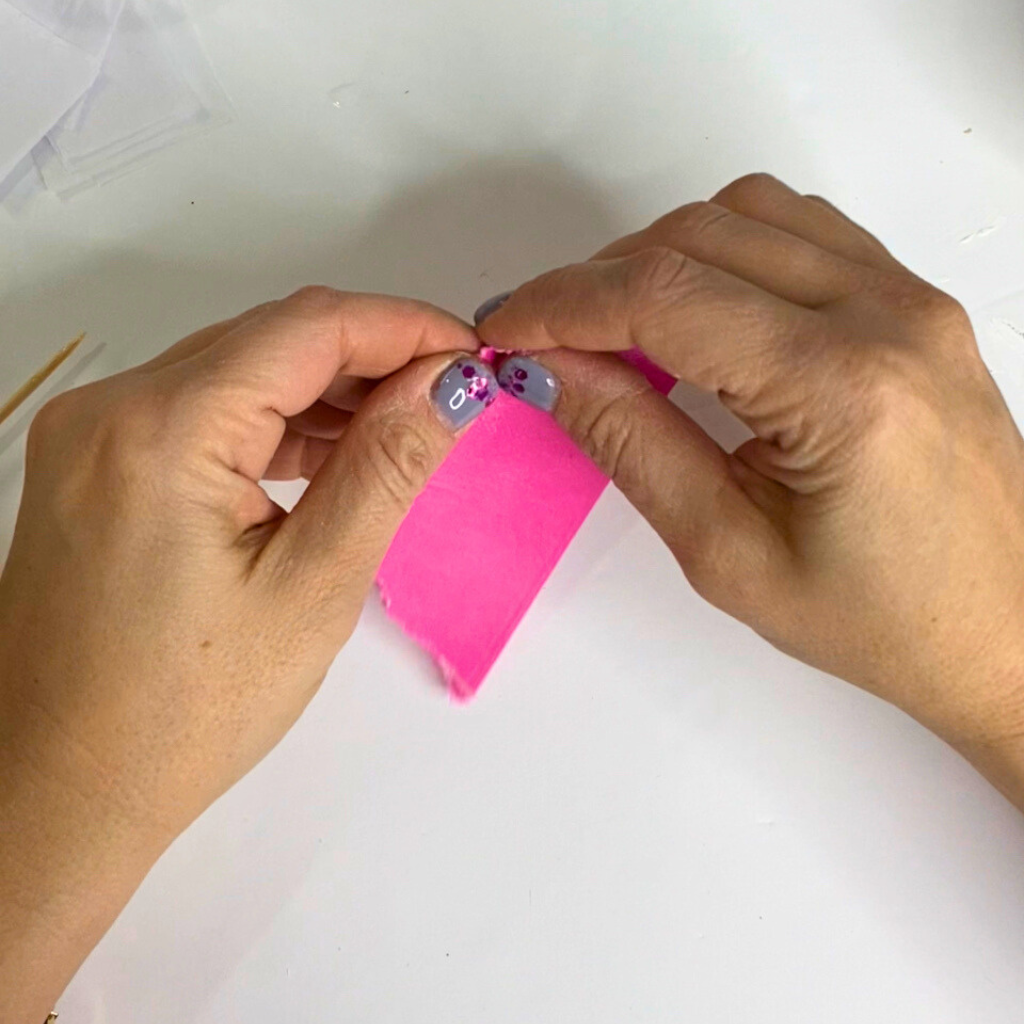
Rip your napkins into small pieces, about 1 inch wide. Most cocktail napkins are 2 or 3 ply, and only the top layer is printed. Peel off that top layer and use it on its own so it lays thin and smooth.
Prefer a less abstract look? Cut the paper with scissors instead of tearing it. Really thin wrapping paper that's easy to rip works great too. Let the kids pick their favorite colors or patterns. This is where their creativity really gets to shine!
Step 3: Brush Mod Podge onto the Ornament
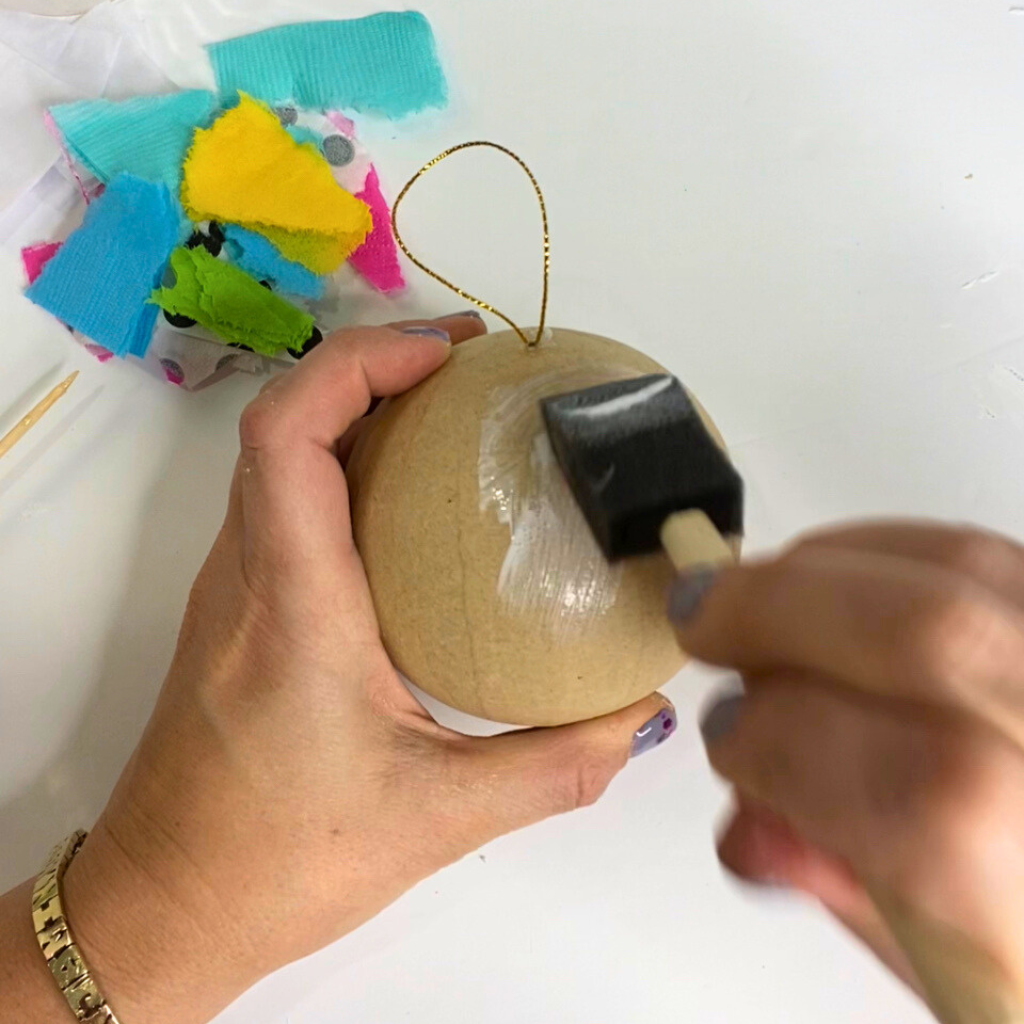
Using your foam brush, add a thin layer of Mod Podge to a small section of the paper mache ornament. Working in small sections keeps the glue from drying before you get the paper down.
Step 4: Place and Seal a Napkin Piece
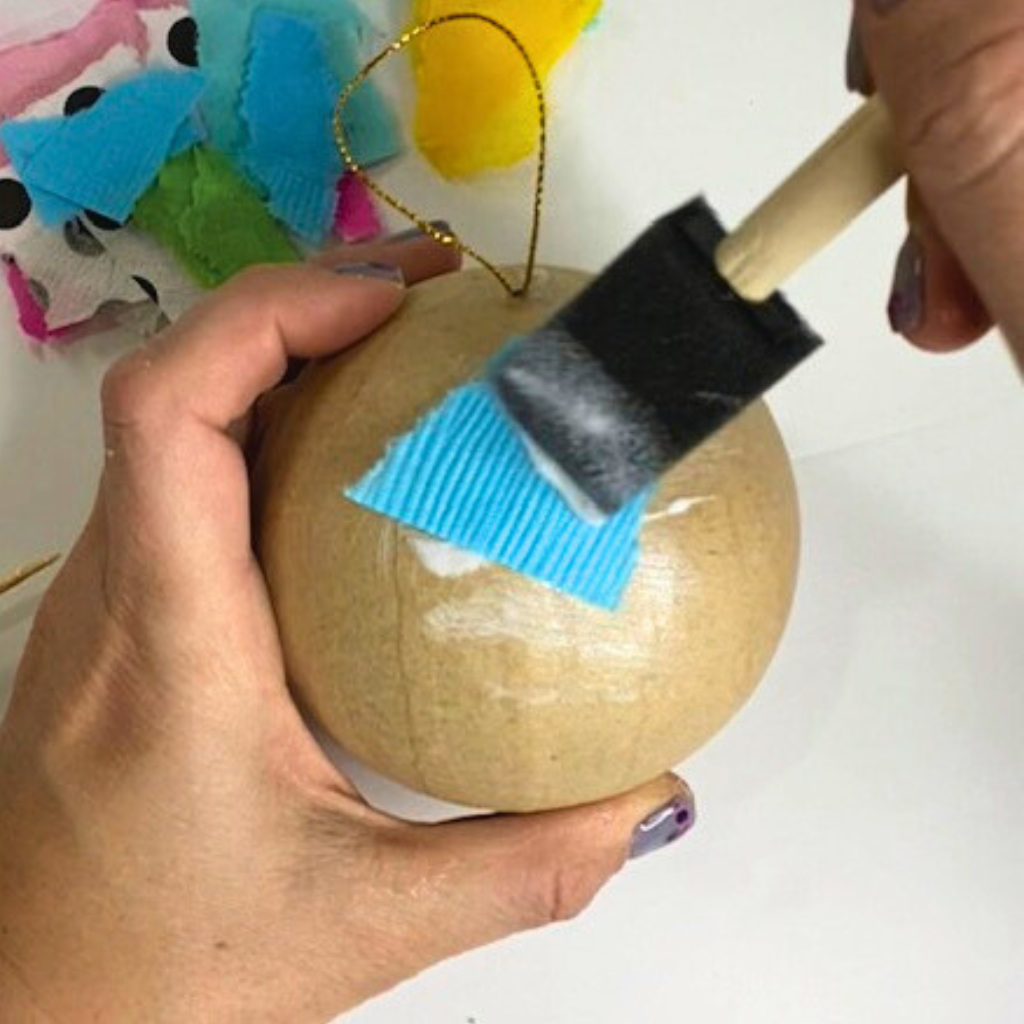
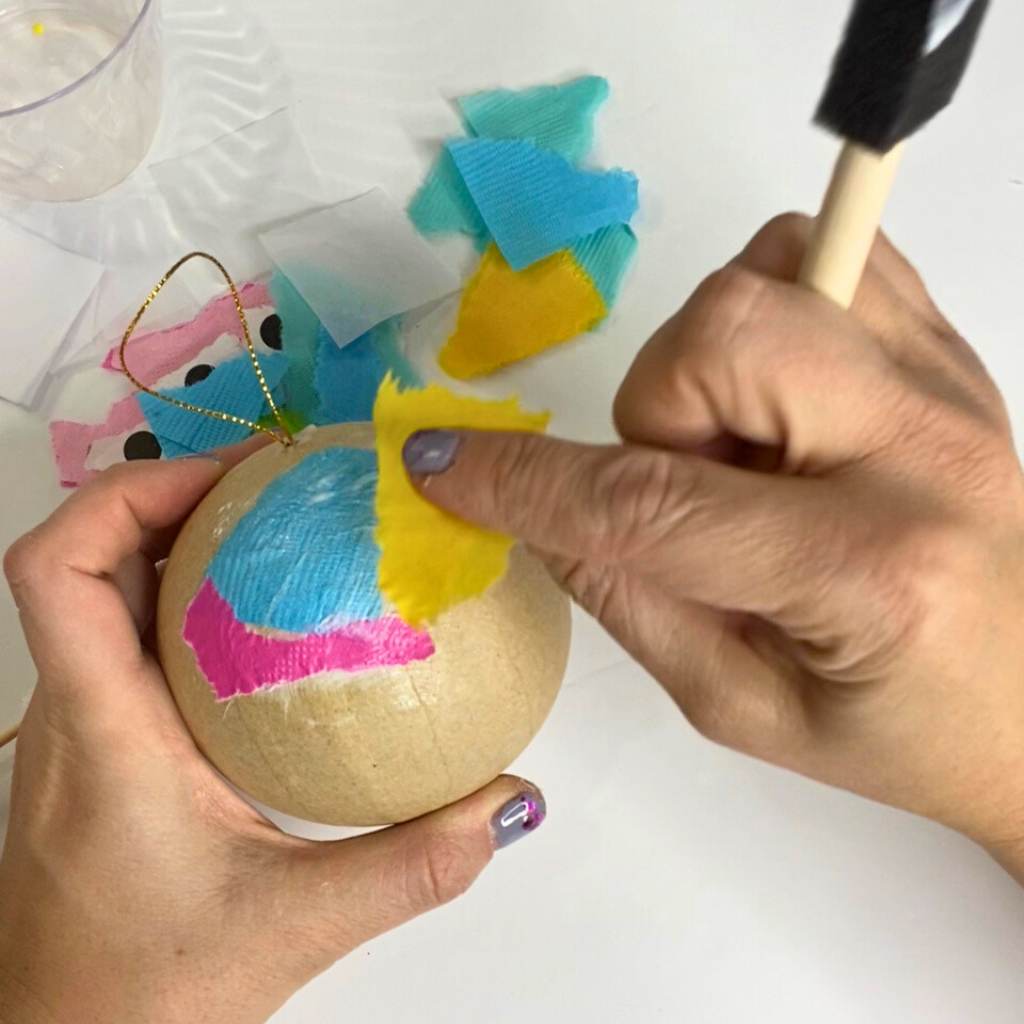
Place a piece of napkin onto the Mod Podge and smooth it out from the center to the edges. Then brush another thin layer of Mod Podge right on top of the napkin.
Step 5: Keep Going Until the Ornament Is Covered
Repeat until the whole ornament is covered. Mix different colors and patterns for an abstract ornament, or stick with similar shades for a monochromatic look. You can match the colors to your Christmas tree or go completely wild. The design is 100% up to you!
Step 6: Add a Final Coat of Mod Podge
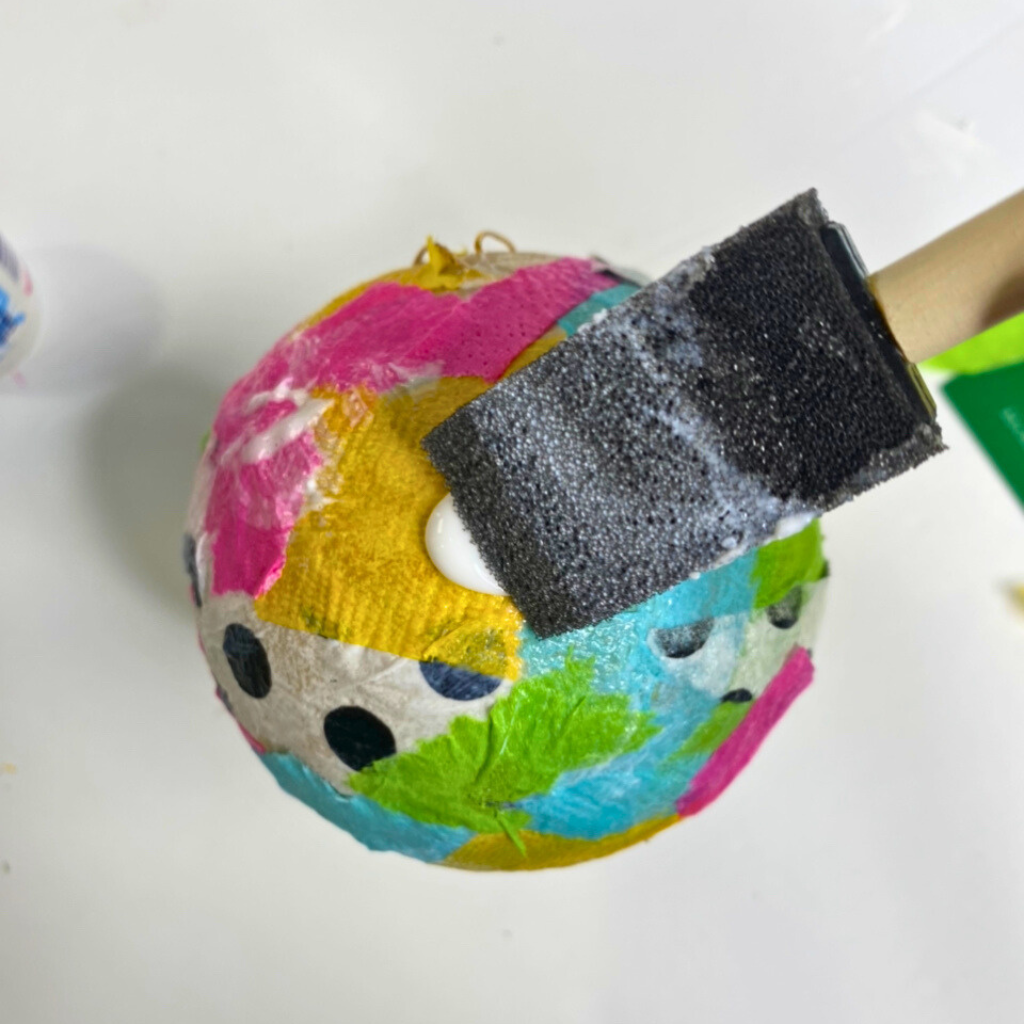
Brush one more layer of Mod Podge over the entire ornament. It goes on white and dries clear. Mod Podge is usually dry to the touch in about 15 to 20 minutes, but give it longer on a humid day.
Step 7: Add Rhinestones with Gem Tac
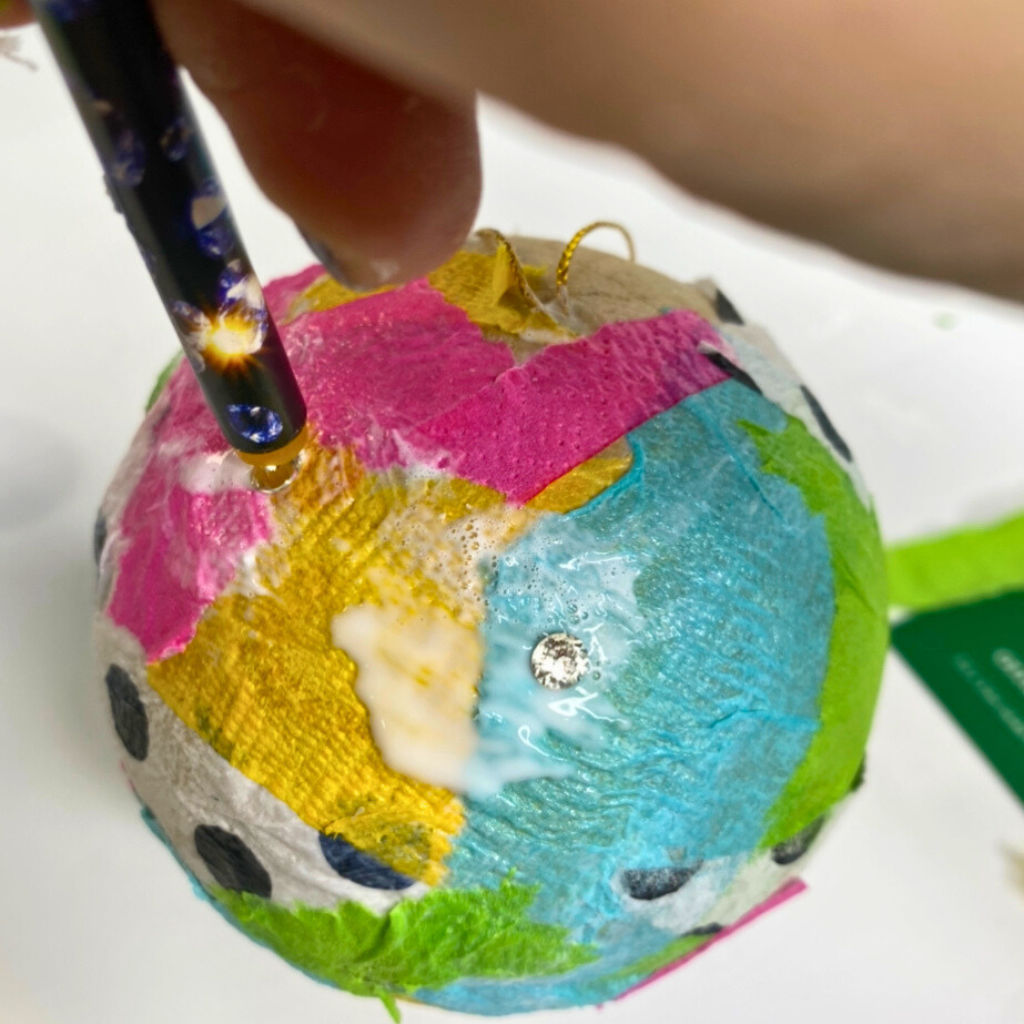
Once the ornament is completely dry, add rhinestones using Gem Tac. Make your own pattern, outline the napkin shapes, or scatter them all over. A wax pencil picker tool makes placing tiny stones so much easier, especially for kids.
One important note: always add rhinestones after the Mod Podge, never under a coat of it. Mod Podge over rhinestones makes them cloudy and kills the sparkle. (I cover more rhinestone dos and don'ts in my beginner's guide to bedazzling.)
Such an easy craft! Can't you just picture hanging these on the tree with Christmas music playing in the background?
Tips & Tricks for Your DIY Ornaments
Set the ornament in a cup. It keeps the ornament from rolling around, which is a lifesaver with younger kids who get frustrated when their project keeps moving.
Use thin coats of Mod Podge. Thick coats take longer to dry and can turn cloudy or sticky.
Use only the printed top ply of the napkin. It's thinner, smoother, and blends right into the ornament.
Let it dry 24 hours before hanging. Make sure everything is completely dry before it goes on the tree, or the design can get smudged.
Swap in a foam ball if your craft store is out of paper mache ornaments.
Write the name and year on the back with a paint pen so it becomes a keepsake.
I love this project because you can really make it your own!
How to Use Your Homemade Christmas Ornaments
Homemade ornaments make a wonderful gift for the whole family. Make one for Mom, Dad, Grandma, and Grandpa. Everyone loves opening a special ornament made just for them on Christmas morning. Pair it with a homemade Christmas card for an extra-sweet keepsake, or tie one onto a wrapped present as a gift topper.
They make great DIY Christmas decorations too. Hang them on your own tree or around the house. Kids of all ages love seeing their very own ornaments on the tree, and it's so fun to let them hang their creations up year after year.
Looking for a bigger rhinestone project for the holidays? Try my DIY rhinestone Christmas stocking. And if your crafter loves the napkin technique, it works beautifully on decoupage seashells too.
More Easy DIY Ornament Ideas for Kids
Want more fun Christmas crafts? Here are a few other ways to make homemade ornaments.
Popsicle Stick Snowflake Ornament
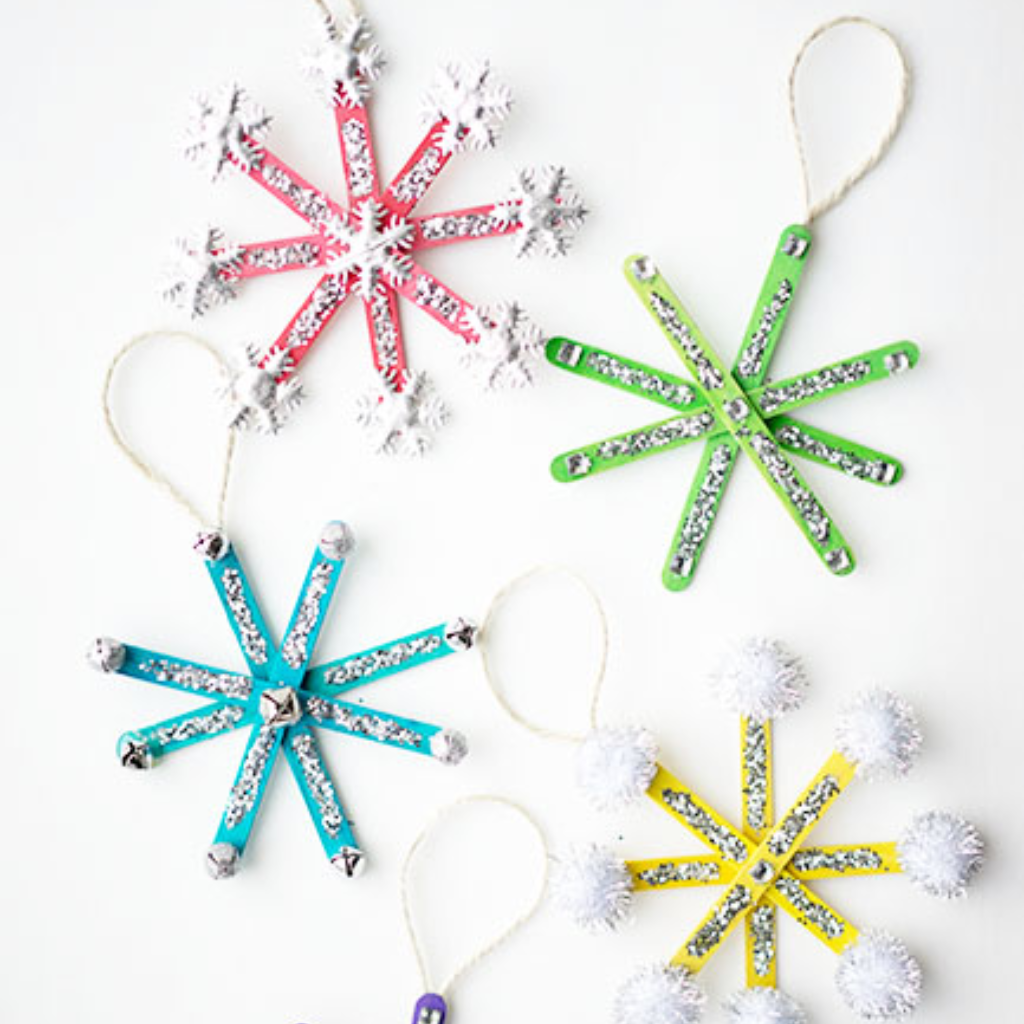
Photo credit via The Best Ideas for Kids
This popsicle stick snowflake ornament from The Best Ideas for Kids is a fun craft for all ages. If you're using plain craft sticks, add white paint and glitter to make it extra fun. Or paint each stick a different color for one-of-a-kind ornaments, just like real snowflakes!
Mini Clothespin Wreath Ornament
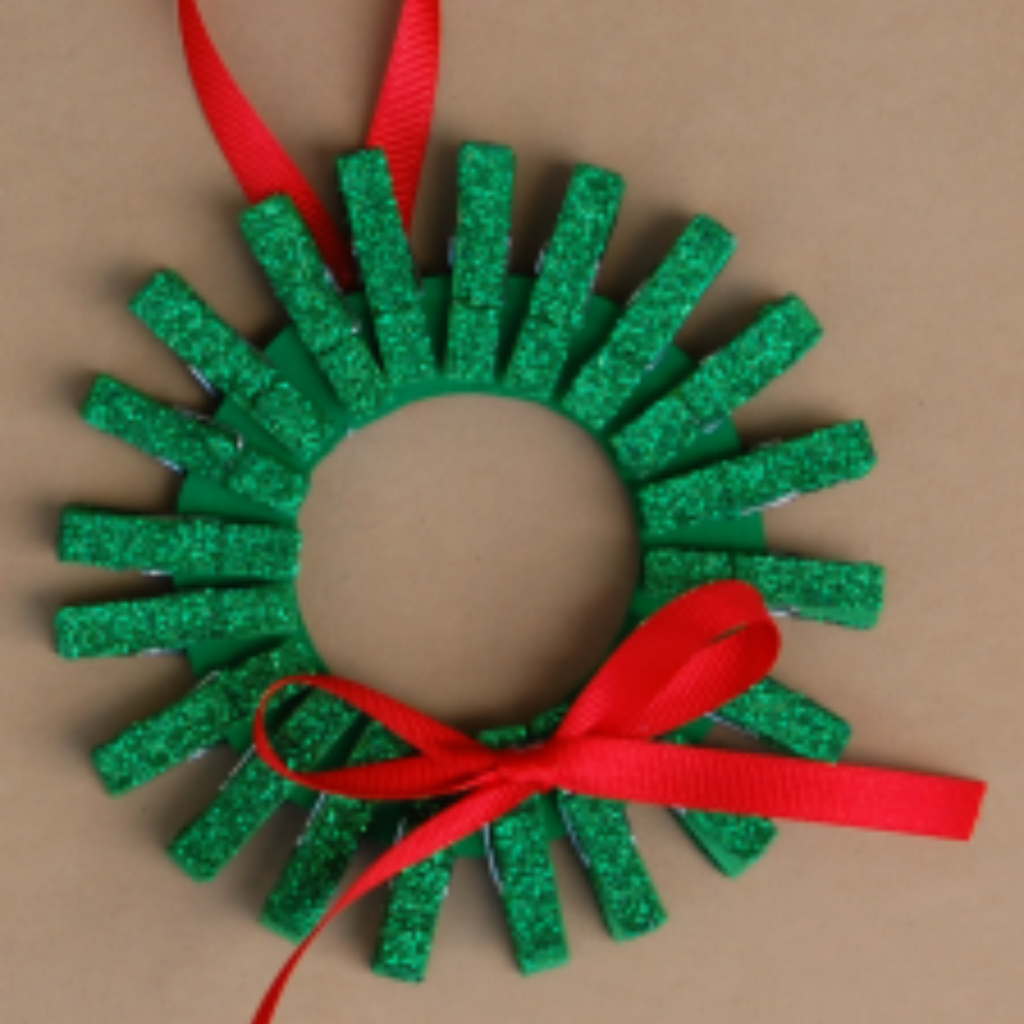
Photo Credit via The Resourceful Mama
This mini clothespin wreath ornament from The Resourceful Mama is a sweet way to make DIY ornaments with kids. Little hands might need help opening the clothespins, and that's great fine motor practice too!
Yarn Reindeer Ornaments

Photo Credit via Little Bins for Little Hands
All you need are craft sticks and yarn to make this adorable reindeer ornament from Little Bins for Little Hands. Form a triangle, wrap it with yarn, and add googly eyes and a red pom pom. Instant Rudolph!
Binary Code Candy Cane Ornament
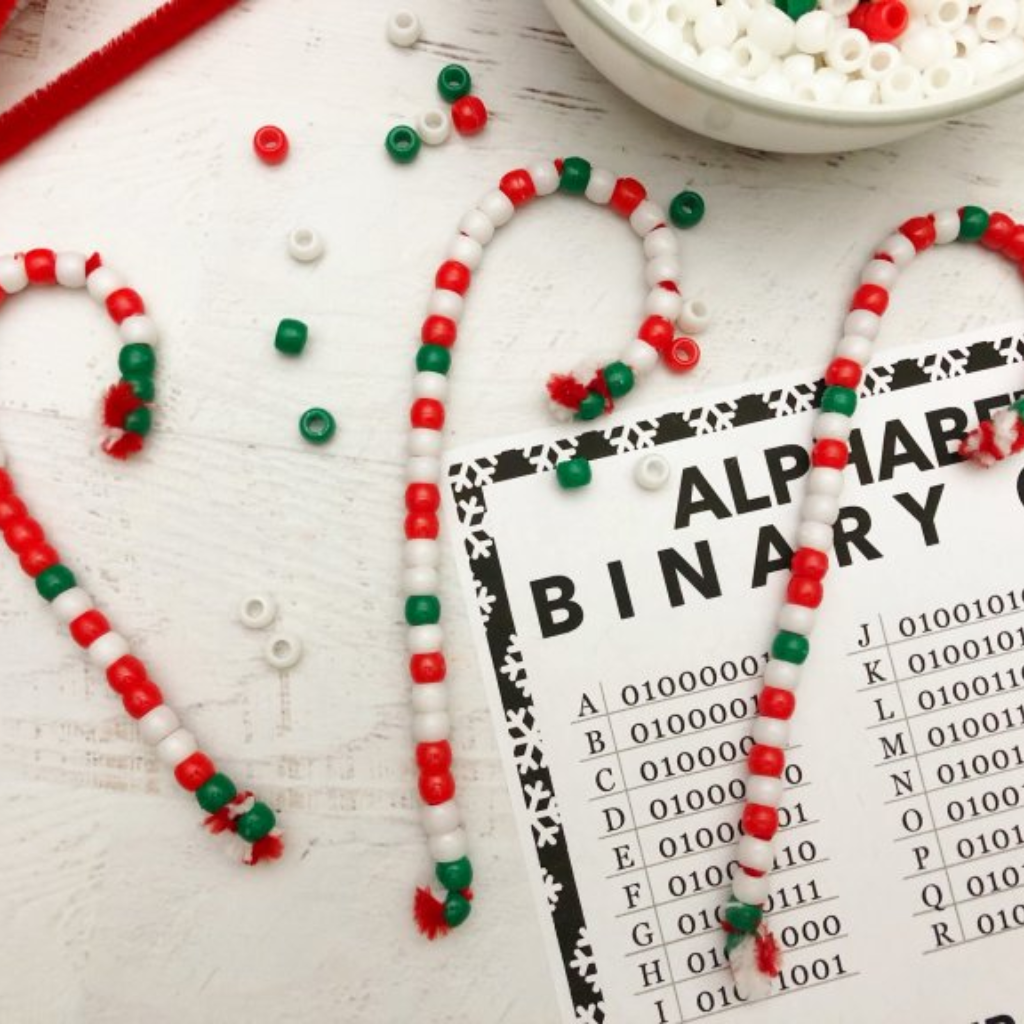
Photo Credit via Little Bins for Little Hands
These binary alphabet candy canes from Little Bins for Little Hands are a great pick for older kids. Teachers, this one doubles as a STEM activity, so it's perfect for the classroom during the holidays.
Handprint Salt Dough Ornament
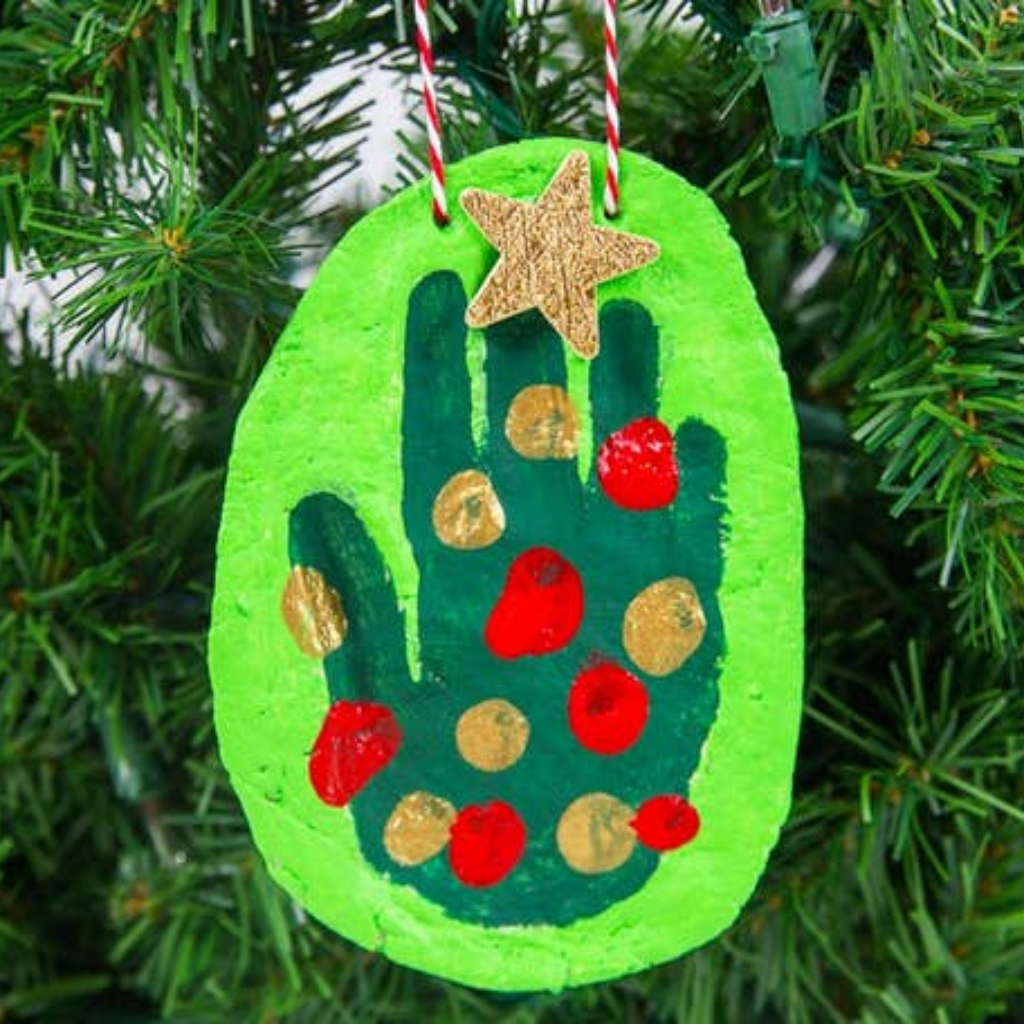
Photo Credit via Kids Activities Blog
Hold onto those tiny handprints with these handprint Christmas tree salt dough ornaments from Kids Activities Blog. Turn each handprint into a tree with green acrylic paint, then add metallic dots for ornaments. They make such a precious keepsake.
Homemade Christmas Ornament FAQs
-
Thin, brightly colored cocktail napkins work best. Separate the layers and use only the printed top ply so the paper lays flat and smooth. Thin wrapping paper that tears easily is a great backup if you can't find napkins in the colors you want.
-
I don't recommend it. Plastic and clear glass ornaments are too slick for napkins and Mod Podge to grip well, so the paper wrinkles and slides. Paper mache ornaments have a matte surface that holds everything in place. A foam ball is a good alternative if you can't find paper mache.
-
Mod Podge is usually dry to the touch in about 15 to 20 minutes, so you can add rhinestones the same day. For the best results, let the finished ornament dry a full 24 hours before hanging it on the tree so the design doesn't smudge.
-
I use Gem Tac for this project. It holds rhinestones securely on paper mache and dries clear. Always add rhinestones after your final coat of Mod Podge, never underneath one. Mod Podge over rhinestones turns them cloudy and dulls their sparkle.
-
Because of the small rhinestones, this craft is best for older kids, tweens, and teens. Younger kids can still do the napkin decoupage part with help, and an adult can add the rhinestones or skip them altogether for a sparkle-free version.
-
Yes! Napkin decoupage ornaments are budget-friendly, easy to prep, and every student's ornament comes out unique. Set each ornament in a plastic cup to keep it from rolling, cover tables with a tablecloth, and send ornaments home the next day once they're fully dry.
-
If you celebrate Hanukkah like we do, check out my simple DIY menorah craft (it uses the same napkin technique!), these 5 creative DIY menorah ideas, or my roundup of Judaica crafts and DIY Jewish gifts for Hanukkah.
The best part about making DIY Christmas ornaments is spending quality time with the ones you love! If you celebrate the holiday, I hope you have a Merry Christmas!
And if you’re celebrating Hanukkah, be sure to check out this DIY Menorah Craft for a fun and easy Hanukkah activity!