Toilet Paper Art: How to Make a DIY Textured Canvas
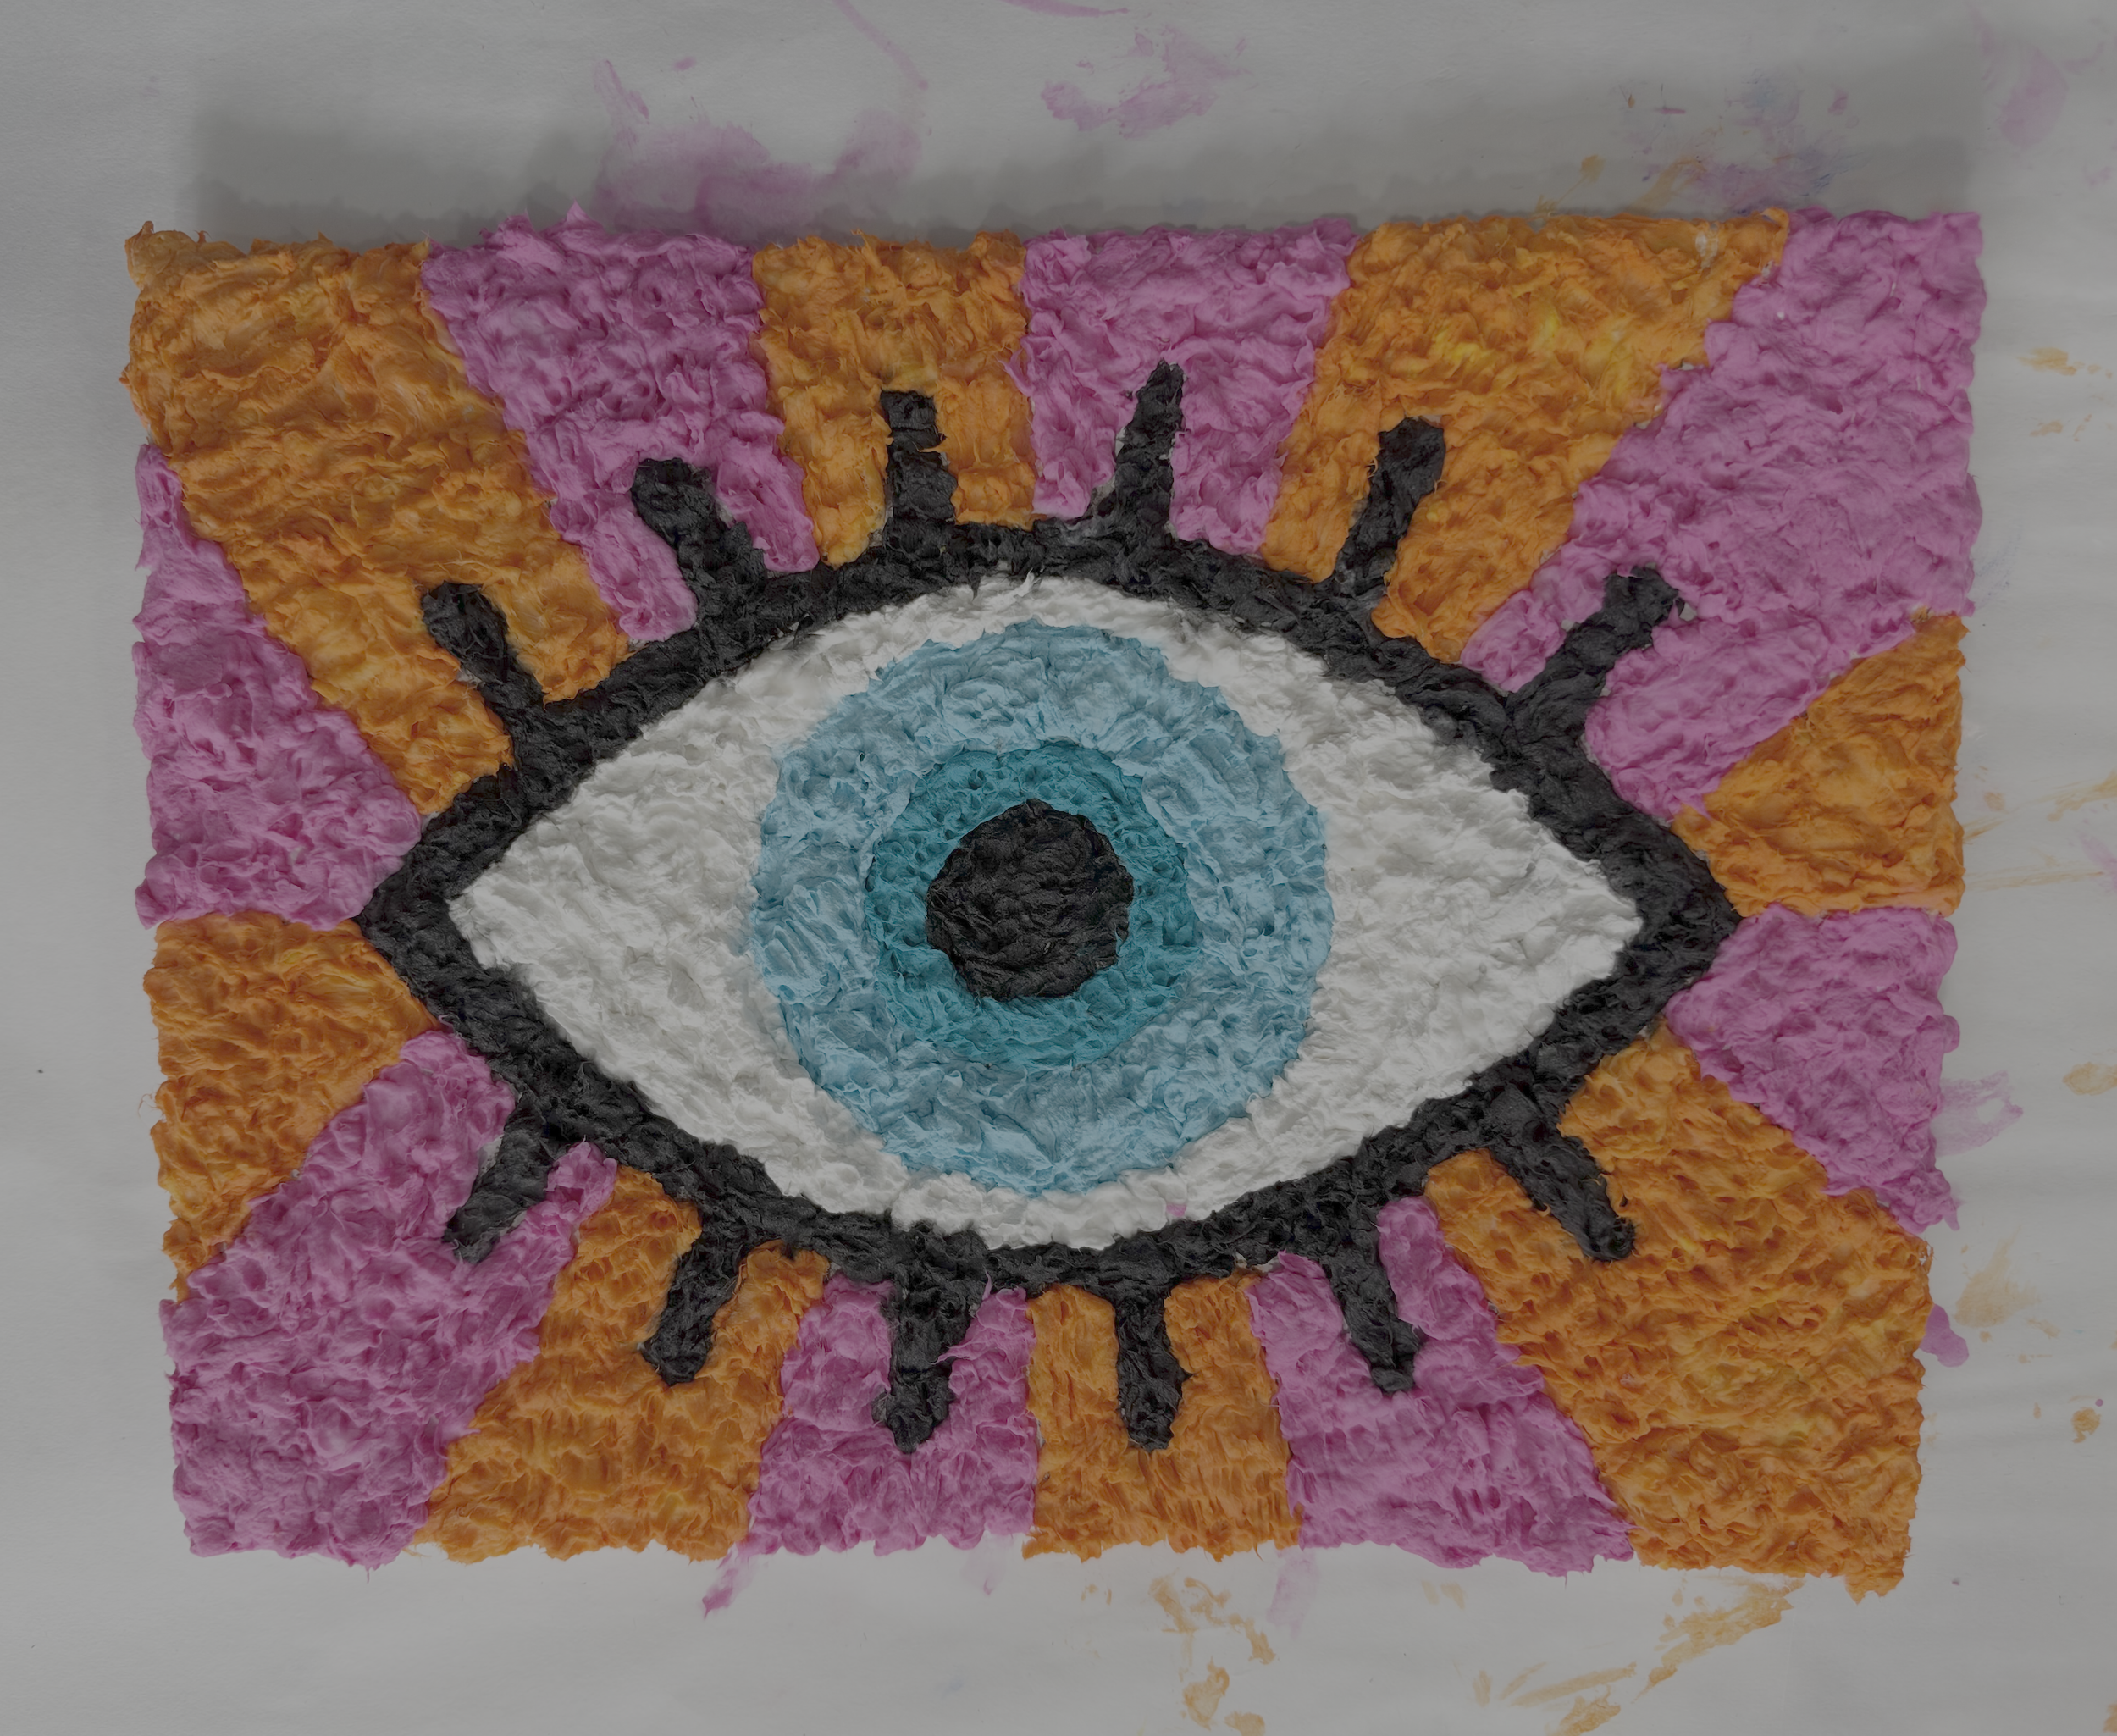
Yes, you can make texture art using toilet paper, and it's one of the cheapest mixed media projects you'll ever try! Torn toilet paper soaked in water, mixed with school glue, and tinted with acrylic paint turns into a soft paper pulp very similar to the consistency of frosting. You place it on a canvas or wood panel with tweezers, and once it dries, it holds a fluffy, raised texture that looks a lot like a 1970s shag rug.
When I first tried this project, I was a little skeptical about making art with toilet paper. But once I got started, I could absolutely see why crafters love it! Toilet paper breaks down quickly, stays workable for a long time, costs very little at the dollar store, and is already in pretty much everyone's house.
This tutorial is for beginners, art teachers, and anyone who wants to create beautiful textured art without fancy supplies. I couldn't love how mine turned out more, and I think you'll feel the same!
Key Takeaways
- You need cheap toilet paper, school glue, water, acrylic paint, tweezers, and a canvas or wood panel.
- Aim for pulp that feels like frosting: very wet, but not dripping.
- An 8" × 8" piece needs only 5 or 6 squares of toilet paper to start.
- Drying takes several hours to several days, depending on thickness and humidity.
What Is Toilet Paper Texture Art?
Toilet paper texture art is a mixed media technique where you turn torn toilet paper into colored paper pulp and press it onto a surface to build a raised, sculptural texture. Water breaks the paper down, school glue binds it together, and acrylic paint gives it any color you choose. The result is dimensional textured canvas art made from everyday supplies.
This technique uses the toilet issue itself, but if you have a stack of empty cardboard rolls, don’t miss this toilet paper roll craft.
Why Toilet Paper Works So Well for Textured Art
It breaks down super fast. Just a quick soak turns it into pulp!
It stays workable. Toilet paper pulp doesn't dry out quickly once it’s damp, so you have time to place each piece.
It's inexpensive. In fact, cheap dollar store toilet paper works best!
It's accessible. No special trip to the craft store required.
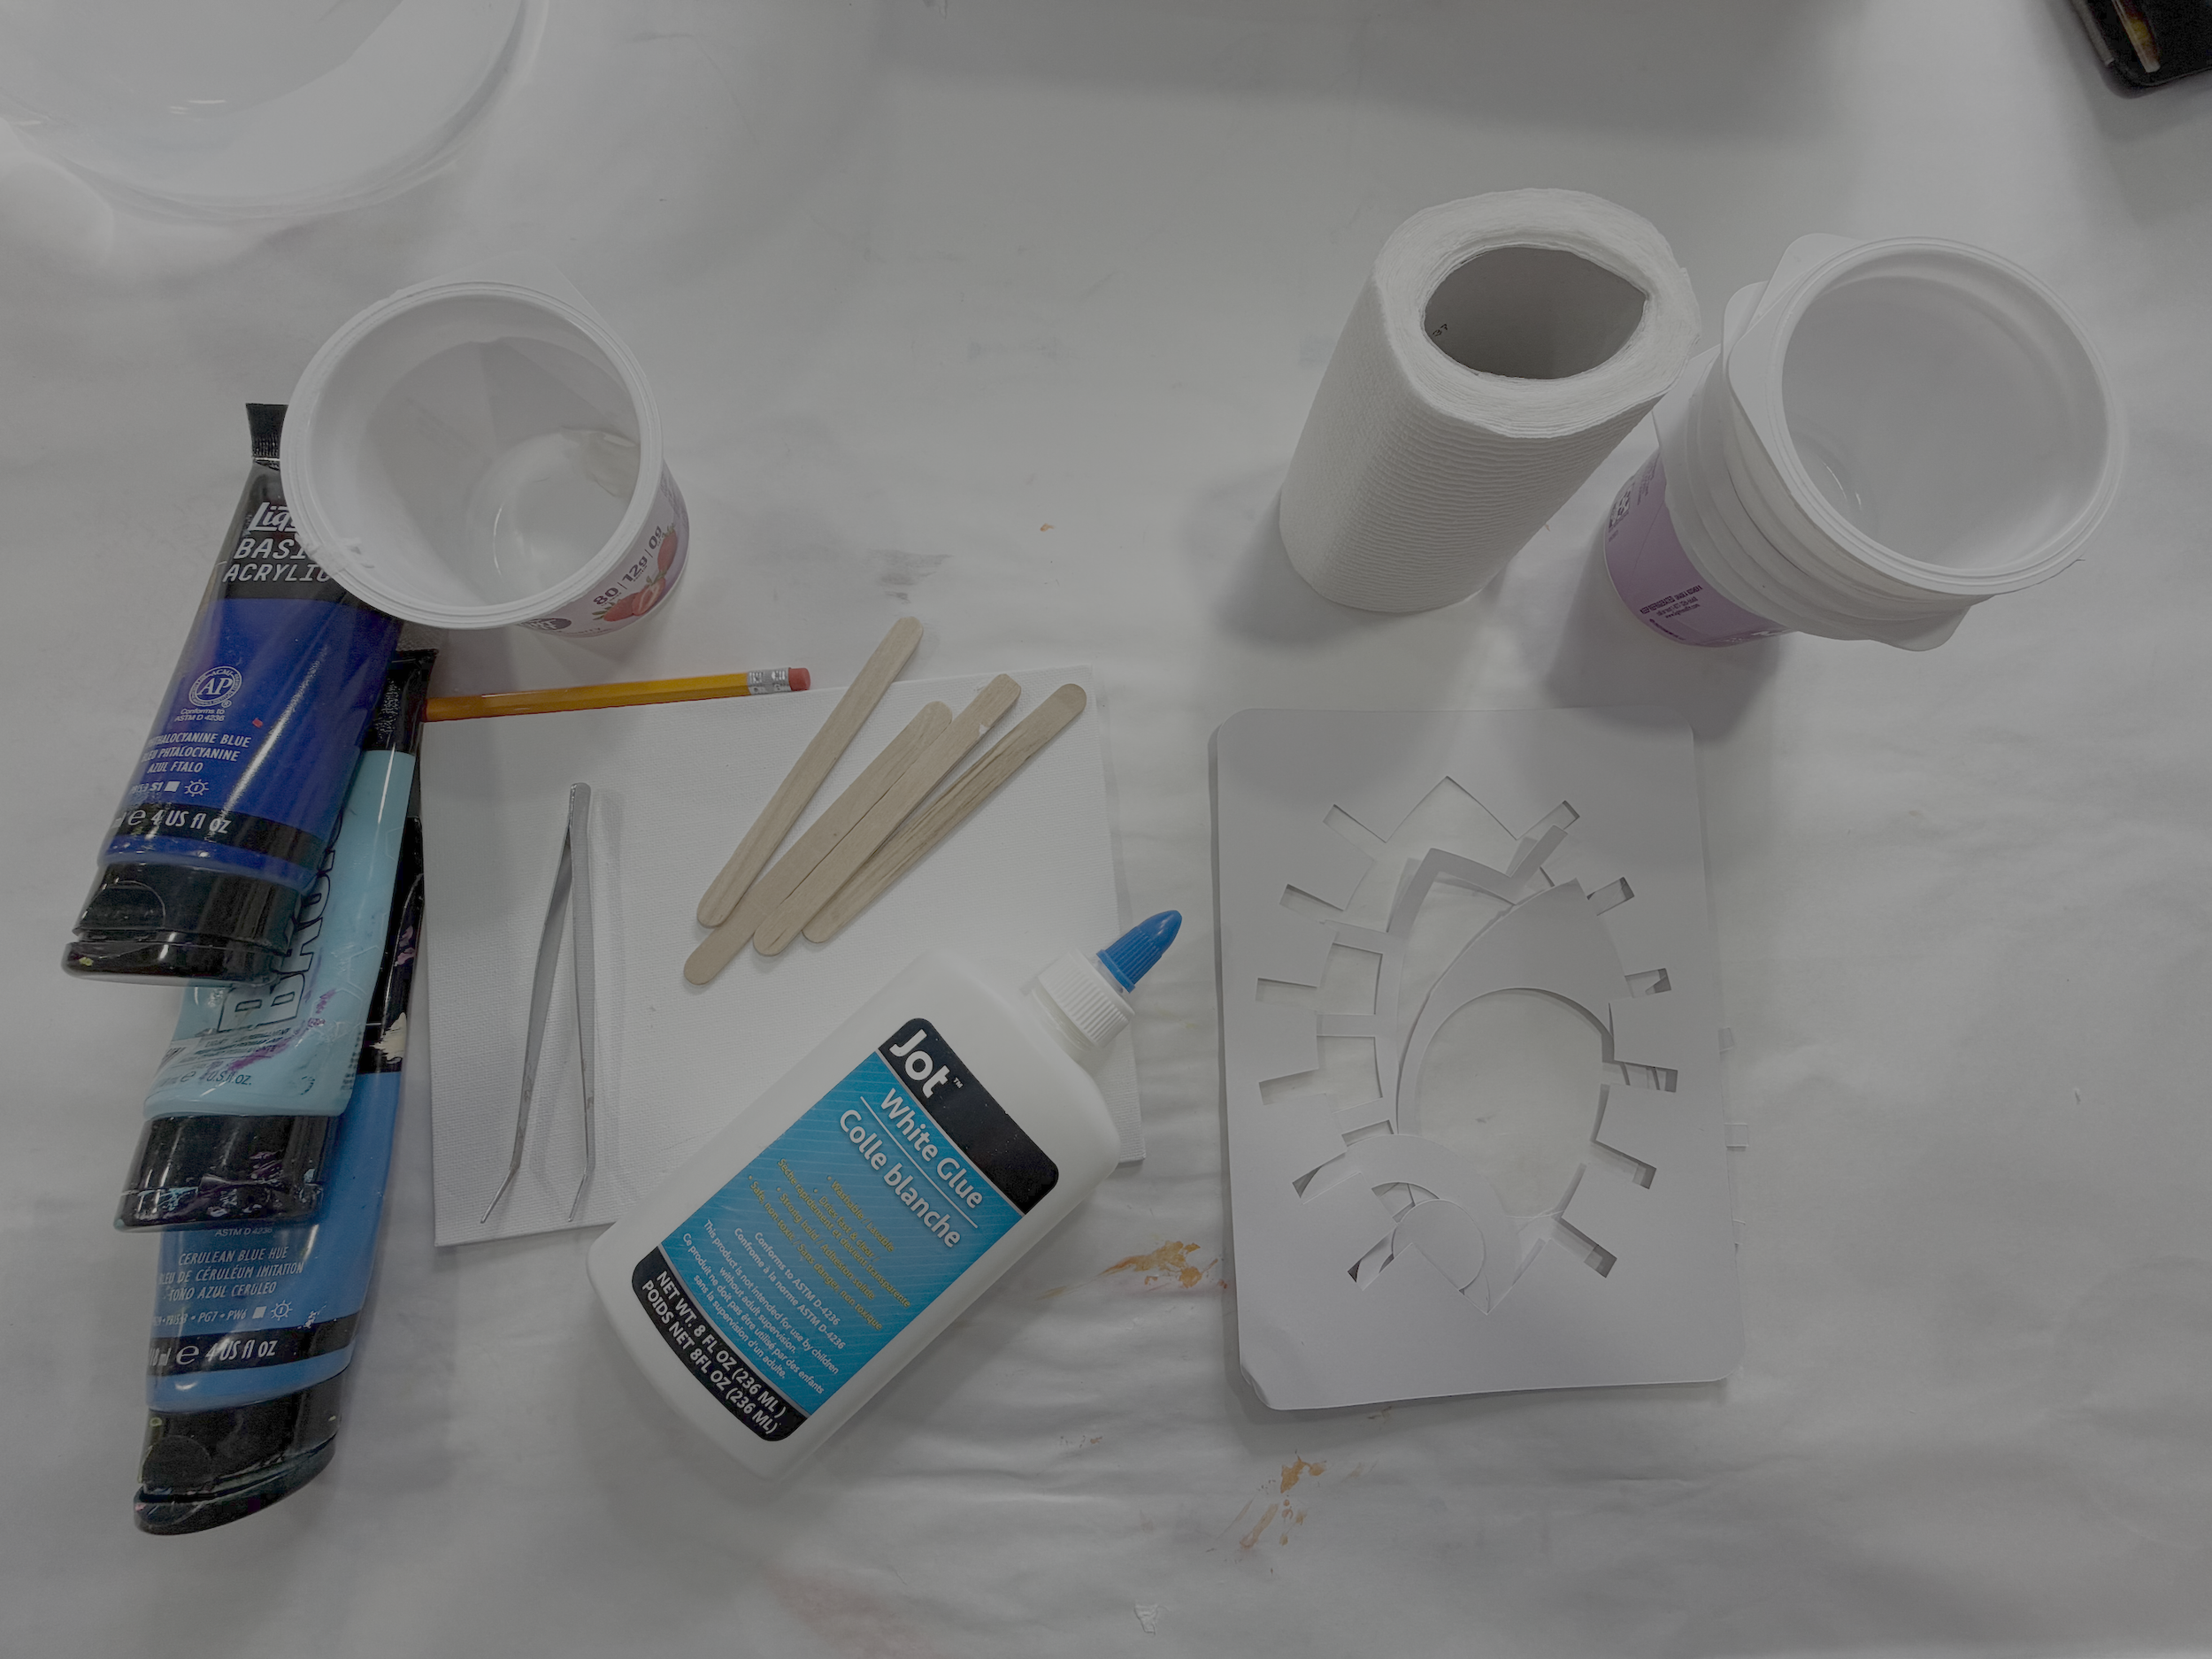
Supplies for Texture Art Using Toilet Paper
Plain, unscented, inexpensive toilet paper
Canvas, canvas board, or wood art panel (I prefer a wood art panel because it holds the texture)
Water
Pencil
Cups (old yogurt containers work perfectly)
Paper plates or container lids
Stencil (optional)
Pro tip: Cheaper, thinner toilet paper really does work best, so save the thick, plush rolls for the bathroom. 🧻 I drew my own designs, but stencils are a great shortcut if you'd rather skip the freehand sketching.
How to Make Toilet Paper Texture Art, Step by Step
Getting the right consistency takes a little practice. These are the exact steps I used to get a texture that holds its shape.
Step 1: Prepare Your Surface
Cover your table. This project is pretty tidy, so floor protection shouldn't be necessary.
Gather all of your materials.
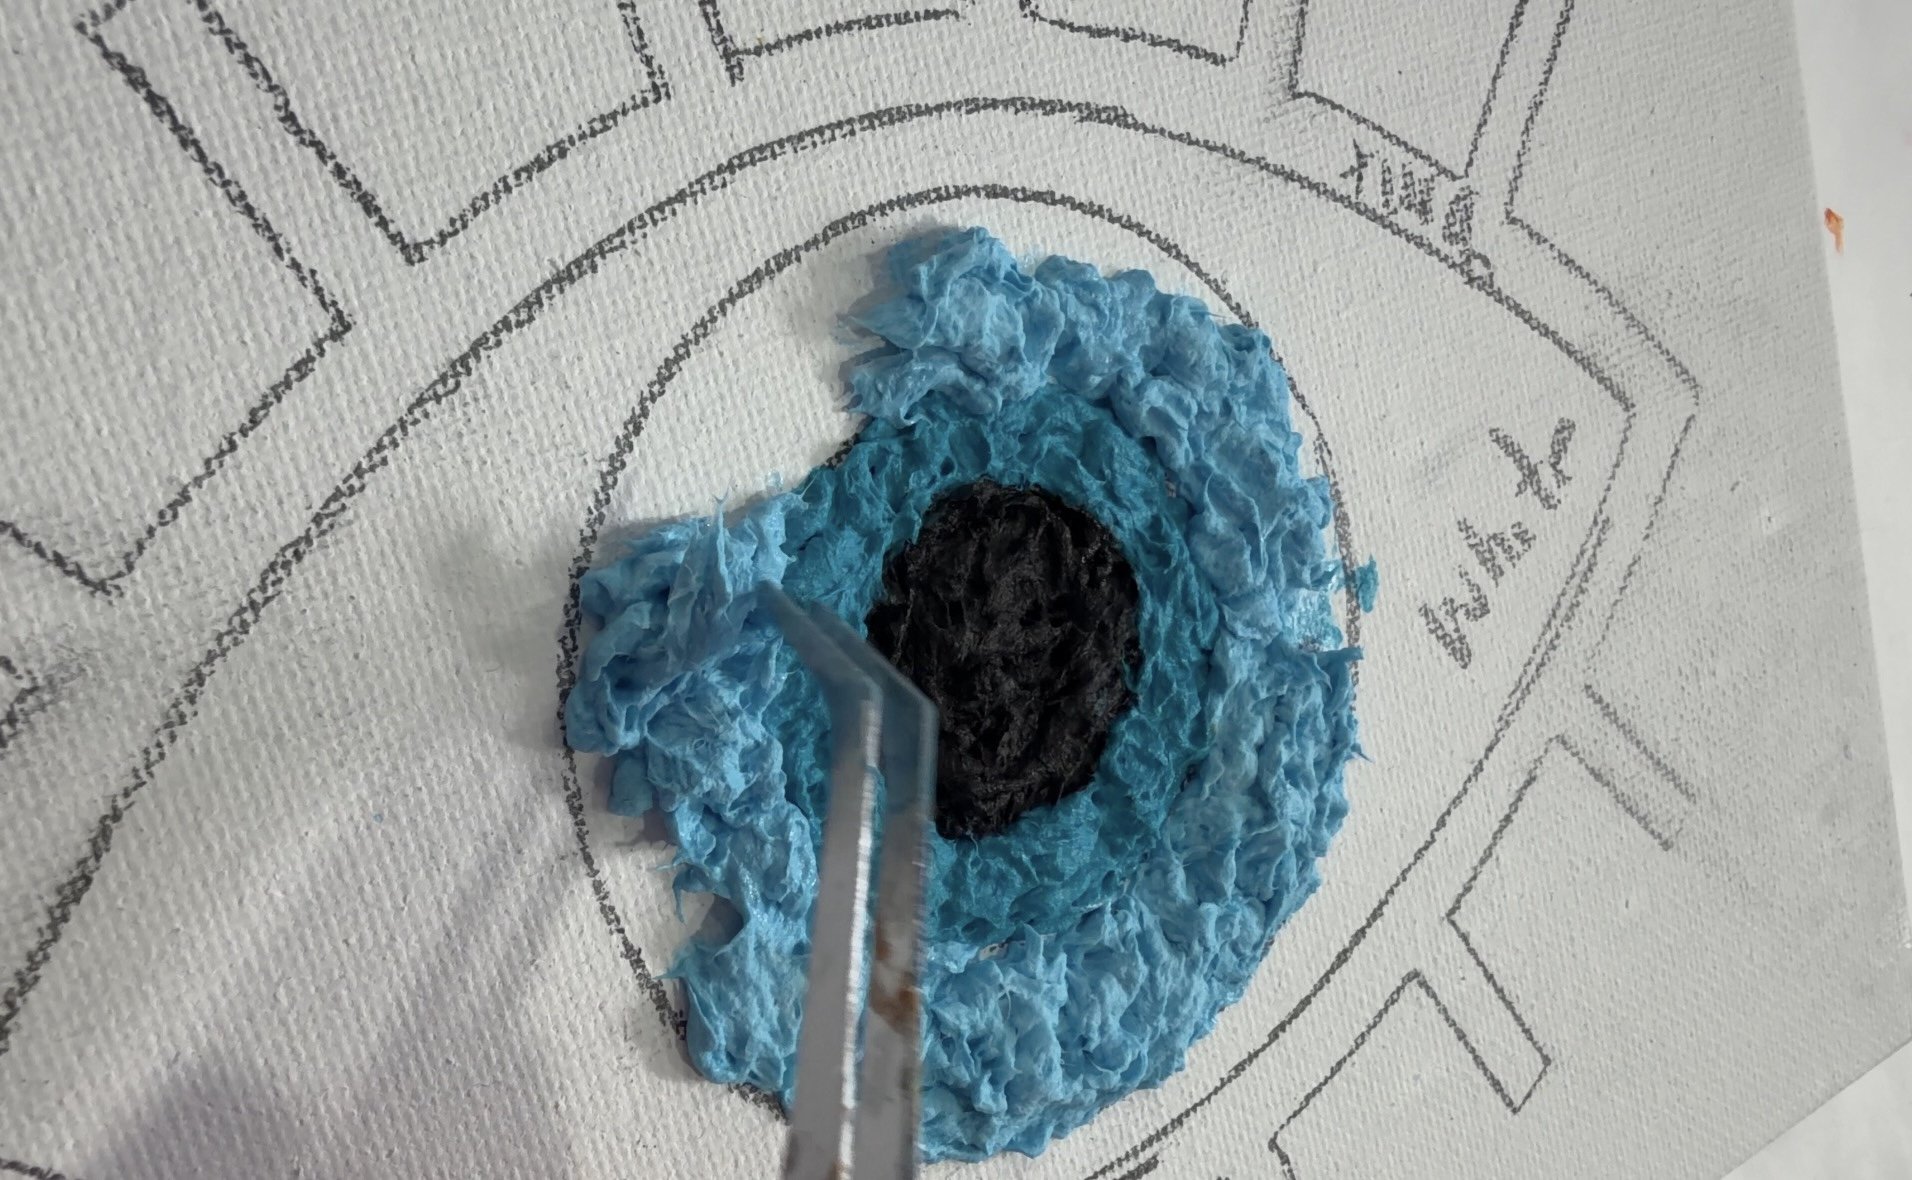
Sketch your design onto the canvas or wood panel with a pencil.
Label each section with its color so you know what goes where.
Step 2: Tear and Soak the Toilet Paper
This is the most important step. The project won't work if you skip it.
Tear 5 or 6 squares of toilet paper into small pieces and drop them into a cup. An 8" x 8" canvas doesn't need much, and you can always make more.
Add water until everything is saturated. Stir with a popsicle stick so every piece gets wet.
Pull the paper out and squeeze out as much water as you can. It should be very wet, but not dripping.
Place the squeezed pulp in a clean cup or container.
Step 3: Mix in the Glue
Drizzle school glue over the pulp.
Mix with a popsicle stick until the glue is worked all the way through.
Step 4: Add Color With Acrylic Paint
Move a small amount of pulp into a new cup for each color.
Add a small squeeze of acrylic paint.
Mix completely. If you still see white spots, add a little more paint.
You’ll want to make sure your mixture isn’t too wet. If your pulp is dripping, it will make your colors bleed. You want it about the consistency of frosting.
Step 5: Apply the Texture
Place your first color on a paper plate or lid. Picking small pieces off a flat surface is much easier than digging them out of a cup.
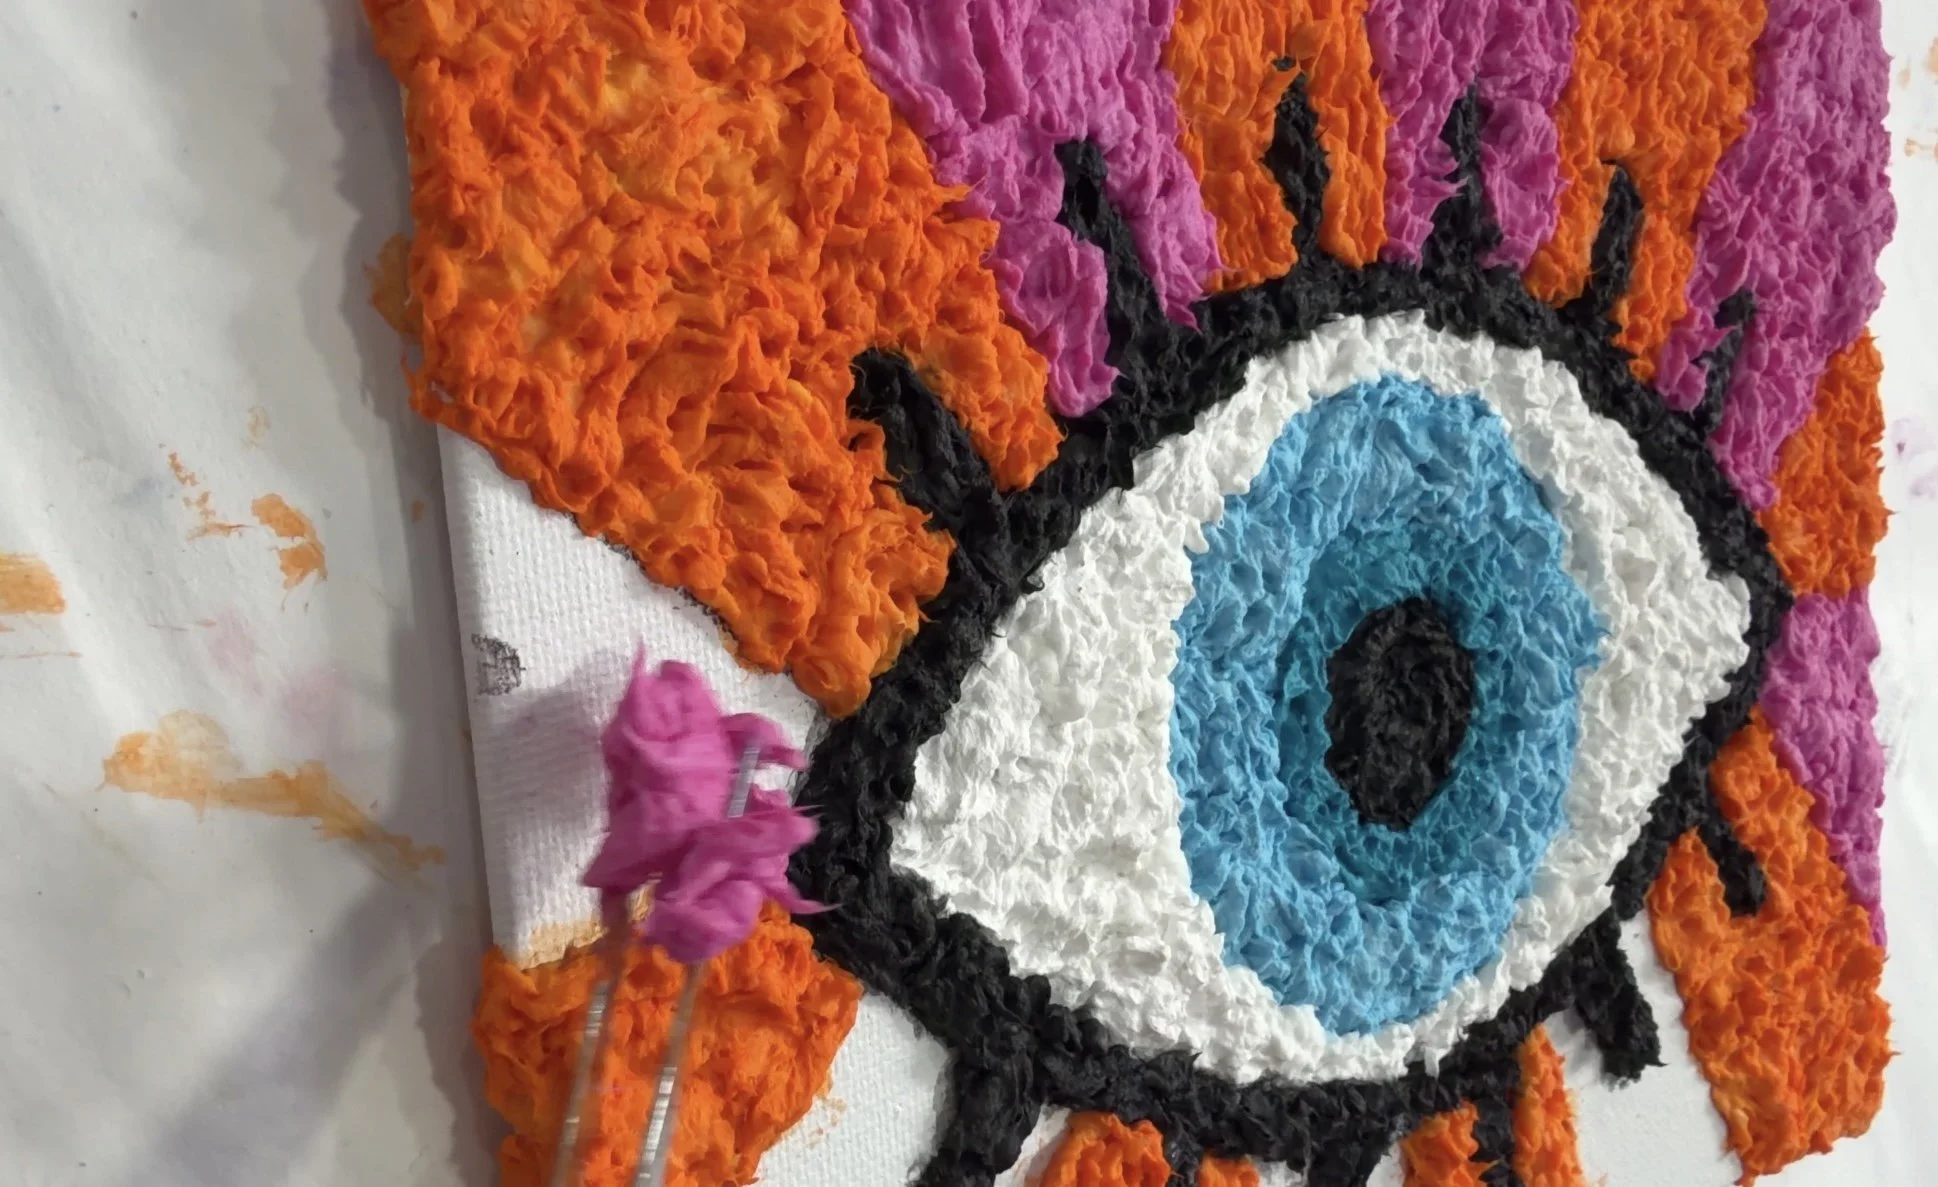
Use tweezers to pick up small bits of pulp and press them into the section labeled for that color. Try to keep the pieces fairly level as you go.
Fill the entire section, then repeat with each color. You can always go back and fill in small gaps.
Let the piece dry completely. Thicker areas can take hours or even days.
Step 6: Finish and Display
Once the piece is fully dry, it's ready to hang or display.
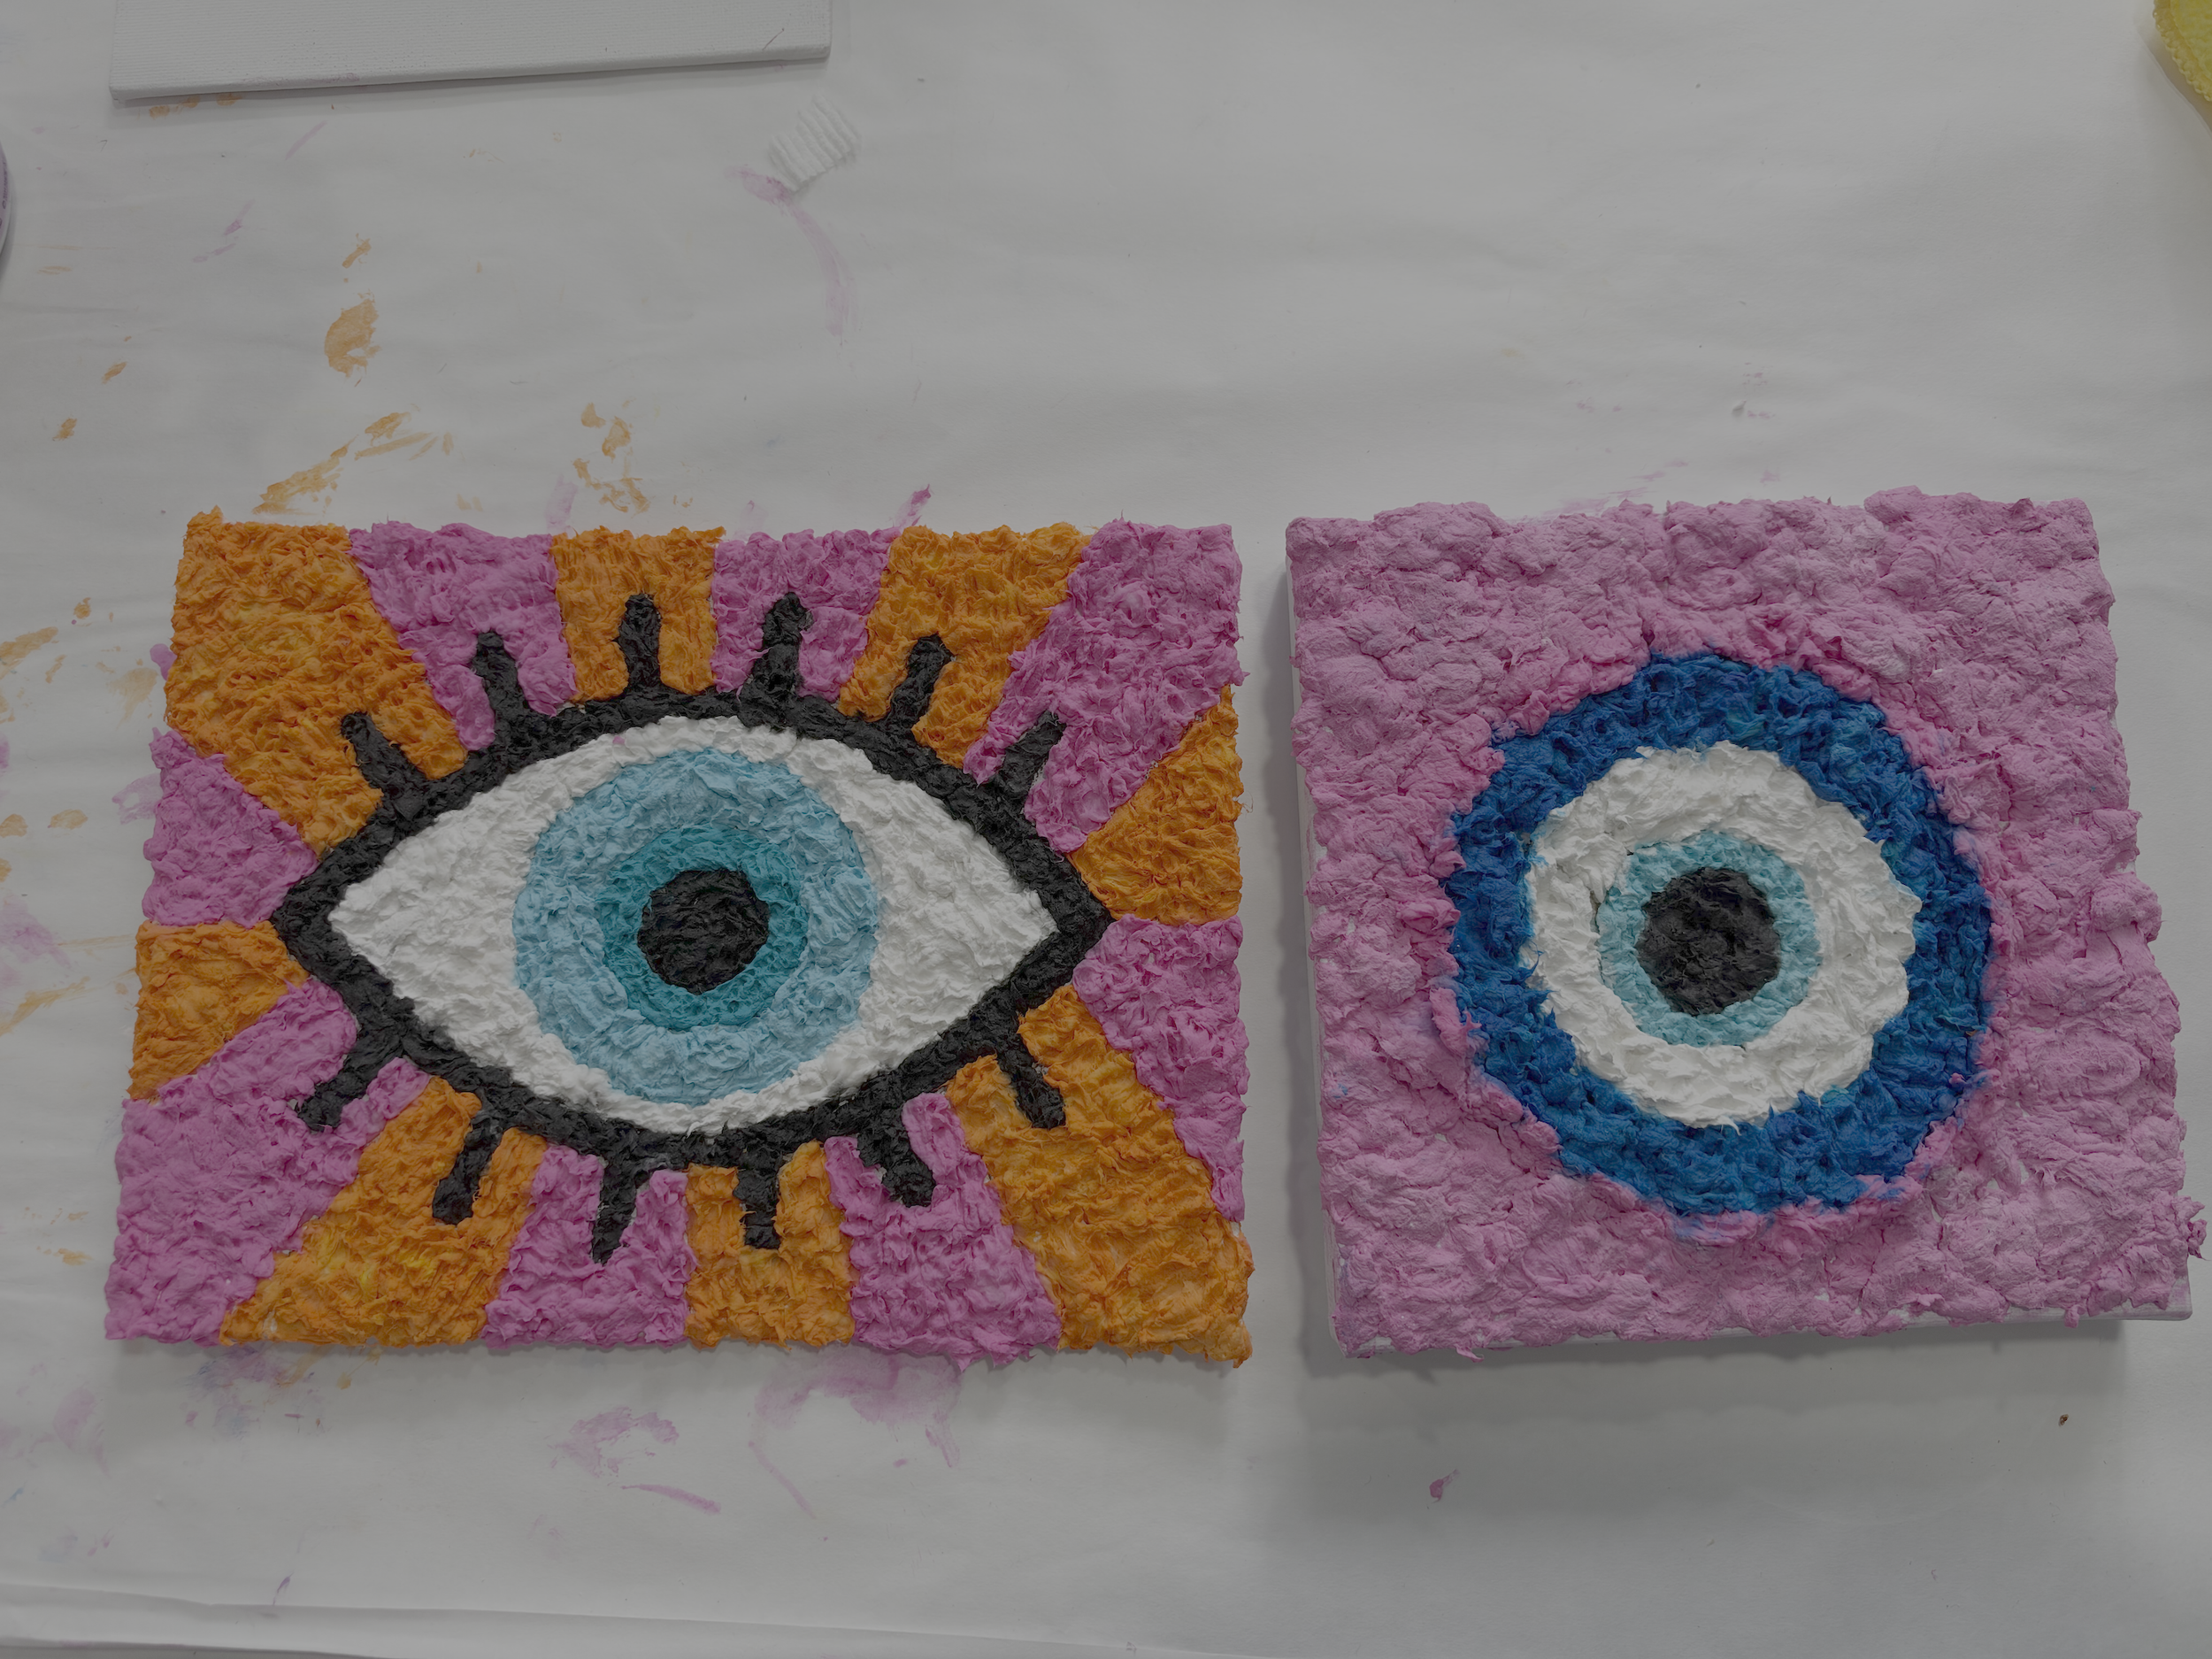
Toilet Paper Texture Art Ideas to Try
Abstract waves and flowing lines
Monograms or letter art
Home goods like tissue boxes and vases
Gathered floral shapes
Textured landscapes
Common Problems and How to Fix Them
| Problem | How to fix it |
|---|---|
| Pulp is too wet | Mix in more dry toilet paper pieces. |
| Texture looks flat | Add more pulp and rough up the surface with your tweezers. |
| Canvas is curling | Thin canvas boards can warp as moisture evaporates. Once the piece is mostly dry, set a heavy book on top for a few days to flatten it. |
| Colors are bleeding | The pulp has too much moisture. Add more toilet paper. |
| Thick sections stay damp | Give it more time. Drying varies with humidity and where you work. |
Frequently Asked Questions About Texture Art Using Toilet Paper
Can you make textured canvas art with toilet paper?
Yes. Toilet paper soaked in water, mixed with school glue, and tinted with acrylic paint makes a pulp you can press onto canvas or wood to create raised texture. Tissues and paper towels also work, though the finished texture may look slightly different. Experiment on a small surface first.
What glue should you use for toilet paper art?
Regular white school glue works great. If that's not on hand, tacky glue or wood glue can work too. Avoid hot glue, glue sticks, clear glue, and epoxies. Start with a few generous drizzles and mix until the pulp feels evenly sticky all the way through.
Can you paint over toilet paper texture art?
Yes. If you spot white patches after the piece dries, dab a little acrylic paint over them with a small brush. Painting the dried texture is also an easy way to add highlights, metallic accents, or deeper shading.
How long does toilet paper texture art take to dry?
Drying time depends on thickness and humidity. My piece took several days because I worked in a basement. A warm, sunny, or less humid spot will speed things up. Thin areas may dry in a few hours, while thick sections take much longer.
Can you use paper towels or tissues instead of toilet paper?
Yes. Paper towels and tissues both work. They need a little more soaking to break down, but after that they behave much like toilet paper. Expect a slightly different finished texture, and test a small batch before committing to a full piece.
Do you need to seal toilet paper texture art?
Sealing is optional. I don't think it's necessary, because acrylic paint already contains binders that help hold the pulp together once it dries. If your piece will hang somewhere it might get bumped or handled often, a clear sealer can add extra peace of mind.
Can you use craft paint instead of acrylic paint?
Yes. Craft paint contains more water and less binder than artist acrylics, so squeeze the pulp out extra well before you mix in color. Keep in mind that craft paint may make the texture more likely to crack over time.
Try Making Your Own Texture Art Using Toilet Paper
Now that you have all the juicy details, it's time to make your own piece. Start with a small 8" x 8" canvas or wood panel so you can get a feel for the consistency. I always test a technique on a small surface before taking it to a large canvas or mural.
Once you're comfortable, play with color palettes, metallic paints, or a little glitter. The world is your oyster!
If you try toilet paper art, please tag me so I can see your project, @artbeat_box! I love seeing your creations! 🤩