
How to Press Flowers (Beginner Guide + 5 Easy Methods That Actually Work)

Every summer I plant a backyard garden. Typically my garden is more vegetable focused, but last year I decided to pivot to planting flowers instead. I was surprised by how much I enjoyed it. At first I was making floral arrangements for my friends and family, but then I started to explore flower pressing. From there I started teaching flower press art and to this day, it is my favorite workshop to teach. Why? Because everyone loves different types of flowers and use them to express themselves in different ways. Also, the possibilities for art that can be made using pressed flowers is pretty limitless.
I'm excited to spill all of the flower art secrets and give you step-by-step instructions that anyone can follow! By the end of this blog post, you'll be ready to press flowers using the method of your choice.
What exactly is Flower Pressing?
Flower pressing has been around forever and seems to come in and out of fashion. Lately, however, I've noticed that people are getting increasingly more creative and the outcome is that you can keep those flat blooms for years to come.
So, what is flower pressing? Flower pressing is the art of removing both moisture and volume in a flower. There are different methods for pressing flowers (outlined below) and each method requires different supplies and process. All of them work well and once I explain the process of flattening and drying flowers (or leaves), you'll likely have a favorite. The best part of flower pressing is that you can make ton of different ways to preserve them to keep as a memento.
Step-by-Step Guide to Pressing Flowers
Now that you have all the necessary materials, let’s go over the process of flower pressing:
1. Pick flowers at their freshest
It is best to pick the flowers before they wilt. Different flowers will flourish for a long time while some will wilt within days. It really doesn't matter provided you pick when they still look good. Picking in the morning works best. I think of this rhyme: If they have morning dew, they're perfect for you!
2. Prepare the flowers
Once you've picked and trimmed the flowers, I like to wash them to make sure I am not introducing bugs into my home. I do not wash the flowers if I am planning to microwave flowers, though, because I know that the use of microwave presses will kill off any bugs. If you do or do not wash your flowers, you will want to make sure that they are not soaking wet. You can put them into direct sunlight for a few minutes so that they can dry off. Remove any leaves or stems that you do not want or need.
3. Sandwich the flowers
The most common method is to place flowers onto a piece of paper and then layer an additional piece of absorbent paper on top. You can then put this "sandwich" into a large book or you can use one of the many flower presses available online.
4. Add weight or pressure
Now it’s time to apply pressure.
If you use the book method (more details below), be sure to add some more thick books on top for better results. If you are using the wooden press method, be sure you tighten those wing nuts so that the pieces of absorbent paper are ready to take in any moisture content.
Allow the pressed flowers the right time they'll need to flatten and dry. While some smaller or thinner flowers might flatten and dry immediately, other bulkier plants might need 1-3 weeks to dry. Different techniques have different drying times.
6. Check the flowers
I like to check on my flowers after a week to see if they are drying and to make sure that no mold if forming. If the flowers aren't too fragile, I will rotate them so that they can have new dry spots in the double layer of paper. This is not necessary, but I've had better luck when doing it this way.
7. Remove the flowers
Removing the flowers from the flower presses is probably where things go wrong most often. Use a pair of tweezers and go very slowly. Some people like to remove the paper with the flowers and give them a dry day outside of the book before going to storage. I never do it this way, but I'm sure it works well.
Once the flowers are removed from the press, you'll want to keep them organized. A simple way to do this is to buy one of those photo storage boxes and label each one with a different flower. I like this method because it is portable. When I am teaching flower pressed art at a special event, I find these the best way to keep the flowers organized. If you have a great way to store flowers that I haven't mentioned, please let me know, I always love seeing how different people find best results using different method. Also, if you have an easy way to do this that I haven't thought of, let me know!
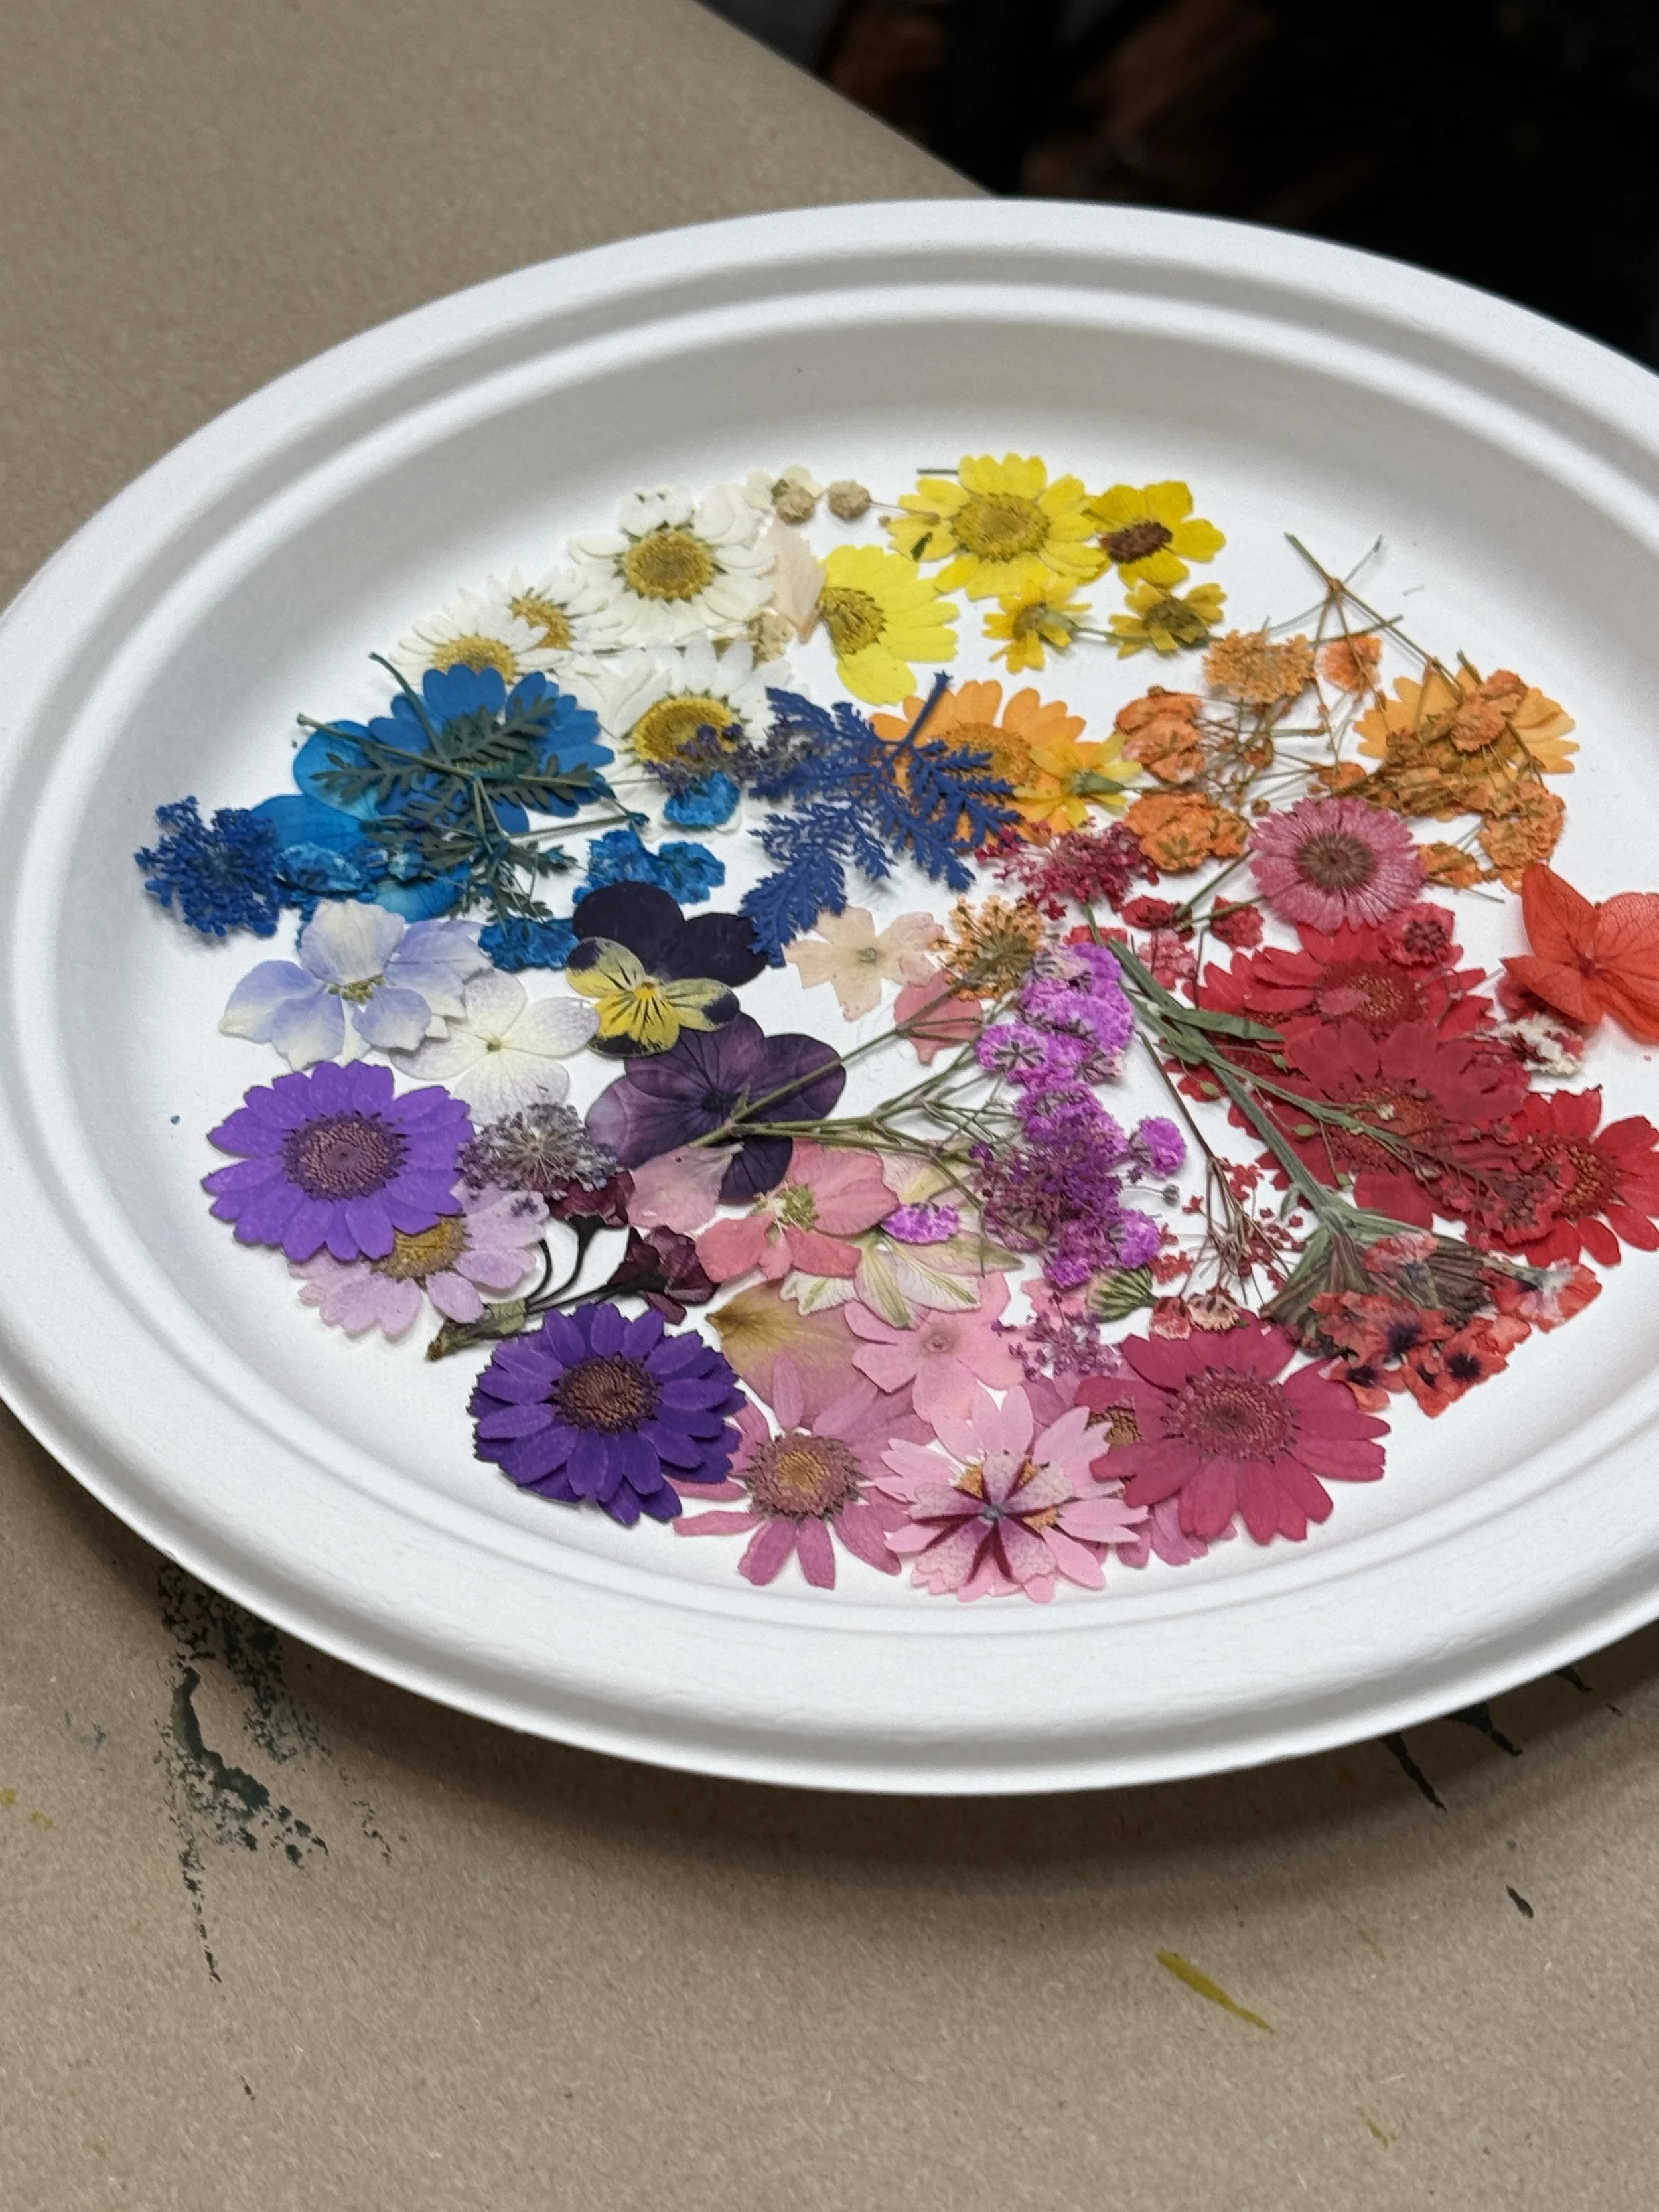
The Best Flowers for Pressing
When I first started learning how to press and dry flowers, I wasn’t sure which flowers worked best. What I quickly realized is that the best flowers for pressing or drying actually depend on your project. That’s why I’ve organized this guide by project type. For example, if you’re making pressed flower art for a picture frame or floating frame, it’s important to choose thin, delicate flowers. Thicker flowers don’t press flat and won’t give you the clean result you’re looking for. I’ll explain more below, but the right flower choice really does matter:
Resin:
roses
peonies
gerber daisies
zinnias
pansies
violets
forget-me-nots
small daisies (not gerber)
baby's breath
evergreens
camelias
black eyed susans
lavender
buttercup
woodfern
phlox
hydrangea
larkspur
aster
Framed Art and/or decoupage:
pansies
violets
forget-me-nots
small daisies (not gerber)
baby's breath
evergreens
camelias
black eyed susans
lavender
buttercup
woodfern
phlox
hydrangea
larkspur
aster
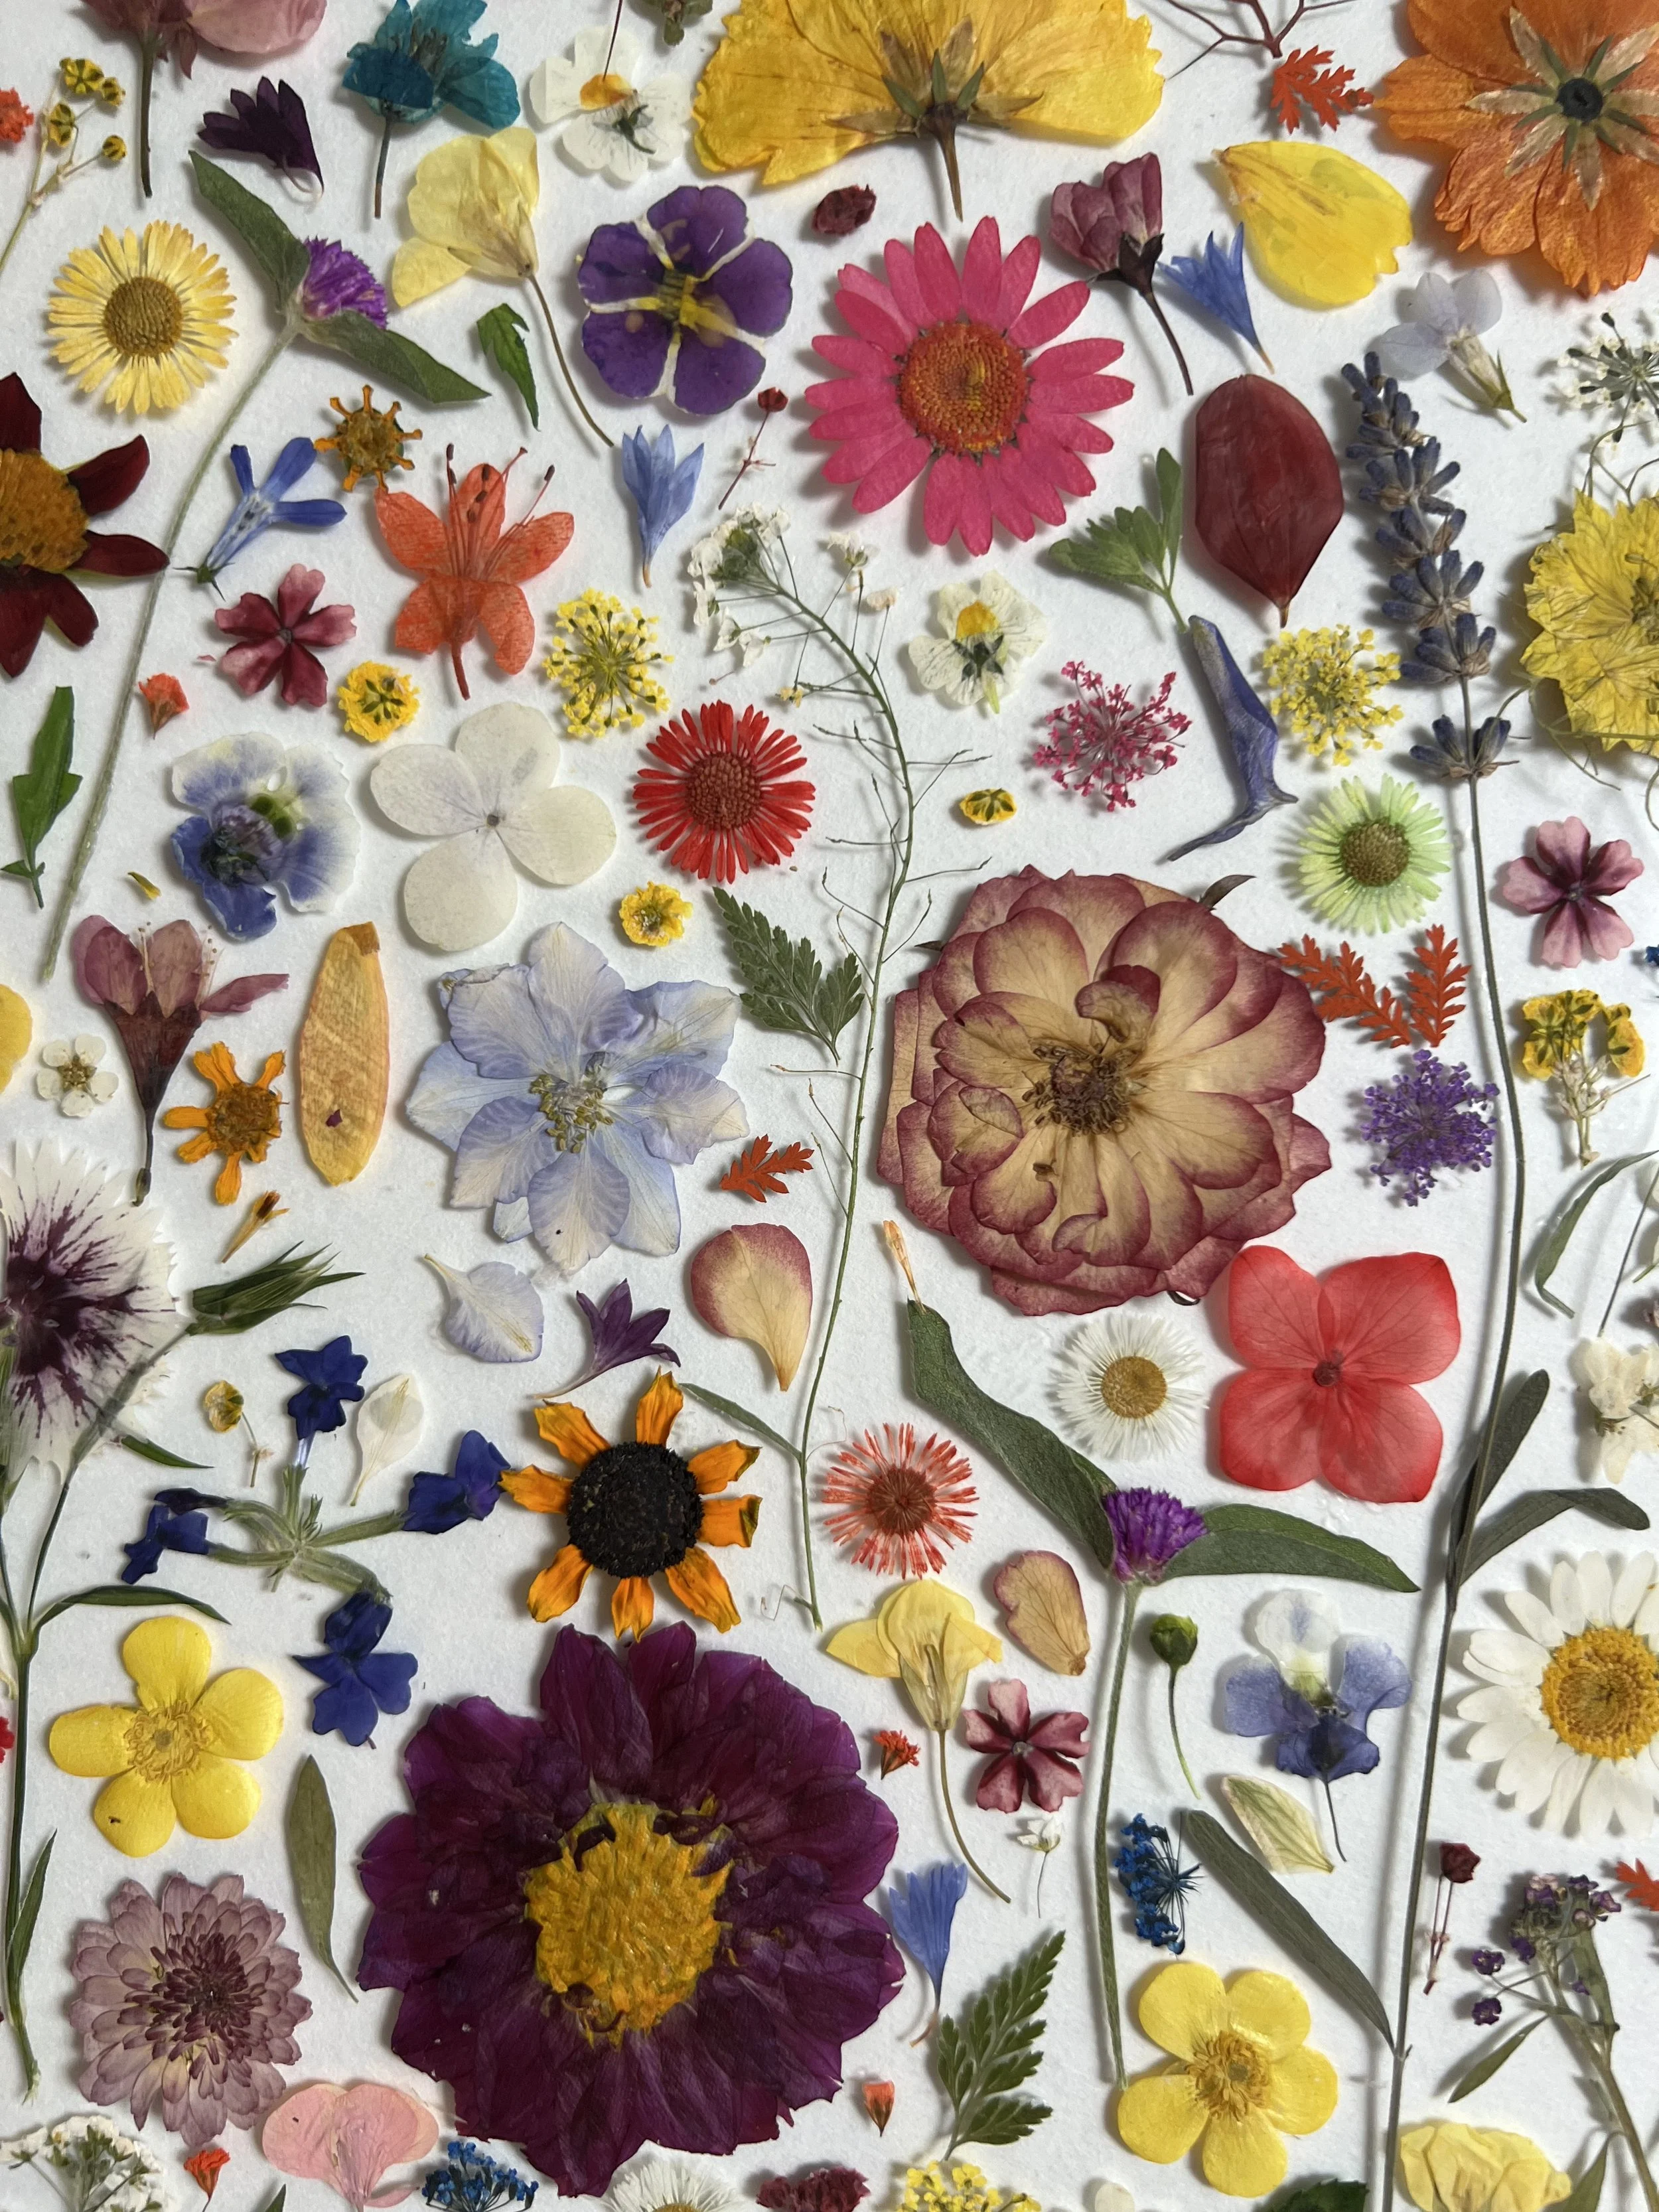
The reason why you need to choose the right flowers to press is because these flowers have thin petals, but not too thin that they're bound to rip. They also maintain most of their color and come in a variety of shapes.
Bonus Tips for Choosing Flowers for Pressing:
Thin petals
Colorful Bright, vibrant colors (like blues, pinks, and yellows) tend to hold up better during pressing.
Available in a variety of colors and shapes and sizes.A mix of large and small flowers creates more visual interest in pressed flower art.
Easy to grow or buy
Materials you will need
Before you start making art with pressed flowers, let's discuss which items you'll need to help with the drying process.
Flowers – Choose flowers that are in full bloom and not overly wilted. Opt for thin-petaled flowers like pansies, violets, daisies, and buttercups, as they dry well and maintain their color and shape.
Blotting paper – You will need absorbent paper, such as parchment paper, blotting paper, or newspaper. These papers absorb moisture from the flowers and help flatten them.
Tweezers – These can be helpful when handling delicate flowers, especially when placing them between the sheets of paper
Scissors – If necessary, use scissors to trim the stems or adjust the size of the flowers.
Storage for dried flowers
A Flower Press – Pressed flowers require a flower press.
pressed flower art
What is the best way to dry flowers for pressing?
While I am sure there must be other options, these are the ones I use most. I have used all of them and I base my decision on the length of time in which I might need the flowers. For example, the heat press method and the microwave method are both the quicker options since your flowers will be preserved in a matter of minutes after repeating the same step every 10-15 seconds. Conversely, the other two methods can take up to 2-4 weeks depending on the size of the bloom and the amount of humidity in your drying spot.
Here are the three most common methods with explanations:
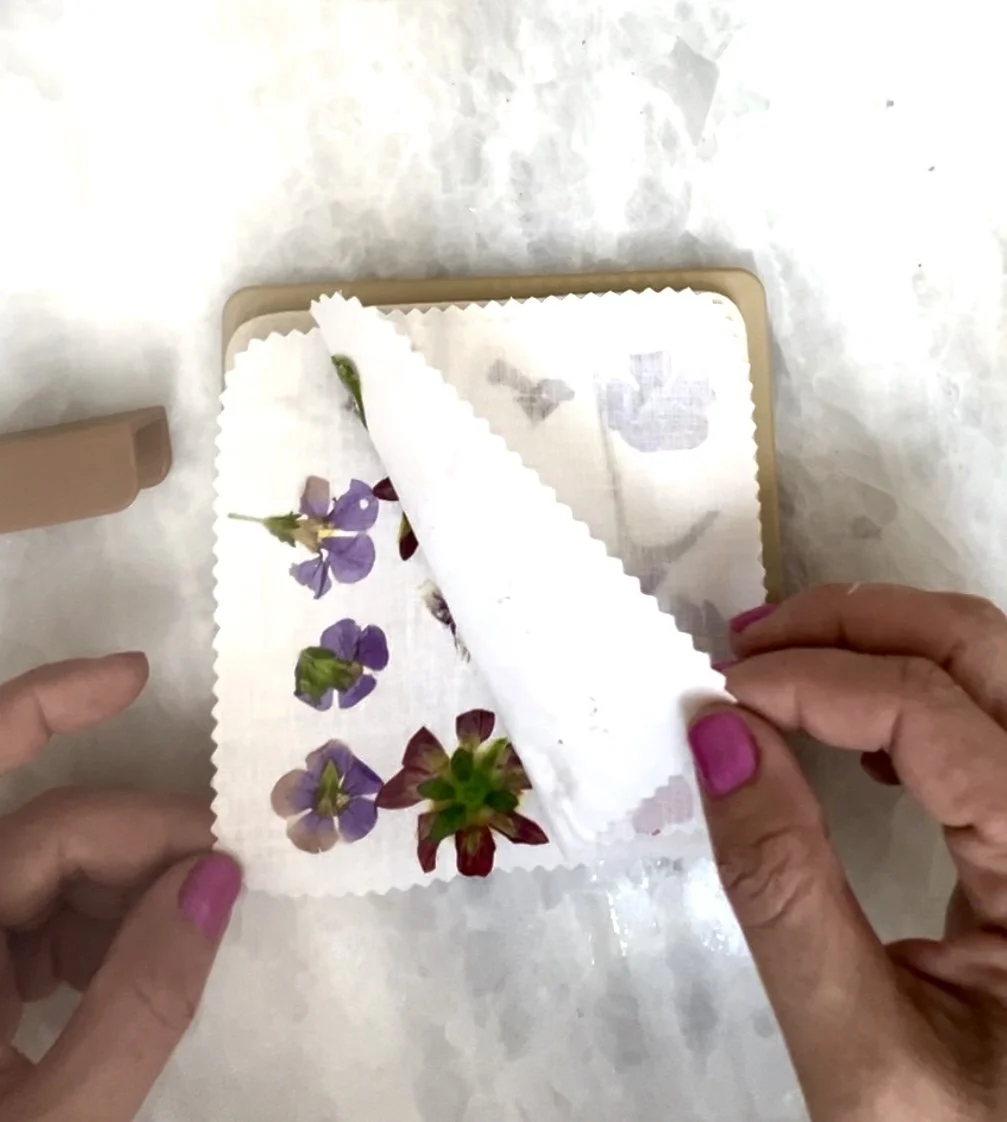
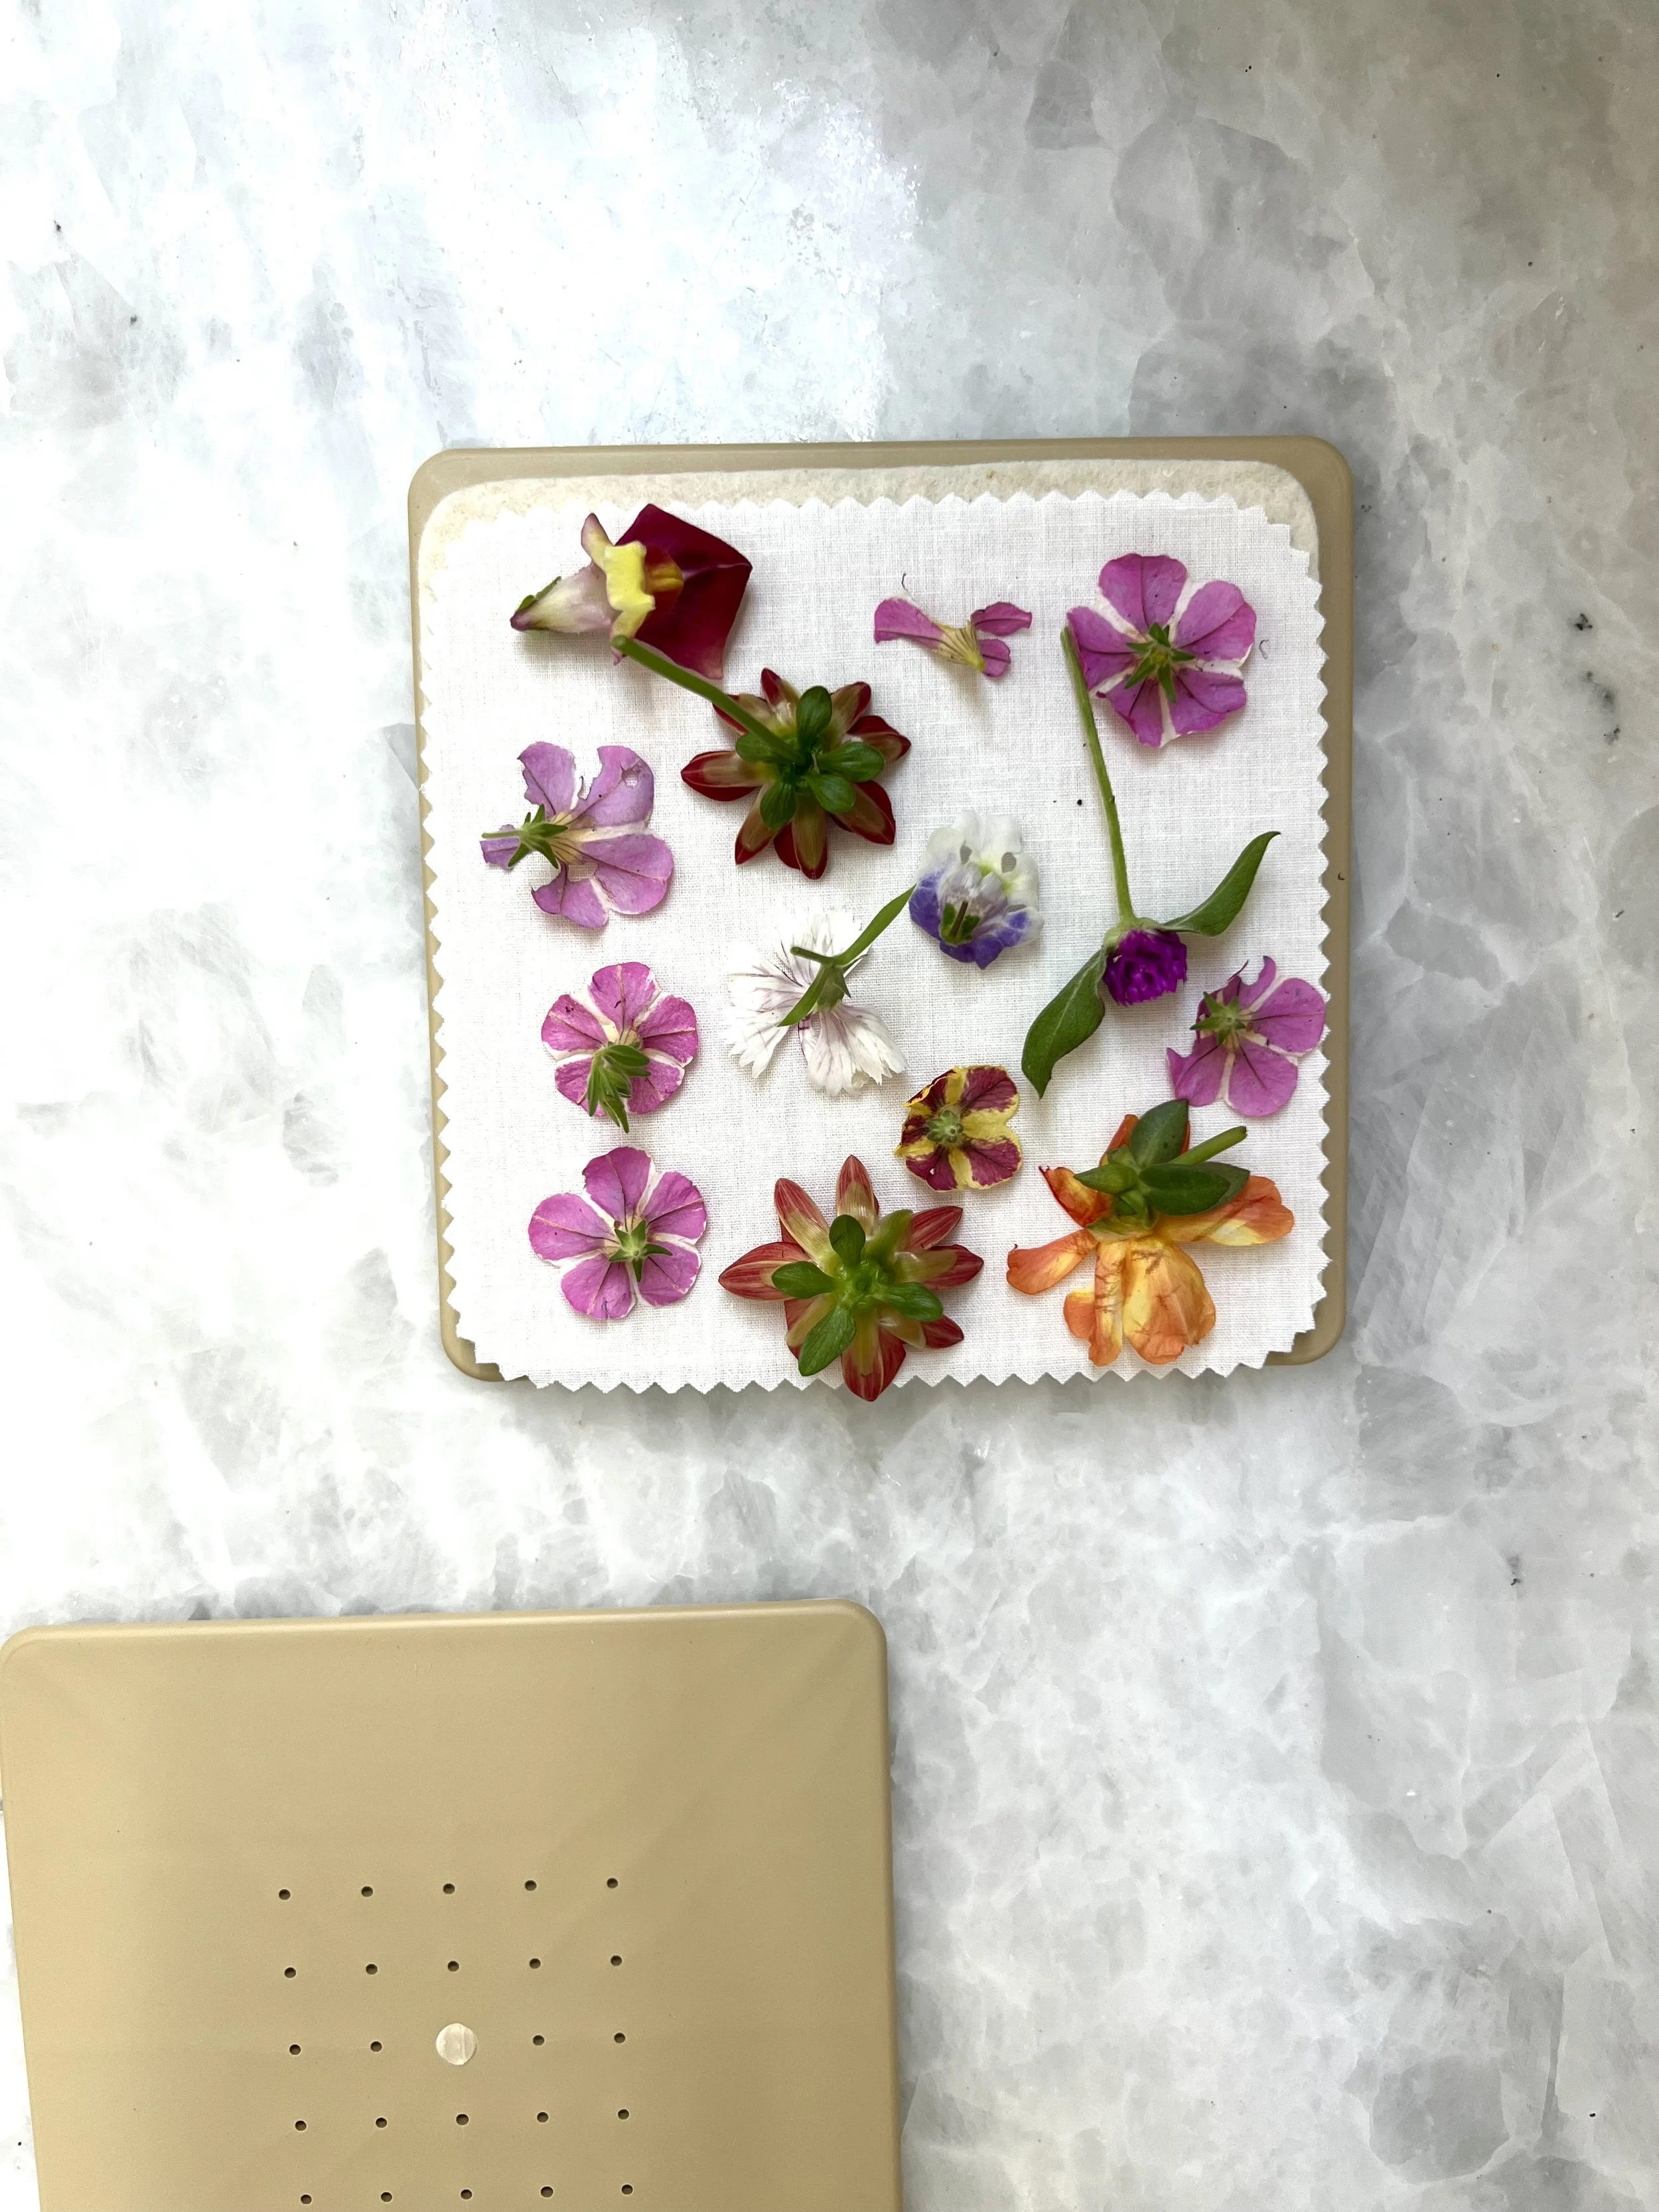
How to Press Flowers in the Microwave
The microwave method is great for those times you want to preserve your summer blooms quickly. While the microwave method is fast, it still requires some patience and you should know that it sometimes comes with a slight odor. The microwave method can be done in two ways:
Layer plates with flowers and either blotting paper or paper towel
Use a store-bought flower press intended for the microwave. I love using the microfleur flower press.
How to Press Flowers in a Book
Open up to a blank page and insert either a piece of parchment paper, blotting paper or some other absorbent paper. You can also use printer paper, newspaper, tissue paper and paper towels. Paper towels do, however, leave imprints on the flowers. Place the fresh flowers onto the absorbent paper and then place another piece of absorbent paper on top. Close the book and place a larger book or a few phone books on top. Be sure these books are placed on a flat surface. Just always make sure that you only place a single layer of petals and sandwich it between two sheets of absorbent paper. If the paper isn't absorbent (like wax paper for example), the flowers are at risk of developing mold. This is also why it is recommended to store your books in a dry place.
How to Press Flowers in a Book
The heat press or iron method is a good option when you're on the go. You will place the flowers between two pieces of absorbent papers and press with heat in 10-15 second increments. As you work, you will see moisture in the form of either dripping or steaming occur. You will continue to press until no more moisture escapes. With both the heat press and the microwave press, you will sacrifice a small amount of pigment retention since this method takes some of the color. In my experience, it isn't really enough for me to notice. Both heat methods are good candidates when you are in a rush.
Over time you will decide which method works best for you. This will depend on the kind of flowers. Smaller flowers dry more easily for obvious reasons, but they will need more than one heavy item in order to flatten them. Play around and see what works best for you!
Tips and tricks
If tweezers don't work well for you, use a wax pencil instead. Typically when teaching flower press art, I bring a variety of tools because different people have different preferences when working with flowers.
What can you make with pressed flowers?
Honestly, the possibilities are endless, but here are a few good ideas to get started. If you have a good idea that I haven't mentioned, please let me know! Here are some fan faves:
Resin Crafts - Preserve flowers in resin and they're sure to be a crowd pleaser. Some ideas in resin are to use flowers from a wedding bouquet and use them to create a piece of art for the couple.You can achieve a similar effect with wild plants for that plant lover. I made this pressed flower menorah and people love it!
Decoupage - I have decoupaged pressed flowers onto pumpkins, trinket bowls and picture frames. The possibilities are endless
Gift Wrap: Glue a few pressed flowers onto brown butcher paper for an eco friendly and beautiful gift experience.
Scrapbooking: Apparently scrapbooking isn't dead. The teens just call it something different: junk journaling!
If you have more fun ideas, let me know! Happy crafting!