
Junk Journaling for Beginners — Using Everyday Supplies (No-Sew DIY Guide)
If you've ever kept ticket stubs, maps and receipts, you are the perfect candidate for making junk journals! Yes, its a journal for preserving all of your travel and life experience memorabilia. Junk journals are part art journal, part junk drawer and part smash books. Are you curious? Yeah, me too!
I had the best time making junk journals with my classes this week. This was a great projects to kick off the school year because now the kids have a book to add special memories, doodles or really anything they want. They can be used as art journals or way to document history - old school scrapbook style. And since I had so many Gelli prints, old magazines, and flower petals, I decided to use it all!
While scouring the internet, I found loads of junk journal ideas and scrapbooking projects, but I couldn't really find exactly what I was looking for. So I tested out a combination of techniques and came up with my own process. I wanted to create a no-sew project that anyone can do! Here's what I created:

How to Make a Junk Journal from Cardboard and Papers
If you’ve ever found yourself saving ticket stubs, pretty packaging, or scraps of patterned paper because “they’re too good to throw away,” then junk journaling might be your new favorite creative outlet.
A junk journal is a handmade book created from everyday papers—magazine clippings, envelopes, cereal boxes, receipts, wallpaper samples, book pages, or anything else that catches your eye.
It’s part art journal, part scrapbook, and part personal diary.
In this post, I’ll walk you through the process of making a junk journal from scratch using cardboard and papers you already have at home. By the end, you’ll have not just a beautiful handmade book, but also a new way to treasure memories and express yourself creatively.
Why Junk Journals Are So Special
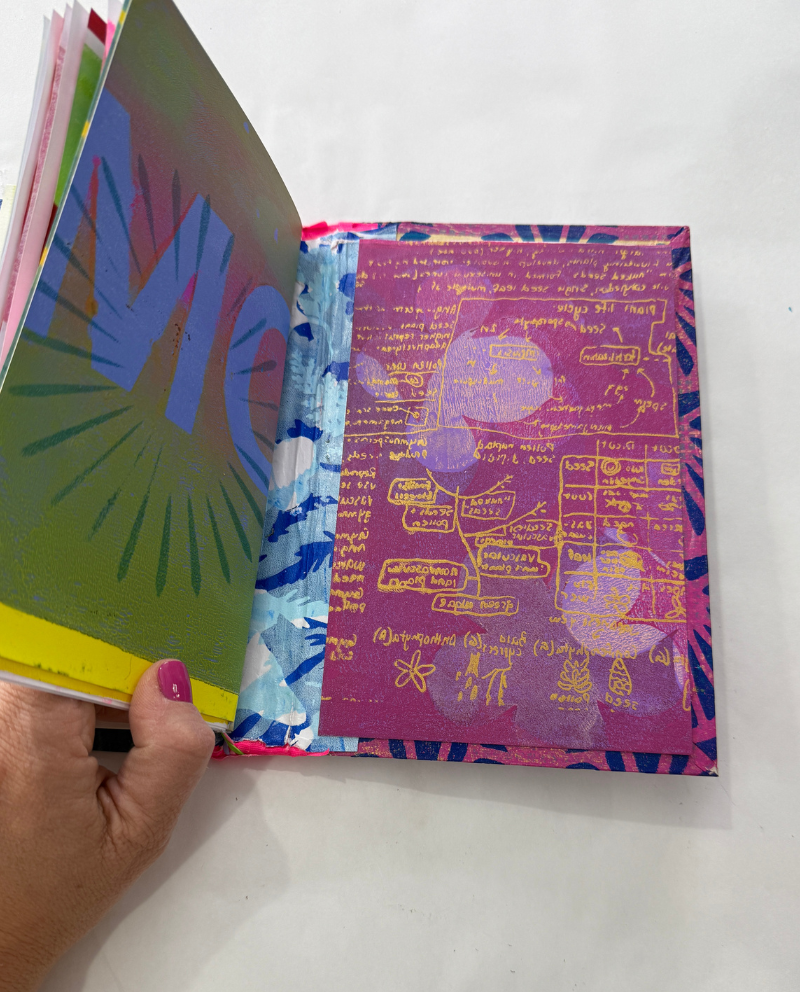
Junk journals are a way to give new life to old memories. They are a place to store memories from your life experiences. They are not supposed to be perfect — straight lines are not necessary! Plus, they can be made in so many ways. You can simply use an existing notebook, a children's book, or you can even make your own with a custom color palette. Think of a junk journal as a mini journal that stores your favorite things.
Materials You’ll Need
The beauty of junk journaling is that you don’t need fancy supplies. Gather whatever you already have on hand, and supplement with a few basics if needed. Here’s a starter list:
Chipboard or cardboard (I used chipboard) from cereal boxes, shipping boxes, or old packaging—this will become your journal cover.
Pretty paper like scrapbook paper or gelli printed paper
Ruler and pencil: To measure and mark your cuts.
Optional extras: Washi tape, rubber stamps, stickers, ribbons, fabric scraps, or buttons for embellishment.
Paper cutter or Blade
Step 1: Cut Your Cardboard
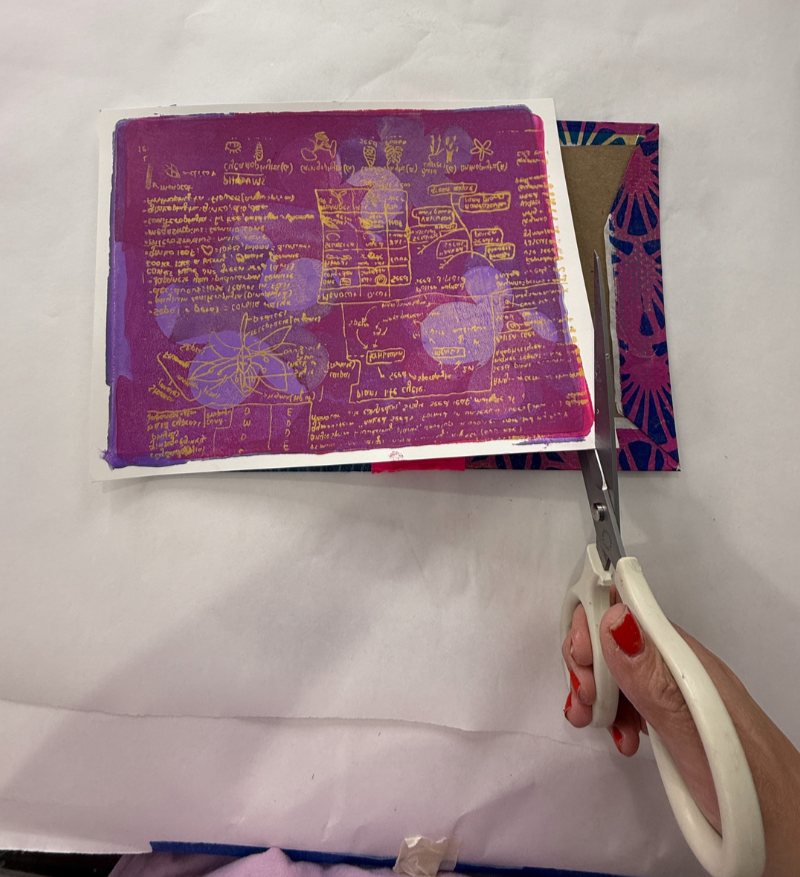
Grab a piece of 8.5 x 11" cardboard. This can be the cut from a cereal box or purchased. For this project, I purchased the cardboard because I was already using cardboard in my pressed flower art. I wanted my book to be smaller than 8.5 x 11 so I cut my cardboard in half using a paper cutter. You can also use an xacto knife if that is easier. Just be careful! You will also want to cut a 1" strip of cardboard to act as the spine. It should be 8" x 1."
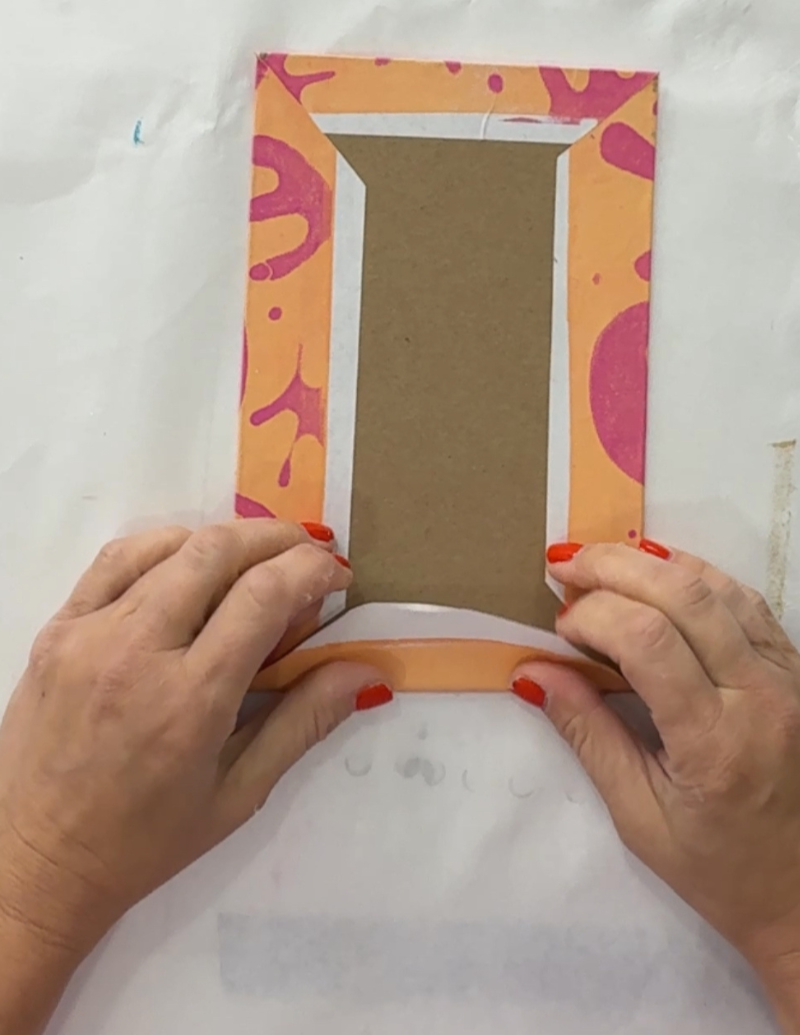
Step 2: Create Your Covers
Grab a piece of paper that you really like. Flip it onto the back and center the cardboard. Trace a rectangle right in the middle. Remove the cardboard. Draw lines on each corner to show where you will be cutting off the excess. Do not cut all the way to the rectangle, but cut close. Repeat this for both sides. You will need two full 8.5" x 11" pieces of paper for the front and back covers.
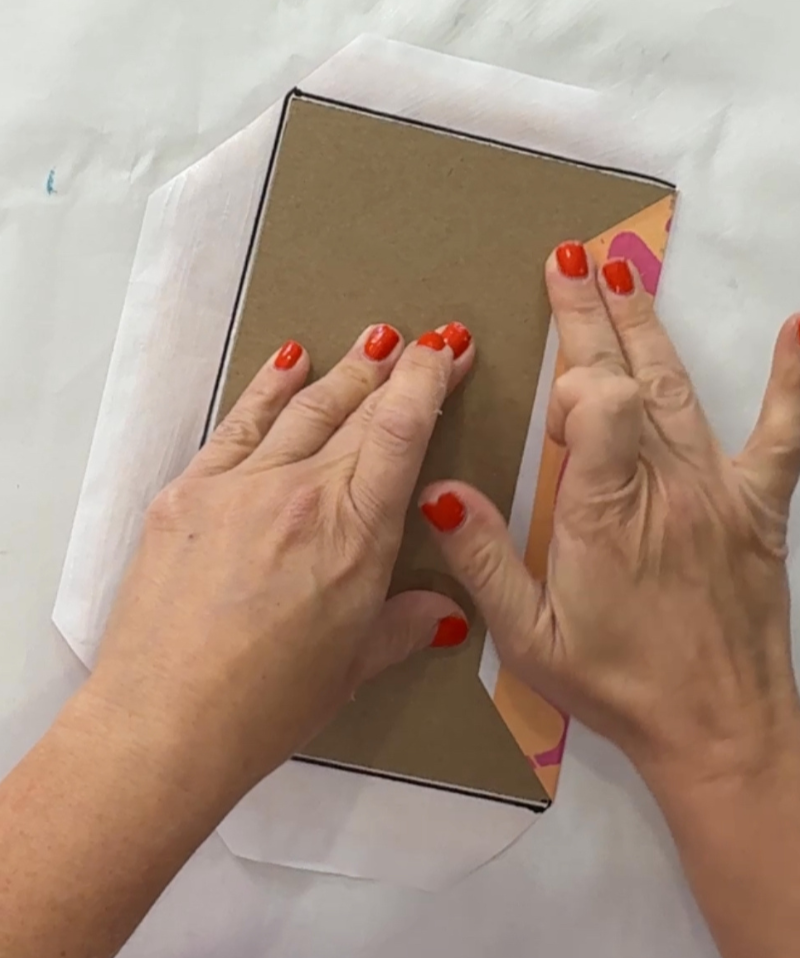

Step 3: Add Adhesive
Using a foam brush, apply adhesive to the entire surface of the paper. Make sure that you are applying a nice, thin, even coat of mod podge or glue. Place the rectangle right inside the lines you drew for the rectangle. Tuck each flap over the cardboard and make sure everything is glued down securely. Repeat on the other piece of cardboard. Leave the spine plain cardboard for now.
Step 4: Put it Together
Now that the two covers are created, place them face down onto your work surface. Put the piece of spine cardboard in between.
Using a piece of tape (I used hot pink gaffer tape, but you can use anything you want), tape one piece of cardboard to the spine, then add a second piece of tape for the other side. Add a third in the middle if you'd like.
Flip the book over and repeat the process in the middle.
Fold the book front and back several times so that you are sure the book opens and closes properly. Adjust as needed.

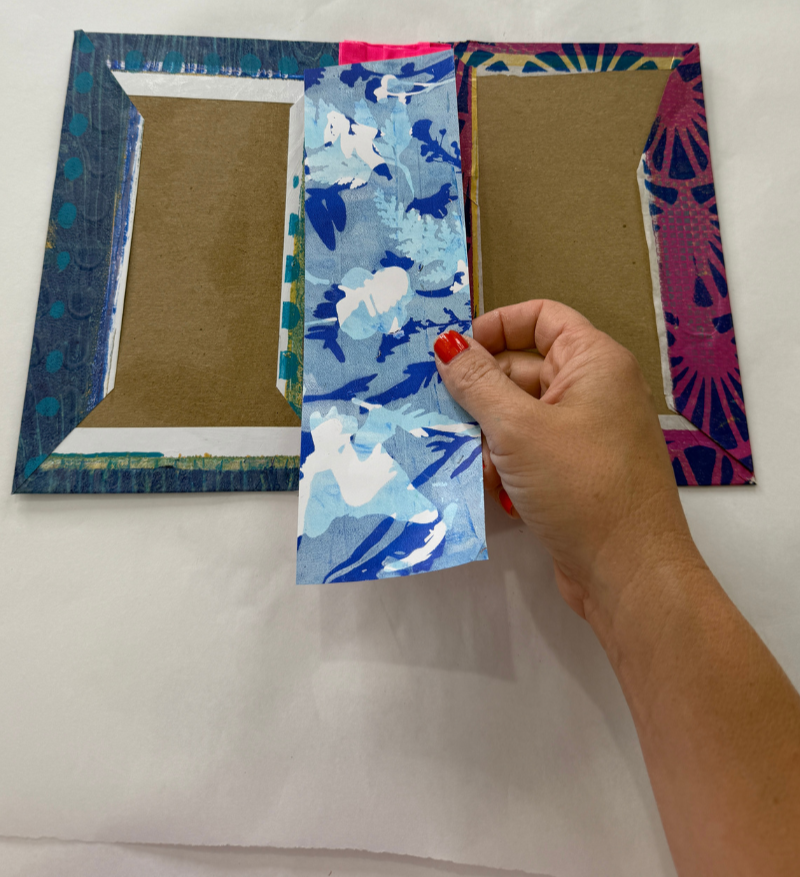
Step 5: Create the Insides of the Cover
Cut one 8.5 x 2.5" piece of paper and glue it along the two seams in the middle to cover up the tape (optional)
Cut two pieces of decorative papers. I used one sheet of paper and cut it in half and then trimmed it. You will need two pieces of paper to be 8" x 5", respectively.
Add a layer of mod podge to the back of each sheet and glue it over the remaining cardboard on the inside covers. I like to use a contrasting print with fun textures, but you can use anything - even junk mail!
Step 4: Create Paper Booklets
There are many ways to bind a junk journal, but the simplest is to fold papers in bunches. Here's how you do it:
Choose 15 sheets of paper. They can be plain, have unique designs or be a combination of both. I used a combo. Cut them all to 9" x 8" in size.
Fold them in half
Open up one sheet of paper and stick a folded piece right in the middle. Use a piece of washi tape to attach it to the first page.
Flip to the right and add a piece of washi tape on the other spot of contact (where the folded paper touches the unfolded paper).
Add three more pages and repeat the process.
Once you've made the first booklet, make more. I made 3 booklets for this project, but you can make as many as you can fit inside your book.

Step 5: Add Rubber Bands
Add rubber bands to the center of the book. I added three for the three pamphlets. Adjust as needed.
Step 6: Insert Papers into the Rubber Bands
Open each pamphlet to the center page and slide under the rubber bands.

Step 6: Decorate and Begin to Journal
This is the creative part! Have the best time using different kinds of paper scraps and some glue sticks to add them to your book. Document everything!
If you’re feeling adventurous, here are a few creative twists to make your junk journal even more unique:
Hidden Pockets: Glue three sides of an envelope or folded paper to a page to create a secret tuck spot for notes or photos.
Flip-outs: Attach smaller papers with washi tape so they unfold like surprise flaps.
Fabric Touches: Sew or glue fabric scraps for texture.
Window Pages: Cut a shape out of one page and back it with vellum or a clear plastic sleeve.
Themed Journals: Make a travel junk journal, a seasonal one (like autumn colors), or a daily gratitude journal.

Why This Process Feels So Good
Making junk journals isn't just about clearing out the craft room. It is about preserving memories and documenting your thoughts and feelings - sort of like art therapy! This is an art project created just for you! So get out there, grab those junk journal supplies, and get busy making things!
Tips for Beginners
Don't overthink what goes inside - just start!
Start saving ticket stubs, receipts, and bags. You can always throw them out later.
If you see something in a magazine that inspires you, cut it out and save it.
Keep a bin for all of the items you collect along the way. That way you won't have to go digging looking for things!
More creative ideas to explore:
• Ultimate Guide to Flower Pressing for Beginners – Pressed flowers to tuck into your journal.
• How to Create Image Transfers Using Your Gelli Plate – Add artistic monoprints to your pages.