
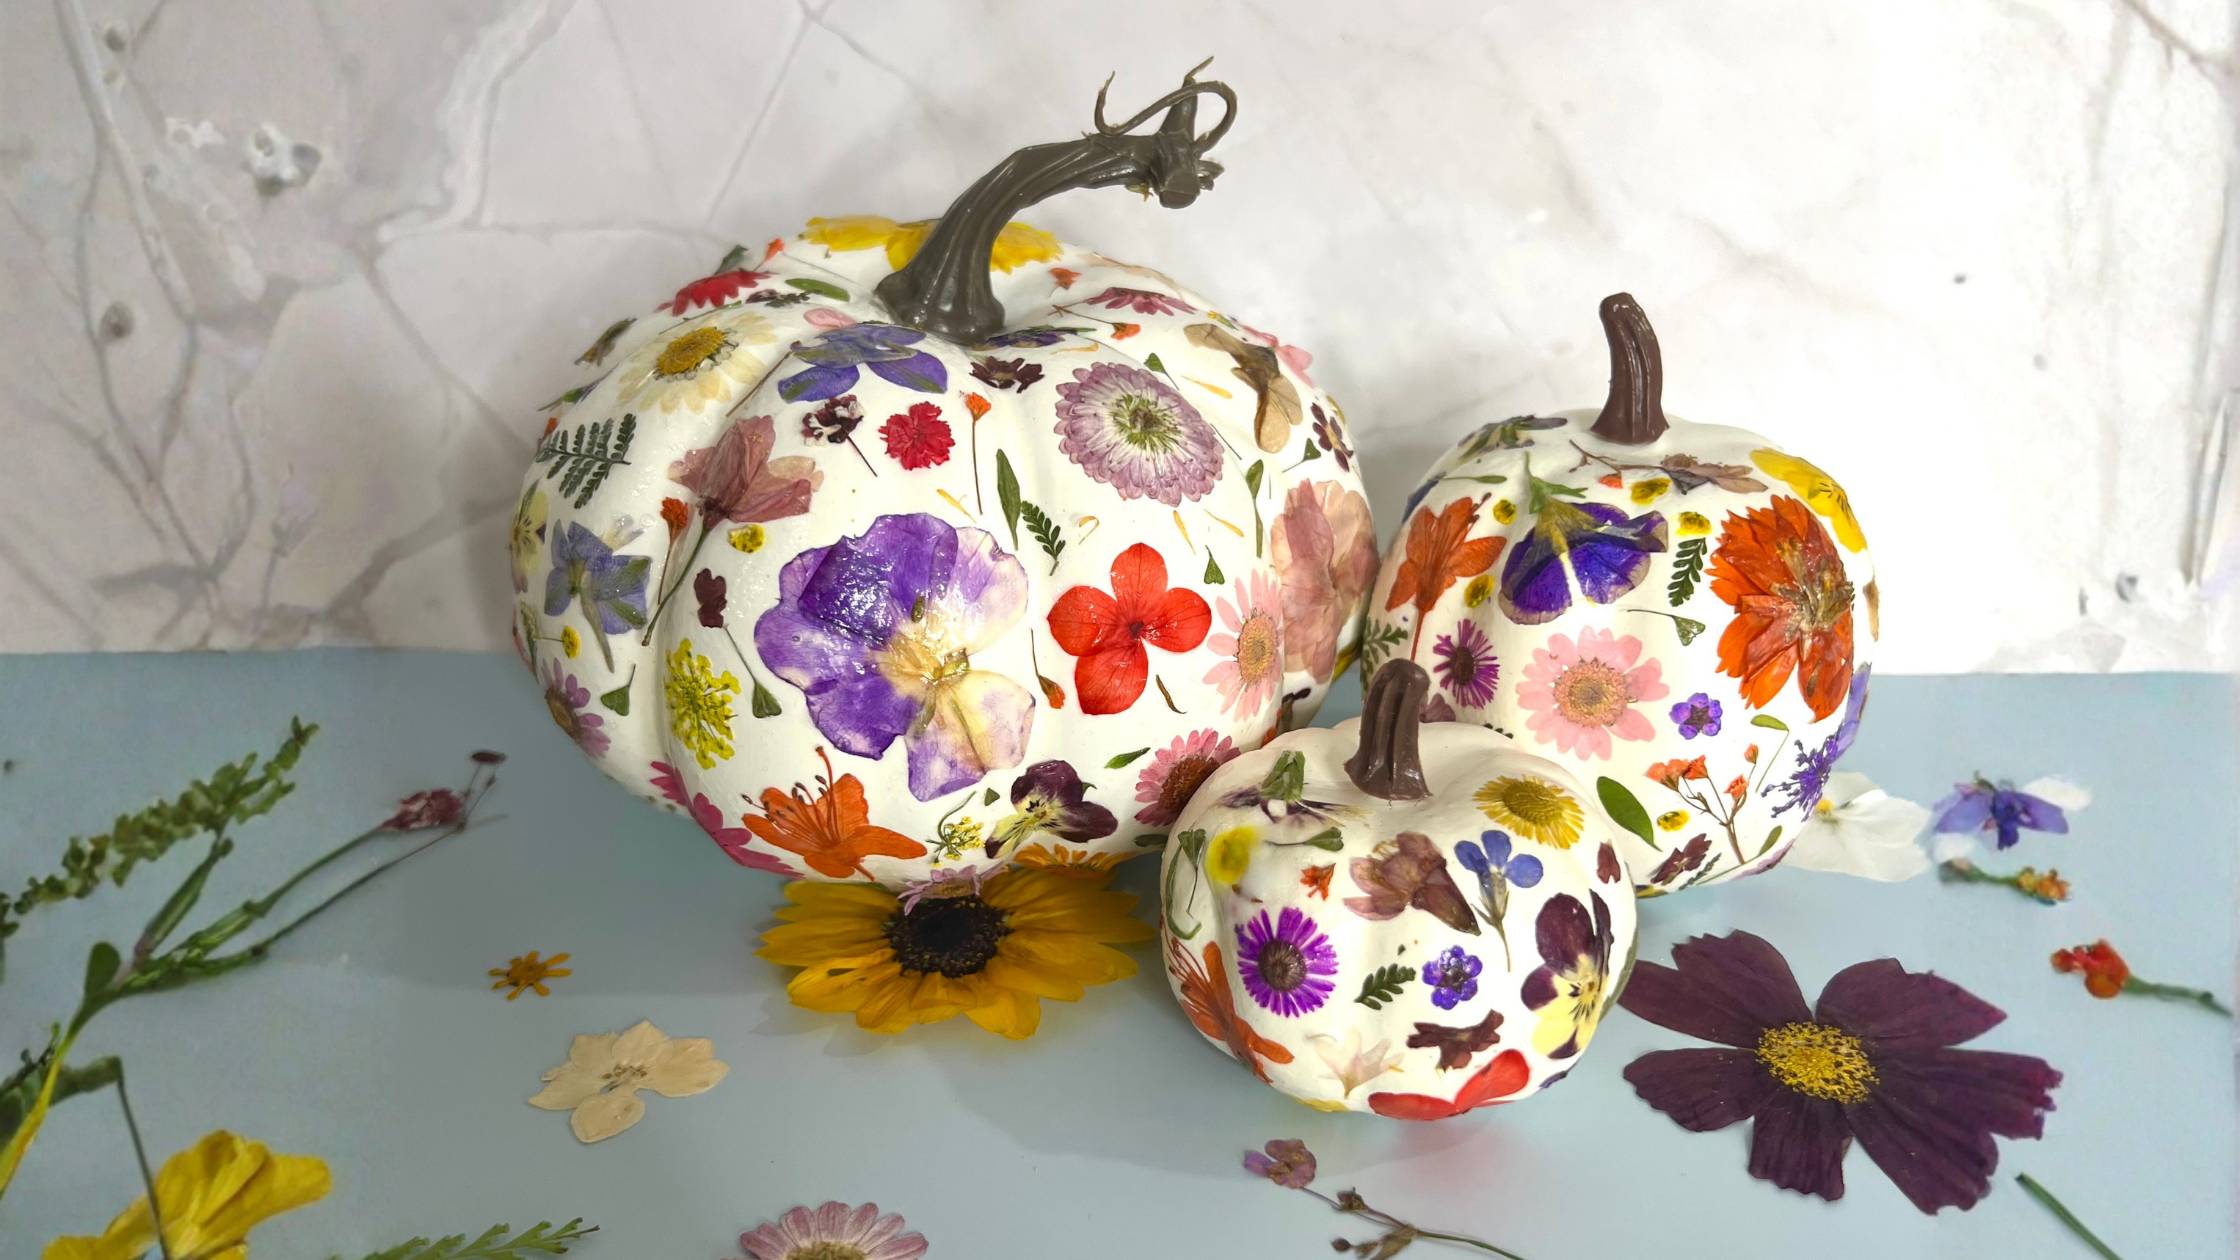
Pressed Flower Pumpkins: A Creative Twist on Fall Decor
Nothing says fall quite like a good pumpkin craft. Since you know I love all things pumpkin and all things fall and all things pressed flower, I thought it would be fun to merge all three. Pressed flower pumpkins can be made using real pumpkins of fake pumpkins from the craft store. This is such a fun craft because it is low mess, no need to carve pumpkins and they add a touch of nature to your pumpkin centerpieces.
Supplies You’ll Need to Make Pressed Flower Pumpkins
Here’s a basic supply list to get you started:
Pumpkins – Real or faux (foam, plastic, or papier-mâché all work). I like using white pumpkins because they offer a nice contrast between the flower and the pumpkin, which allows your flowers to really pop!
Pressed flowers - You can press your own flowers or purchase pressed flowers. To press your own, check out my pressed flower guide here. You can also cut out flowers from magazines or use flower stickers.
Flower press or microfleur press - if you have flowers and you want to press them, these make life much easier. You can also press flowers using heavy books in a dry place.
Mod Podge or decoupage glue – Matte or glossy, depending on your preference.
Foam brush or pastry brush– For applying glue smoothly.
Tweezers – To carefully place delicate petals without tearing them.
Sealer spray (optional) – To add an extra layer of protection if you’re displaying your pumpkin outdoors.
Tablecloth or paper towels
How to Make Pressed Flower Pumpkins
Here’s a simple, step-by-step method to turn your pumpkins into a beautiful, unique floral creation:
Step 1: Prep Your Pumpkin
If you’re using a real pumpkin, you will want to make sure it is smooth and not too bumpy. Make sure it is clean and free of any dirt or debris. If you use a store bought pumpkin, a great way to clean the work surface is by using some soap and water. They should be pretty clean from the store.
Step 2: Plan Your Design
Before you start attaching the pressed flowers to the craft pumpkin or real pumpkin, you will want to think about how you want to make a game plan for this DIY project. Decide if you will want to have a pattern, a color palette, or just use your creativity to make a random design. Once you've chosen the right pumpkin and prepared your strategy, you are ready for the next step.
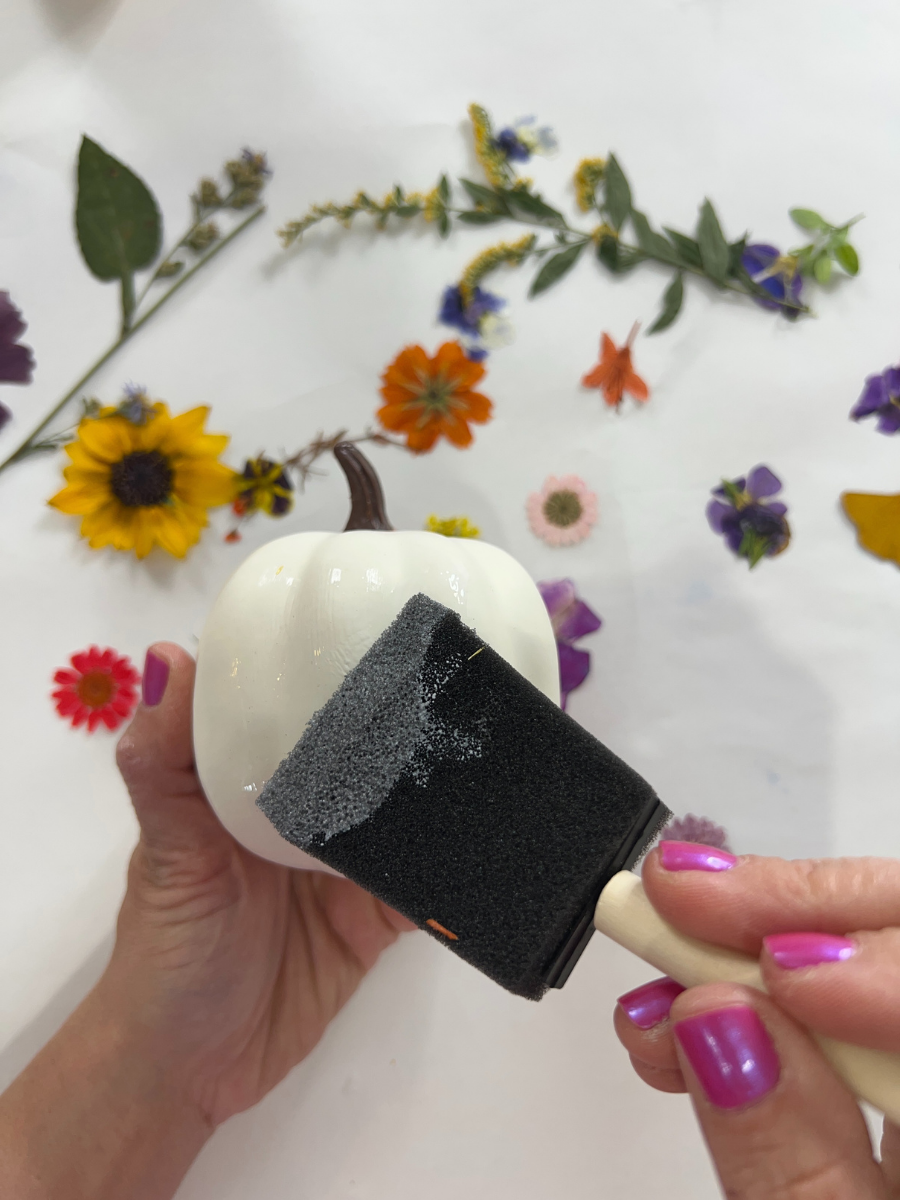
Step 3: Apply Mod Podge
Now it is time to apply the flowers to the surface of your pumpkin. Apply mod podge to a section of you pumpkin. You will want a nice, even layer. Work in small sections because Mod podge dries fast. Once you have some mod podge on the surface, you are ready to quickly move on to the next step.
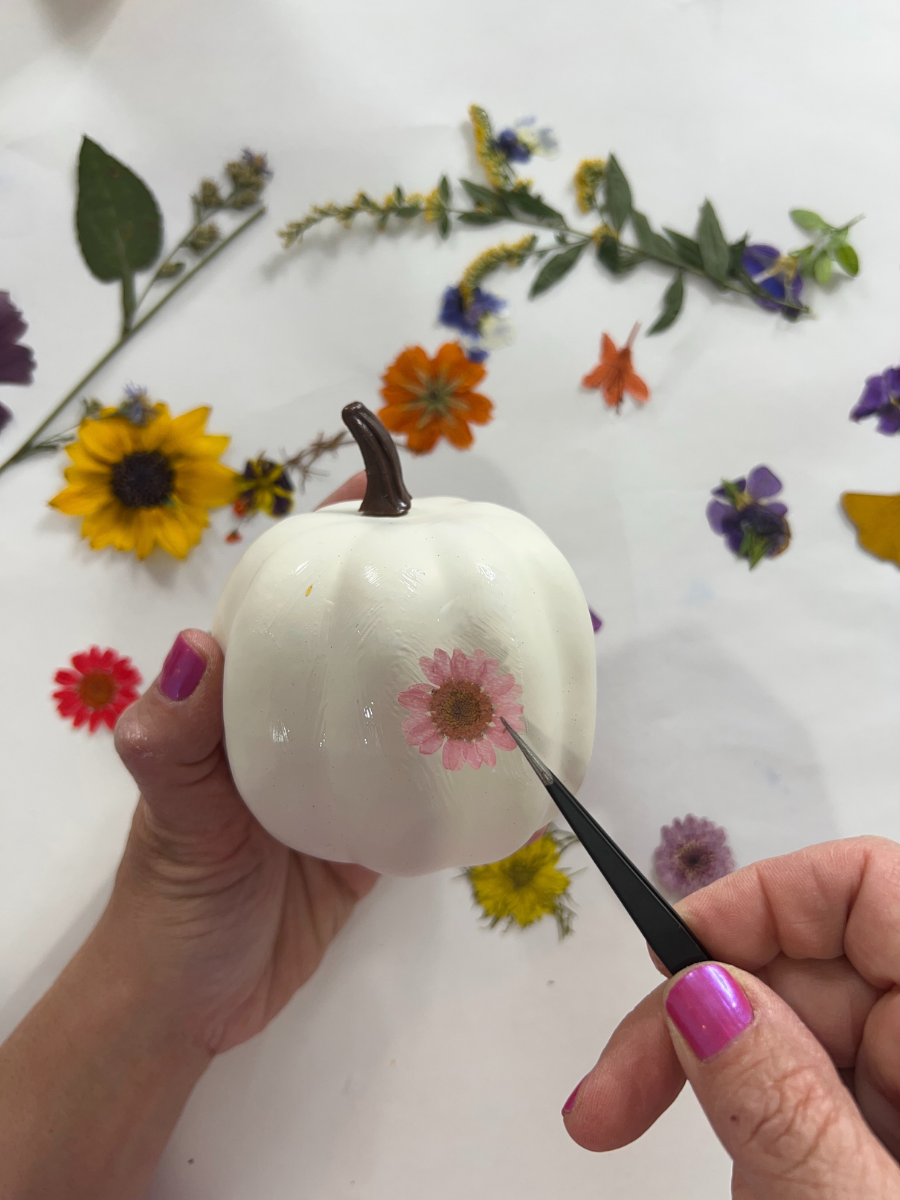
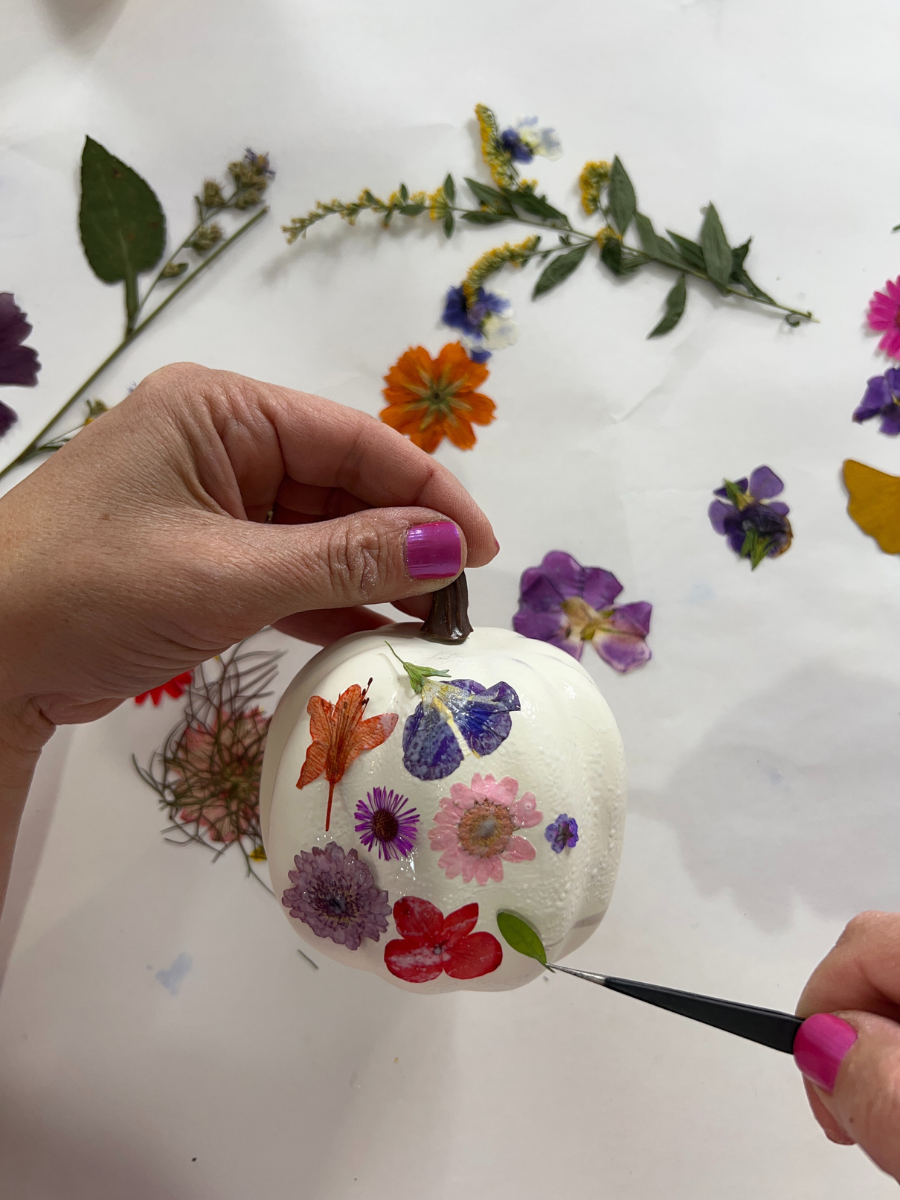
Step 4: Place the Flowers
Using tweezers or your fingers, gently press the flower onto the glued area. You will want to choose the flattest, smoothest of your pressed flowers because pumpkins make a better canvas when the material is smooth. Push the flower down gently with your fingertip. Remember, pressed flowers are fragile, so work slowly and be patient. Although flowers can eaisly rip - but you have a brief window of time to remove them when before the mod podge dries if you make a mistake. Continue adding flowers until the pumpkins are covered.
Step 5: Seal Your Pumpkin
Next, you will want to seal your pressed-flower pumpkins. Typically I apply a thin layer of mod podge to the entire surface once again. This will seal the flowers. If you want to keep your flowers rough, you can avoid this step, but keep in mind you cannot use them for outdoor display safely without sealing. Also, they will be much more fragile, so I recommending taking the time for this extra step. If you do plan to use your pumpkin outside, I recommend using the specific mod podge that is intended for outdoor use. Otherwise, keep them on a covered porch. I personally like to display my pumpkin centerpieces on my holiday table.
Step 7: Finish with Details
Once the glue has dried and you are ready to show them off, think about how you want to display your pressed flower pumpkin this season.
Tips for Success
Choose the right flowers - daisies, pansies, and violas all work great because they are paper thin. Ferns & other green leaves work great, too! Avoid using thicker flowers because they don't adhere as easily to the surface of pumpkins.
Press ahead of time – At the end of summer, begin grabbing your flowers and placing them into books to dry. Keep out of direct sunlight.
Work in sections – Don’t coat the whole pumpkin in glue at once. Work one flower at a time. Remember, the mod podge dries quickly, so no need to waste materials.
Layering is possible – Try overlapping petals or adding leaves behind blooms for depth. I like spacing them out, but you are the artist!
Faux pumpkins last longer – Real pumpkins are beautiful but will eventually rot. Faux pumpkins let you keep your art year after year. This is why I never do larger pumpkins from the patch - I love having the ability to take them out and put them onto the tables or flower pots.
Make placecards - one of my favorite ways to preserve natural beauty and use dried flowers is to purchase a bag of faux mini pumpkins at the art supply store and then add a tag with each person's name.
Final Thoughts
Pressed flower pumpkins are the perfect blend of seasonal fun and artistic expression. I love how they bridge the season - going from summer to fall with natural beauty. This season, when you look for pumpkin crafts, think about making these showstoppers! They’re elegant, eco-friendly, and surprisingly simple to make. And the best part? Each and every one is a unique work of art! 🌸 🎃
Looking for more ways to decorate your holiday table? Don’t miss this list of 22 beautiful DIY Thanksgiving tablescape ideas!